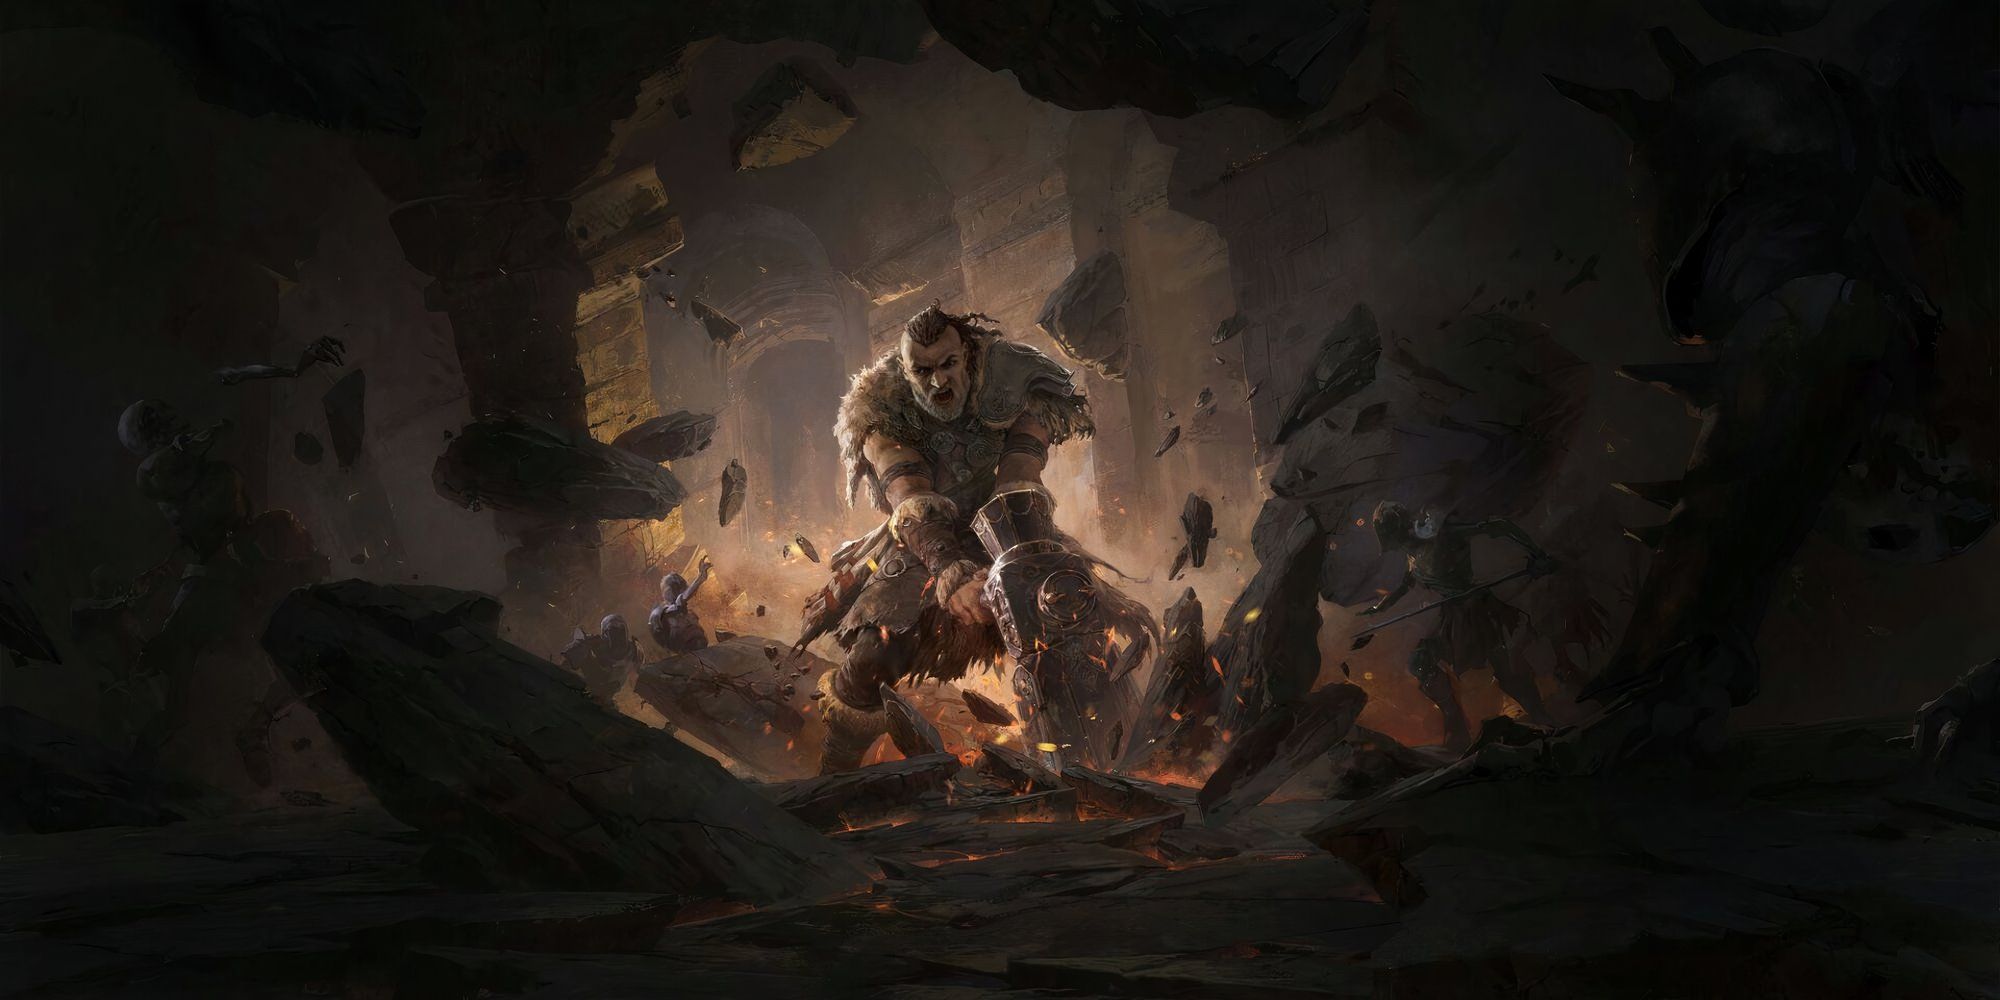

As many of us know, the Sunder Totem Titan build is a powerhouse in Path of Exile 2, combining devastating area damage with Totem-based strategies for both safety and effectiveness. This build allows you to deploy Totems that crush enemies while you remain mobile and out of harm’s way (the Ranger is also great at the latter two).
It’s great for crowd control and scales well into late-game content, making it ideal for both new and experienced players.
Related
Path of Exile 2: Best Mercenary Build Guide
If you are struggling with how to play the Mercenary in Path of Exile II, this guide will be sure to point you in the right direction.
This guide will walk you through every aspect of mastering the build, from skill setups and gear recommendations to endgame optimization and common mistakes to avoid.
Should you have trouble early on, you can use an effective early game build for the Warrior as you work towards the Sunder Totem build.
Build Overview

At the core of this build is Ancestral Warrior Totem + Sunder, giving you a setup where your Totems slam the ground with massive AoE, keeping enemies locked down. You’re not meant to face tank as your damage is done by proxy, and that’s where the build shines.
Why it works: Sunder creates shockwaves that scale incredibly well with attack speed, AoE, and physical damage. Combining this with the passive power of Totems means you can scale deep into the endgame without putting yourself in danger.
This build isn’t just strong because of the skill setup, it’s the gear synergy that really makes it work.
Example Gear You’ll Want In The Early and Late Game
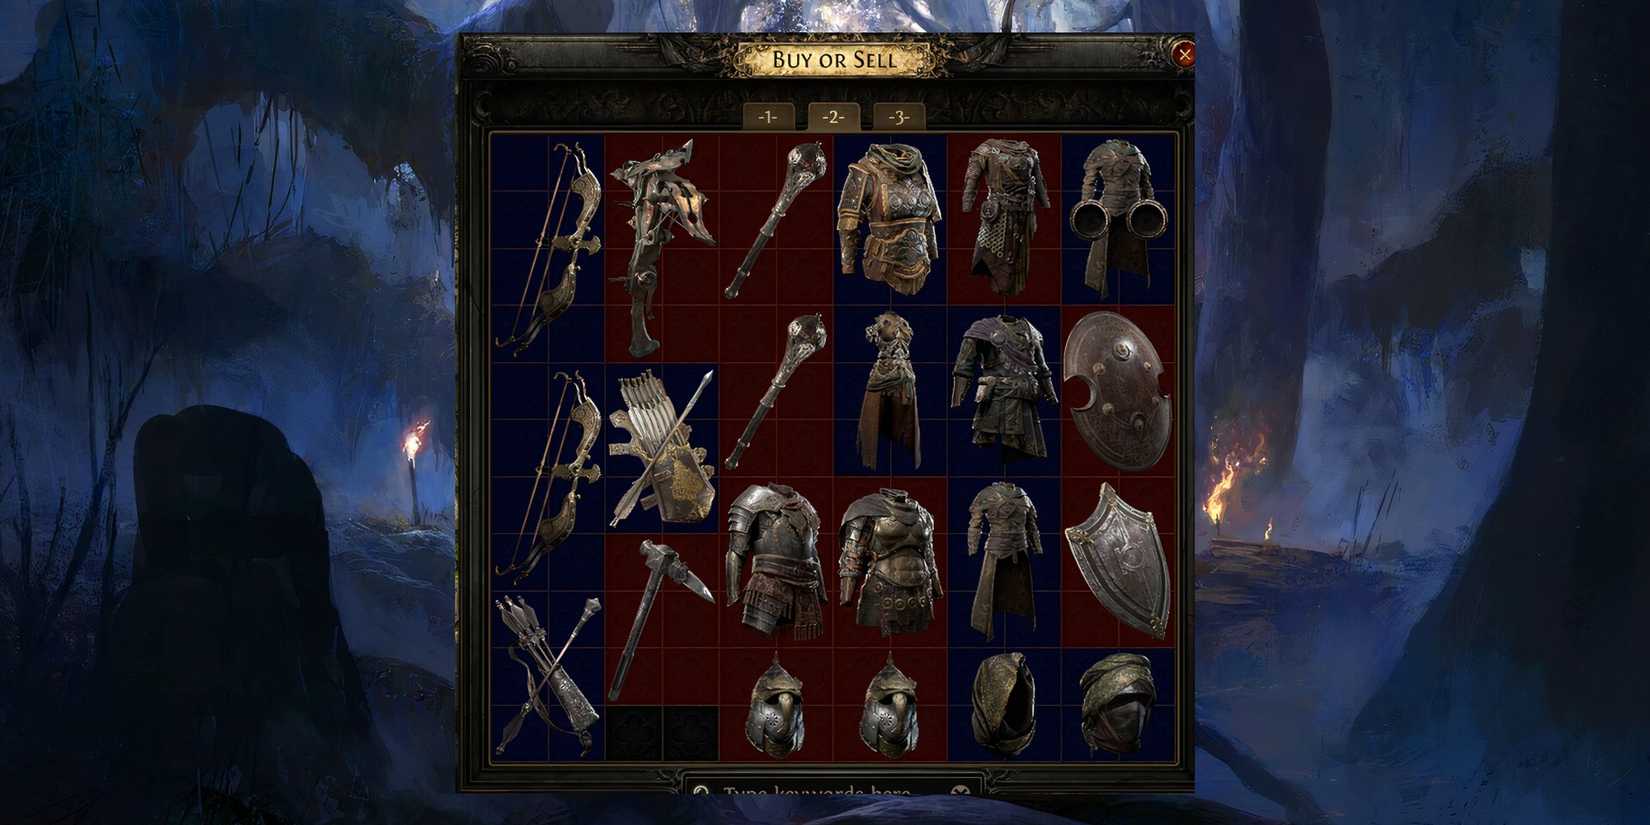
Weapon: Elder-Influenced Karui Maul or Ezomyte Staff
Look for: +% increased Physical Damage, Gain Phys as Extra Fire/Cold, Attacks Have % Chance to Maim. The reason for this is that Totems use your weapon stats for damage, so stacking flat phys and % phys on a 2H weapon makes a massive difference. Elder influence can roll high-value mods like “Gain X% of Physical Damage as Extra Elemental”, which is huge for scaling.
Helmet: Rare with +2 to AoE Gems
This directly boosts your Sunder damage. If you can find one with a “Sunder creates additional shockwaves” enchant, even better. That enchant stacks with AoE scaling and makes your clear feel smoother immediately.
Body Armor: Kaom’s Heart or Rare with % of Phys Taken as Elemental
My favorite body armor is Kaom’s Heart, which happens to be BIS for raw survivability; tons of flat life. The downside? It offers no sockets, so you’ll need to be clever with your skill placement. If you’re socket-starved, look for a rare chest with “% Physical Damage Taken as Elemental”. This massively reduces the impact of incoming physical hits, which are one of the few threats that can slip past your totems.
Gloves: Spiked Gloves with Added Phys + Attack Speed
Look for: +X to Physical Damage to Attacks, % Increased Attack Speed, Life + Resists. Totems scale off your attack values, so these modifiers get passed along. The Attack Speed also helps with Totem cast time.
Boots: Rare with Movement Speed + Life + Chaos Res
30–35% move speed is ideal. Chaos Resistance is underrated early on, especially in acts where random chaos projectiles can end your run. As a bonus, if you can get “Unaffected by Burning Ground” or “Avoid Elemental Ailments”, it makes bossing (and there are some very hard bosses in the game) smoother.
Amulet: Turquoise Amulet with +1 to Melee Skills, Totem Damage, and Strength
Melee skills buff Sunder, while Totem Damage boosts your DPS directly. Strength increases life and damage at the same time. If you can afford it, Hunter-influenced amulets can roll things like “% Increased Totem Placement Speed” or “Skills Cost Life Instead of Mana”, both of which are real game-changers for QoL.
Rings: Rare with Mana Leech or Regen + Added Phys
Look for: “X% of Physical Damage Leeched as Mana” or “+X to Mana Regen” if you’re struggling with sustain. Added Phys to attacks, Strength, and flat life/resist mods round these out nicely.
Why These Items Matter
Each of these pieces fills a need:
- Totem uptime (via attack speed, cast speed, placement speed).
- Sunder scaling (via AoE gem levels and added phys).
- Mana sustain (through gear-based regen or leech).
- Defense (through armor, life, and conversion).
You don’t need perfect rolls, but try to cover the bases. This is a build that works off momentum. If your mana sustain or totem uptime is clunky, the whole thing feels like it falls apart. But once it’s smoothed out, it’s one of the cleanest playstyles I’ve tested in POE2.

Related
Path of Exile 2: Best Gear Farming Methods
Get geared up fast!
Key Skills and Support Gems

Totem Setup (for clearing mobs):
Sunder is your main damage-dealing skill, while Martial Tempo increases attack speed, leading to Upheaval, which adds extra fissures for better area coverage. Inspiration helps manage mana cost efficiently and the Magnified Effect boosts the area of effect.
Totem Setup (for bosses):
Similar to the Totem setup to clear mobs, Sunder is still your main attack skill, while Martial Tempo keeps your attack speed up and utilizes Overpower, which boosts damage against tougher enemies and leads to Brutality, which amplifies physical damage. Be sure to use Close Combat to increase damage to nearby enemies during boss fights.

Related
Path of Exile 2: How To Get More Support Gems
Those Skills aren’t going to support themselves!
Passive Skill Tree

Focus on nodes that enhance melee damage, totem effectiveness, and survivability. Key passives to prioritize include Giant’s Blood, which allows you to dual-wield two-handed maces and, in turn, significantly ups your melee skills.
Polymathy Cluster helps meet attribute requirements for gear. Resolute Technique ensures that your attacks never miss, increasing reliability.
Progression Tips:
Start by grabbing life and melee damage nodes for survivability and output, while working towards important keystones like Giant’s Blood. It’s highly recommended to use the passive tree to balance between offensive and defensive strengths.
Gear Recommendations

Weapons
Dual-wield two-handed maces with +7 to melee skills and aim for items that ease attribute requirements. Elder-influenced weapons with “gain physical as extra” or attack speed rolls will push your Totem damage even further and smooth out your uptime.
Armor
You’ll want to stack life, resistances, and armor across all pieces, with an emphasis on survivability since your Totems are doing the heavy lifting. If your build can handle the attribute spread, an Energy Shield hybrid chest with conversion mods like “% of Physical taken as Elemental” can give you that extra cushion against big hits. Heck, everyone takes damage sometimes.
Accessories
Prioritize amulets and rings with +3 to melee skills, flat physical damage to attacks, and good life/resist rolls to round things out. Strength stacking here is a solid bonus too. It boosts your Totem damage and survivability at the same time, making these pieces do double-duty.
Flasks
Your flask setup should include at least one reliable Life Flask with bleed or curse removal, alongside a Quicksilver for mobility and something like Granite or Jade for extra defense layers. For damage, Lion’s Roar is a go-to huge physical boost, and the knockback is surprisingly useful for controlling tight fights or keeping pesky hordes of mobs off your back.
Playstyle Tips

I’ve learned to always be aware of Totem placement, positioning them to maximize their range and damage potential while keeping myself safe. This also provides some freedom to switch weapons as needed for offense or defense.
Mana Management is extremely important here, so be sure to use Inspiration and consider passives or gear that help reduce mana costs (or convert costs to life).
Endgame Optimization

In my experience, once you hit red maps, and endgame maps offer some fantastic rewards, it’s all about fine-tuning upgrades to high-tier phys scaling weapons, stacking Totem life and AoE through jewels, and rerolling your flasks for sustain.
At the same time, be sure to tweak your passive tree to lean into whatever content you’re grinding, whether that’s mapping, bossing, or league mechanics.
Stick to open layouts like Dunes or Tropical Island for smooth clears, avoid rough mods like “No mana regen,” and when pushing Ubers or Blight, shift your gem links and gear toward either burst single-target or tankier Totem setups. It can be the only way to keep the pressure on without getting steamrolled.
Common Mistakes To Avoid

It can be easy to overlook attribute requirements, so always check your Strength and Intelligence needs for gear and skills. It’s easy to get tunnel vision when chasing damage, but missing a key attribute threshold can make your whole setup fall apart.
Poor Totem placement or bad positioning can hurt your damage output and expose you to danger. Drop your totems too far from enemies, and they’ll be less effective. Drop them too close, and you risk drawing unwanted aggro.
Underestimating mana costs can also be a huge detriment, because without proper management, high mana costs can hinder your effectiveness. Running out of mana mid-fight can leave you helpless, so be sure to plan for sustain, whether through gear, flasks, or supports.
Conclusion

The Sunder Totem Titan build is a fantastic blend of power, safety, and strategy. It lets you control the battlefield without taking unnecessary risks, and once you’ve got the hang of Totem placement and gear scaling, it’ll carry you deep into the endgame.
With the right setup and smart adjustments, this build can do just about anything. For me, the mantra of the build is this: Master the rhythm, manage your mana, and let your Totems do the smashing.

Next
Path of Exile 2: Best Classes For Solo
It’s a little less dangerous to go alone with these classes.