Helldivers 2’s Stratagems have helped set it apart from other games in the genre, and give each person the ability to customize their gameplay experience. However, this also means that players will be seeking to parse out the meta. Which Stratagems are the best for which missions?
Helldivers 2: Best Stratagems To Unlock First
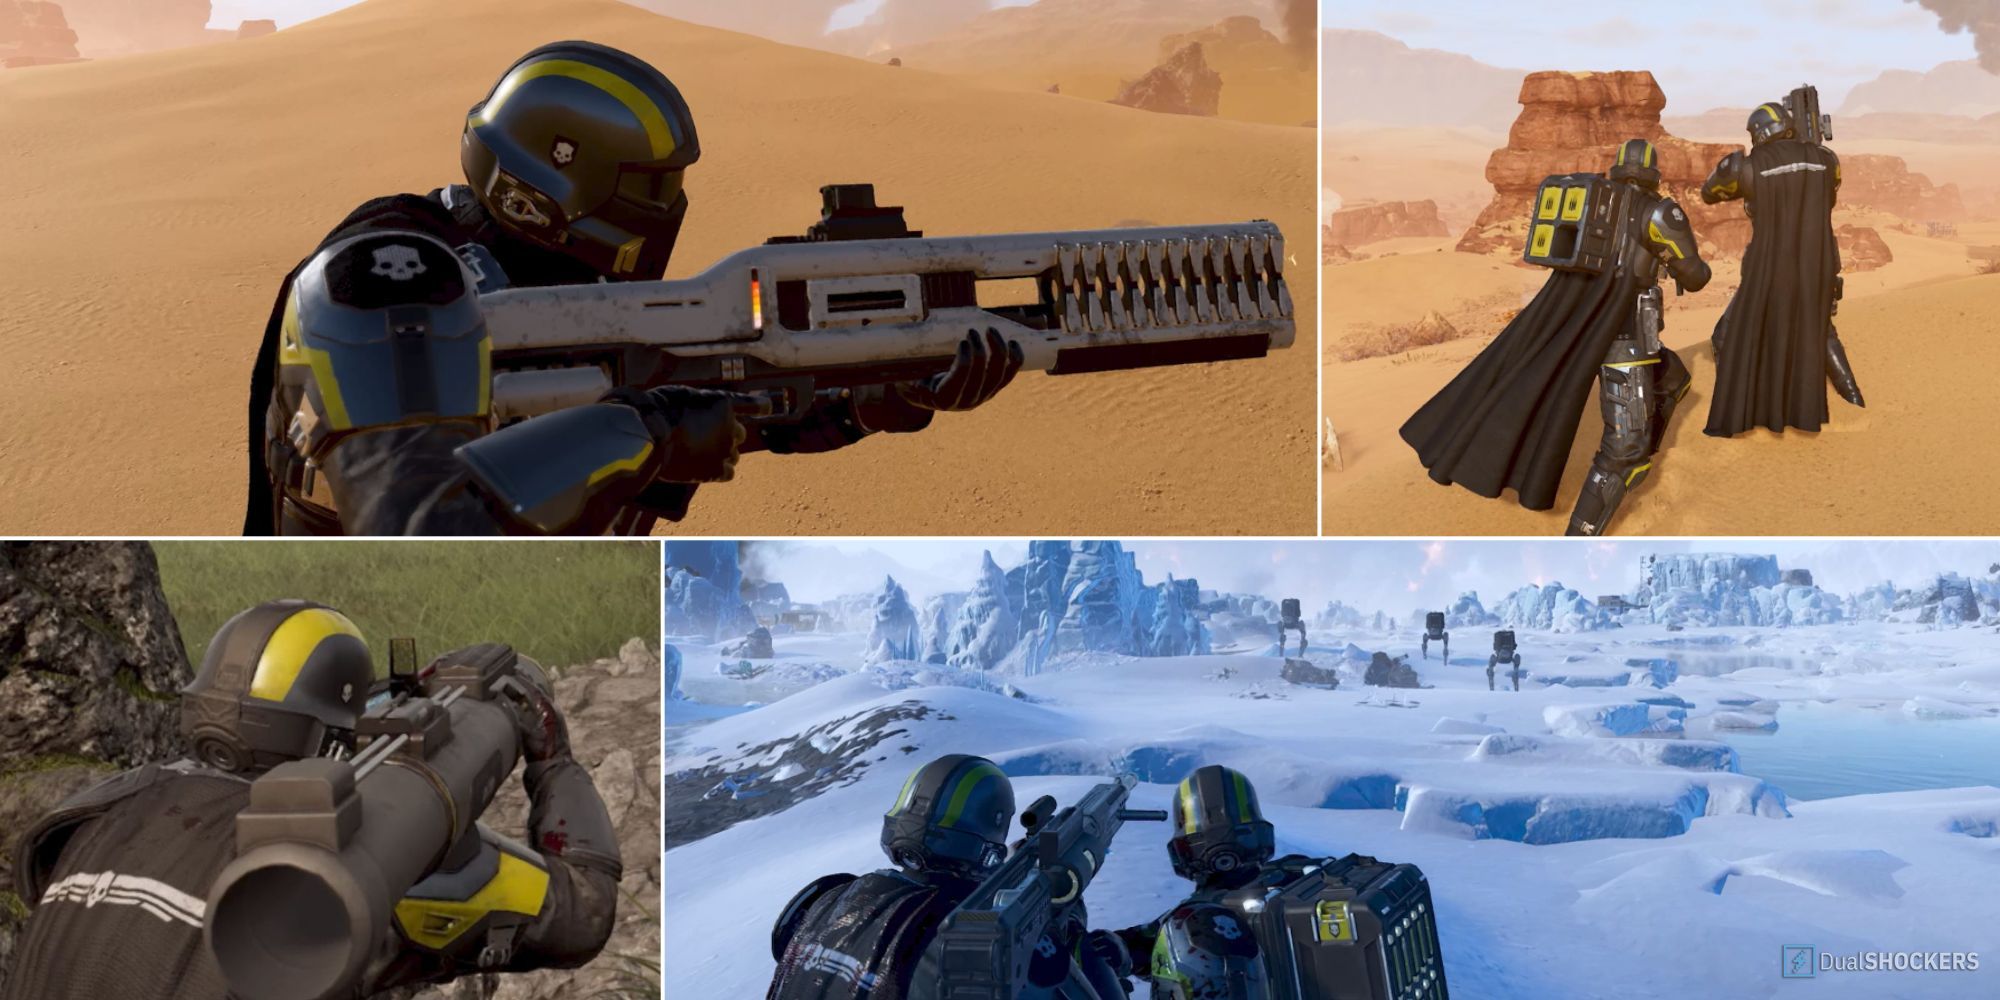
Your Stratagems are your greatest asset against the enemies of Democracy in Helldivers 2. Make sure to pick up these great options.
While the best overall Stratagems will change slightly depending on your playstyle, few can say that there aren’t some excellent Supply Stratagems to take. Keep reading for a ranked list of the top ten Supply Stratagems based on their effectiveness across multiple levels of play, impact, cooldown, and which enemies they are best against.
Helldivers 2
- Released
- February 8, 2024
- Developer(s)
- Arrowhead Game Studios AB
10 The Jumppack
Your Terrain Is No Match For Me
The Jumppack is currently the only mobility Stratagem available to players, and boy is it fun. While equipped, you’ll be able to hold down the jump button to boost yourself up onto high terrain, or over enemies. Most notably, players can use the Jumppack to avoid the attacks of angry Chargers.
However, despite being a great time, the Jumppack doesn’t provide much that your dive doesn’t already, and it takes up your back slot. This means you are unable to carry an ammo backpack for an Autocannon or Recoiless Rifle, cannot bring a Supply Pack, and can’t use a Guard Dog – all useful options.
|
Module |
Hangar |
|---|---|
|
Level to Unlock |
Level 8 |
|
Price |
6000 Requisition Slips |
|
Cooldown |
480 seconds |
|
Call-In Time |
5 seconds |
9 The Autocannon
High Damage, High Recoil, Low Ammo Capacity

The Autocannon performs a similar function to the Railgun and Recoilless Rifle. It is capable of removing thick armor from enemies, softening them up for your Primary Guns. Favored by some for its power, the Autocannon requires its own ammo backpack, which can be worn by a friend to speed up the reloading process.
However, despite some promising damage numbers, the recoil and low ammo capacity on the Autocannon usually mean there are better options to take with you on a mission. If you’re looking to deal high damage, consider the Railgun. If you want something to blow away armored targets with some area of effect, try the Recoilless Rifle.
|
Module |
Patriotic Administration Center |
|---|---|
|
Level to Unlock |
Level 10 |
|
Price |
7000 Requisition Slips |
|
Cooldown |
480 seconds |
|
Call-In Time |
3 seconds |
8 The Machine Gun
Old Reliable Is Here To Stay

The Machine Gun might be the first Supply Stratagem you unlock in Helldivers 2, but that doesn’t mean that it is inferior. In fact, the Machine Gun has a place in many mid to late-game loadouts, particularly on Terminid Planets. Its strengths lie in horde control and suppressive fire, which is very effective against large groups of Scavengers, Hunters, Warriors, Troopers, Raiders, and Marauders.
Important to note when bringing this weapon onto a mission is the lack of mobility you will have while using it. The Machine Gun is designed to be used while lying prone, which is the only way to prevent recoil and inaccuracy in this massive gun. Additionally, you must be crouched or prone when reloading, and the reload animation will prevent you from moving for its duration – a risky prospect.
|
Module |
Patriotic Administration Center |
|---|---|
|
Level to Unlock |
Level 1 |
|
Price |
N/A |
|
Cooldown |
480 seconds |
|
Call-In Time |
3 seconds |
7 Expendable Anti-Tank Launcher
The Newbie’s First Armor Piercing Weapon

The Expendable Anti-Tank (sometimes referred to as an EAT by the community) is the first tank-busting weapon new players can get their hands on. Unlocking at level 3, this weapon blasts off the armor on most enemies but is single-use and inaccurate. Each use of this low cooldown Stratagem calls down two EATs, but you can only carry one at a time – community wisdom suggests only using the Stratagem when you are staying still for some time, or having a friend take the other.
While this weapon does its job, you will probably transition out of using it as soon as you have access to better anti-tank options, such as the Recoilless Rifle or Railgun. Really, most players will only use the EAT against their earliest tank encounters, such as the Bile Spewer.
|
Module |
Patriotic Administration Center |
|---|---|
|
Level to Unlock |
Level 3 |
|
Price |
3000 Requisition Slips |
|
Cooldown |
70 seconds |
|
Call-In Time |
2 seconds |
6 The Supply Pack
Never Run Out Of Key Items Again

While not the most flashy of Support Stratagems, rarely will you be sorry to have a Supply Pack. During longer engagements, it is easy to blow through resources in this game, especially when Resupplies are tightly limited. These packs provide relief, as they can refill ammo, stims, grenades, and even ammo backpacks for Support Weapons like the Recoilless Rifle and Autocannon.

Helldivers 2: How To Unlock All Stratagems
This guide details every Stratagem in Helldivers 2, its function, and how much it costs to unlock. Plan your unlock route to total mastery.
Each pack has four charges, usable by yourself or a friend at your discretion. To give a Resupply to a fellow Helldiver, simply walk up and press the prompt (similar to using a stim on a squad mate). That you need to distribute the supplies has a nice side benefit as well. You can prevent randoms from hogging all the resources by handing out the charges to players most in need.
|
Module |
Engineering Bay |
|---|---|
|
Level to Unlock |
Level 2 |
|
Price |
4000 Requisition Slips |
|
Cooldown |
480 seconds |
|
Call-In Time |
5 seconds |
5 The Grenade Launcher
High Impact, High Risk Of Friendly Fire

The Grenade Launcher is one of the best support weapons in terms of impact against Terminids, as it allows you to close Nests at a distance and deal damage to armored enemies. As with most explosive projectiles in this game, the damage dealt by the Grenade Launchers is substantial. This makes it tempting for new players. However, it doesn’t rank higher on our list due to the bounce on those grenades.
Firing a Grenade Launcher at any solid surface has a high probability of launching the Grenade to another location, usually back at your squad. Then, the high damage per shot that sounded so good sounds… less good. For this reason, the Grenade Launcher has quickly gained the reputation of being the worst Friendly Fire Weapon in the game.
|
Module |
Engineering Bay |
|---|---|
|
Level to Unlock |
Level 5 |
|
Price |
6000 Requisition Slips |
|
Cooldown |
480 seconds |
|
Call-In Time |
3 seconds |
4 The Antimaterial Rifle
Snipers Rejoice, For You Can Kill Tanks

The Anitmaterial Rifle is the game’s primary sniper weapon, especially in earlier levels. This gun packs a punch from long range and doesn’t require a separate backpack to reload. It can take out many enemies with a single shot when aimed at their weak spots, including most of the Automaton Faction.
For optimal play, you’ll want to utilize the first-person mode when firing this weapon. This increases accuracy and gives you a better idea of where you are aiming. To do so, hold down the reload button to switch aiming modes. You can also change your game settings to remember the aiming modes for each weapon, causing the game to default to FPV when using an Antimaterial Rifle in the future.
|
Module |
Patriotic Administration Center |
|---|---|
|
Level to Unlock |
Level 2 |
|
Price |
5000 Requisition Slips |
|
Cooldown |
480 seconds |
|
Call-In Time |
3 seconds |
3 The Stalwart
The Machine Gun’s Versatile Little Brother

Probably the best horde breaker weapon in the game is the Stalwart, a more mobile version of the Machine Gun. This gun trades some of its damage for a shorter reload time, andthe ability to run while reloading. While this drop in damage might be noticeable against moderately tanky enemies such as Brood Commanders, it’s unlikely to impact your ability to take out large quantities of small enemies – which is the true strength of a machine gun anyway.

Helldivers 2: 10 Tips & Tricks For Beginners
Helldivers 2 throws you into the deep end right from the start. Follow these new player tips and tricks to survive and thrive – for Democracy!
That being said, it is not advised to take this weapon into higher-difficult lobbies without knowing that someone else is bringing a Railgun or Recoilless Rifle. The Stalwart is abysmal at cutting through armor, and you’ll quickly get overwhelmed without a strong single-target damage option.
|
Module |
Patriotic Administration Center |
|---|---|
|
Level to Unlock |
Level 2 |
|
Price |
3500 Requisition Slips |
|
Cooldown |
480 seconds |
|
Call-In Time |
3 seconds |
2 The Recoilless Rifle
Team Work Makes The Dream Work

The Recoilless Rifle is widely regarded as the best option for squads on higher-level difficulty settings. This is because it shoots quickly and accurately, with decent armor penetration. It is also available much earlier on than other similarly powered options, such as the Railgun.
For optimal play, one player should use the rifle, while another should carry the ammo backpack. This allows one player to reload the gun while the other is shooting, resulting in little to no downtime between shots. Unfortunately, while you can wear the ammo backpack yourself for reloading, this heavily reduces the effectiveness of the gun. Reloading a Recoilless Rifle yourself requires you to switch from the firing animation to the reloading animation, which is very slow.
|
Module |
Patriotic Administration Center |
|---|---|
|
Level to Unlock |
Level 5 |
|
Price |
6000 Requisition Slips |
|
Cooldown |
480 seconds |
|
Call-In Time |
3 seconds |
1 The Railgun
Insane Damage With Pinpoint Accuracy

The Railgun, a Support Weapon first available for purchase at level 20, is quickly becoming a player favorite. Not only does it deal fantastic damage to armored targets, but it is also one of the few weapons of its kind that doesn’t require a separate backpack to reload. This makes it ideal for solo and quickplay, which is the reality for many players whose friends are currently unavailable.
However, the Railgun’s power isn’t plug-and-play. To get the most from this weapon, you’ll need to utilize a menu many players aren’t aware of. When using a gun, you can hold down the reload button to open an options menu. This allows you to change the power and accuracy settings of your gun. In the Railgun’s case, you can turn off Safety Mode, which allows you to charge each shot for more damage.
While entering unsafe mode makes your Railgun capable of higher damage numbers, overcharging a shot will cause the gun, you, and any nearby players to explode.
|
Module |
Patriotic Administration Center |
|---|---|
|
Level to Unlock |
Level 20 |
|
Price |
– |
|
Cooldown |
480 seconds |
|
Call-In Time |
3 seconds |

Helldivers 2: 10 Hardest Enemies, Ranked
Between the bugs and the bots, it’s hard to nail down exactly which enemies put up the toughest fight.