All-Rounders of the Grasslands
Chocobo Intel
You will acquire this info simply by progressing the story and speaking with Chadley. This will also register.
Bill’s Ranch Tower
Activation Intel
Once you acquire your first bit of info, follow Chadley. He will lead you straight to the front of Bill’s Ranch Tower to get your hands on this World Intel. This will also reveal 4 locations on your map.
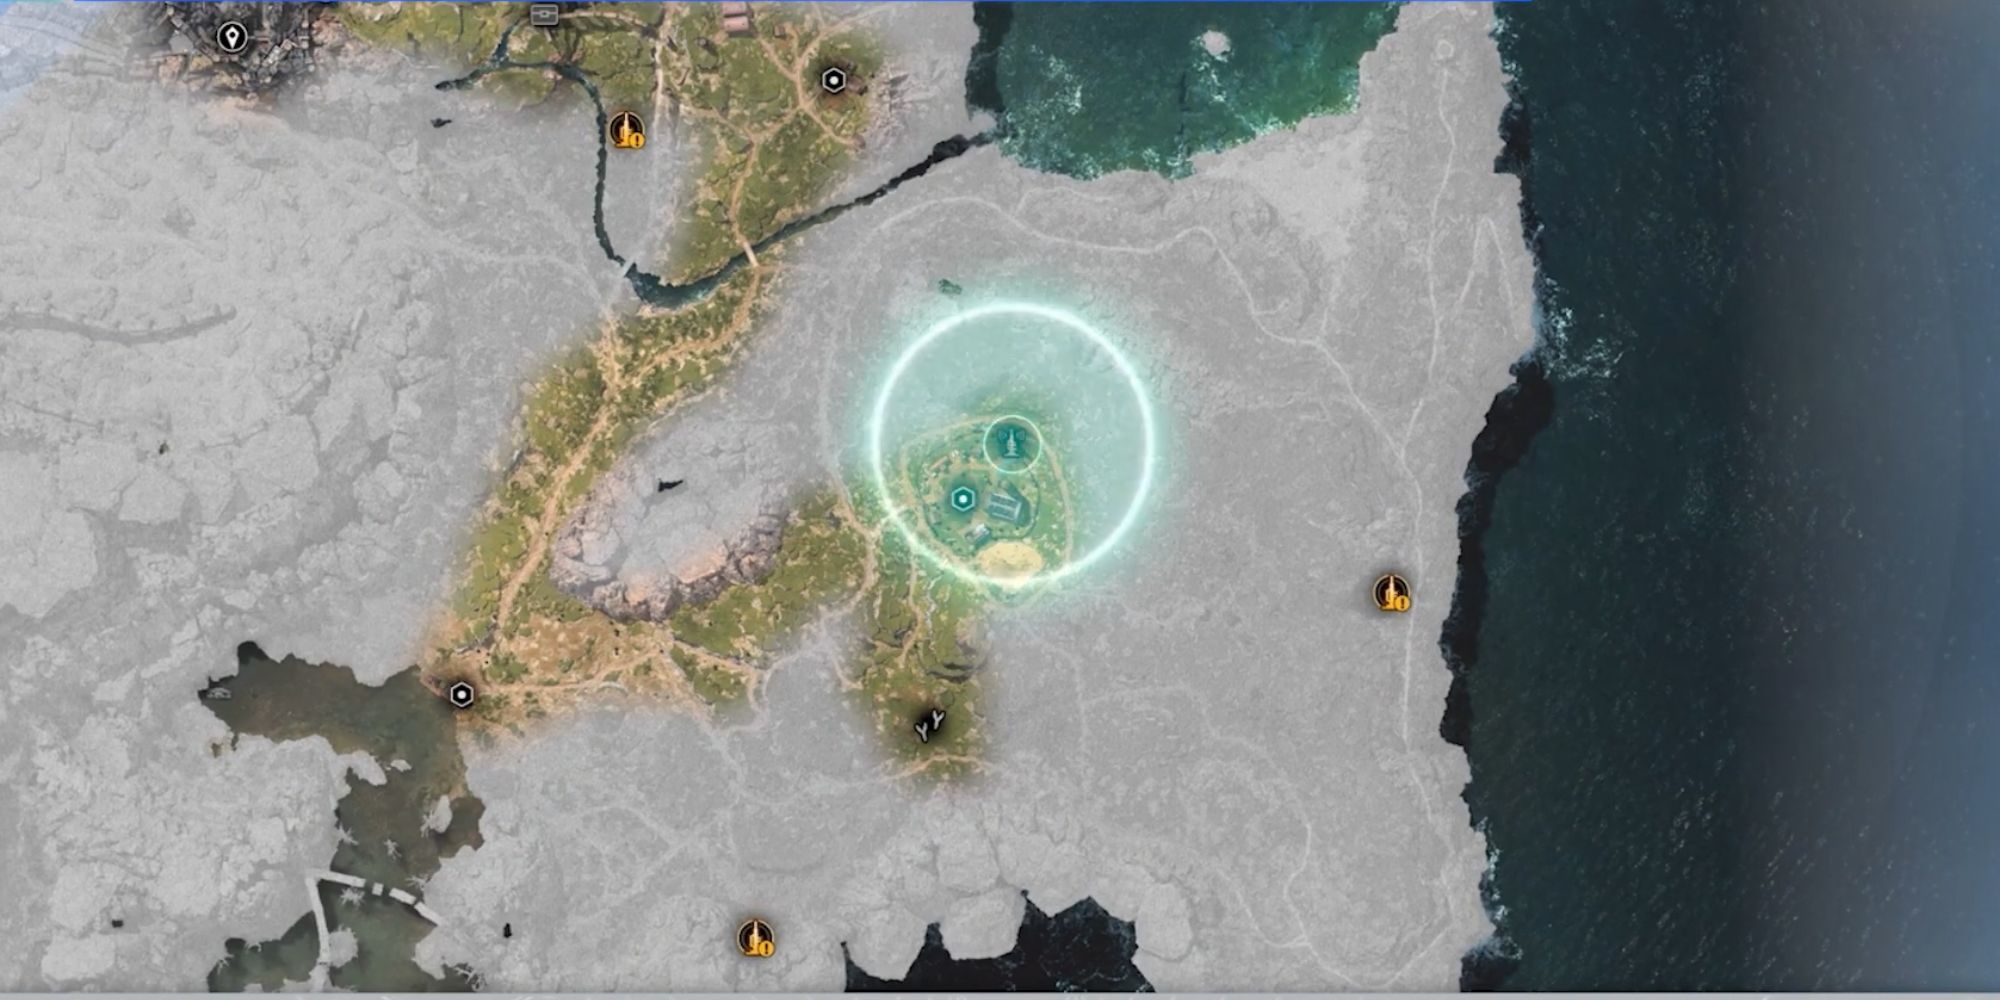
Eastern Seaboard Tower
Activation Intel
Head on over to this tower and interact with it in the same way you interacted with Bill’s Ranch Tower in order to collect this World Intel. This will trigger a cutscene and then reveal additional locations of other pieces of World Intel for you to collect.
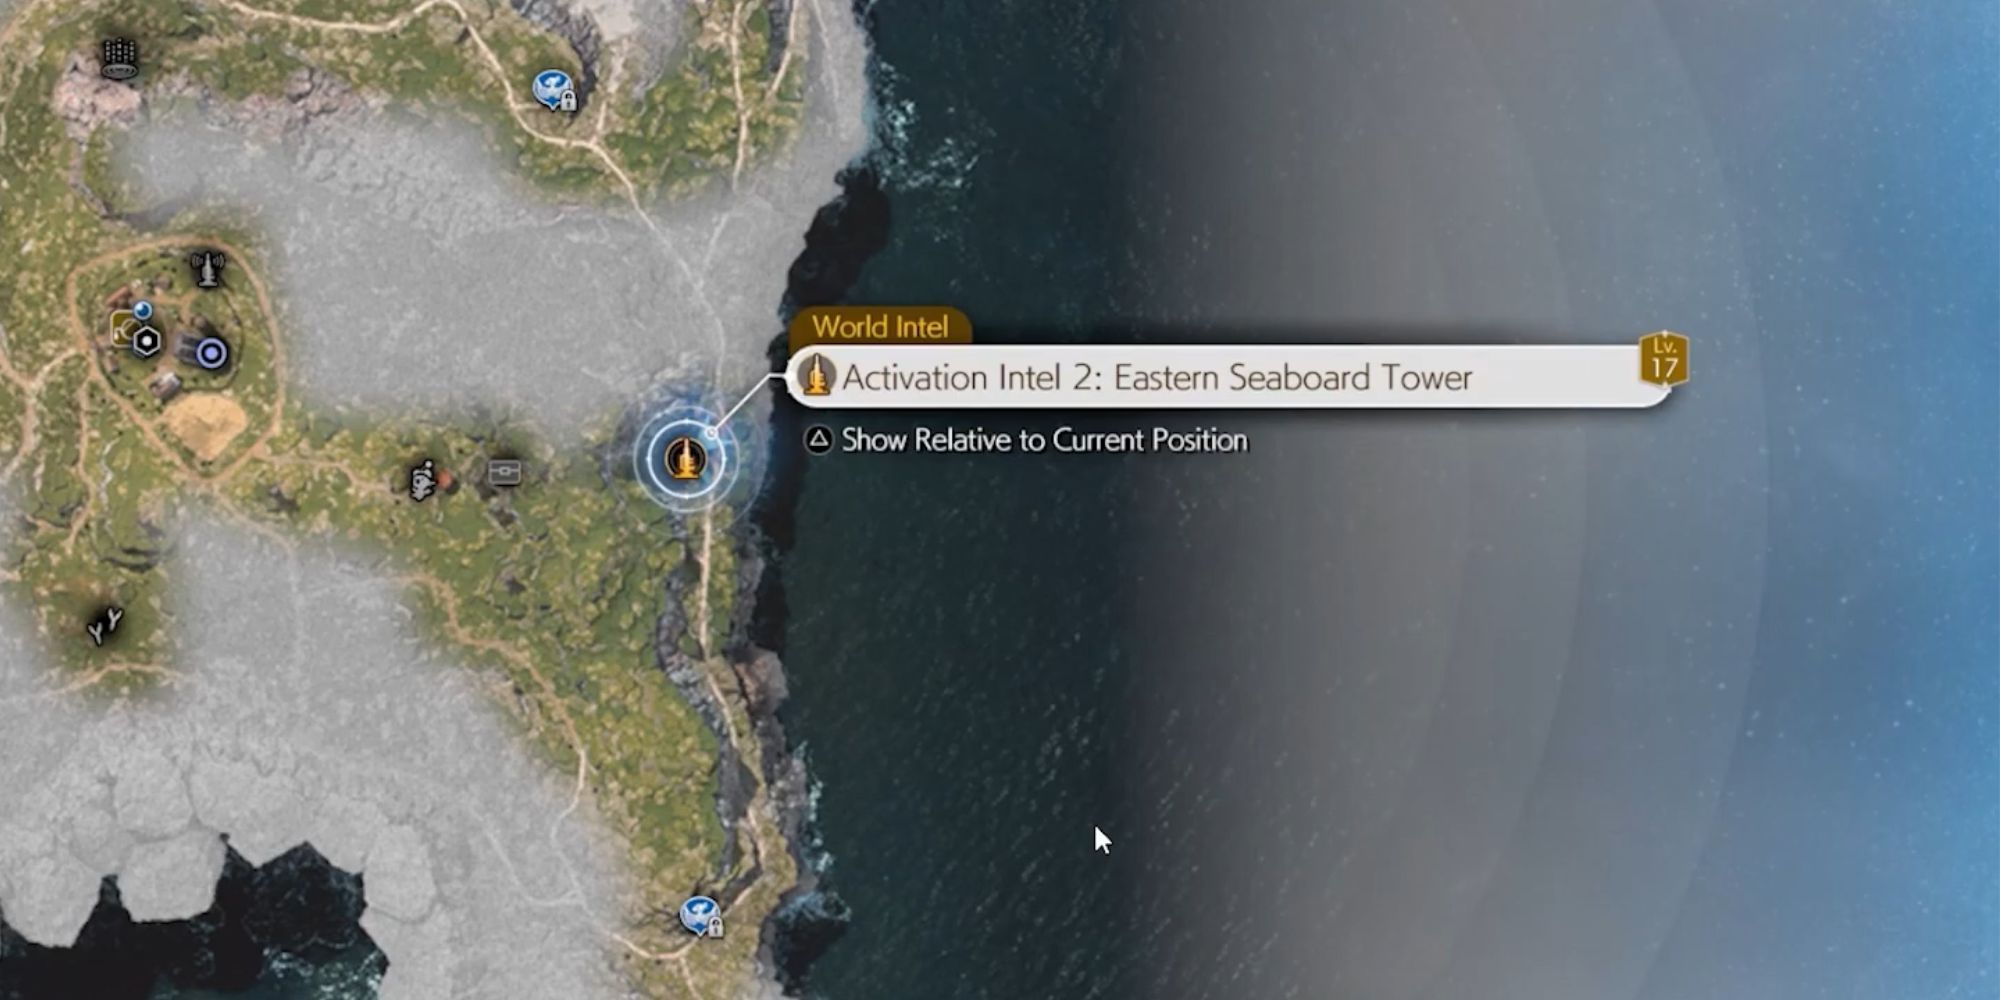
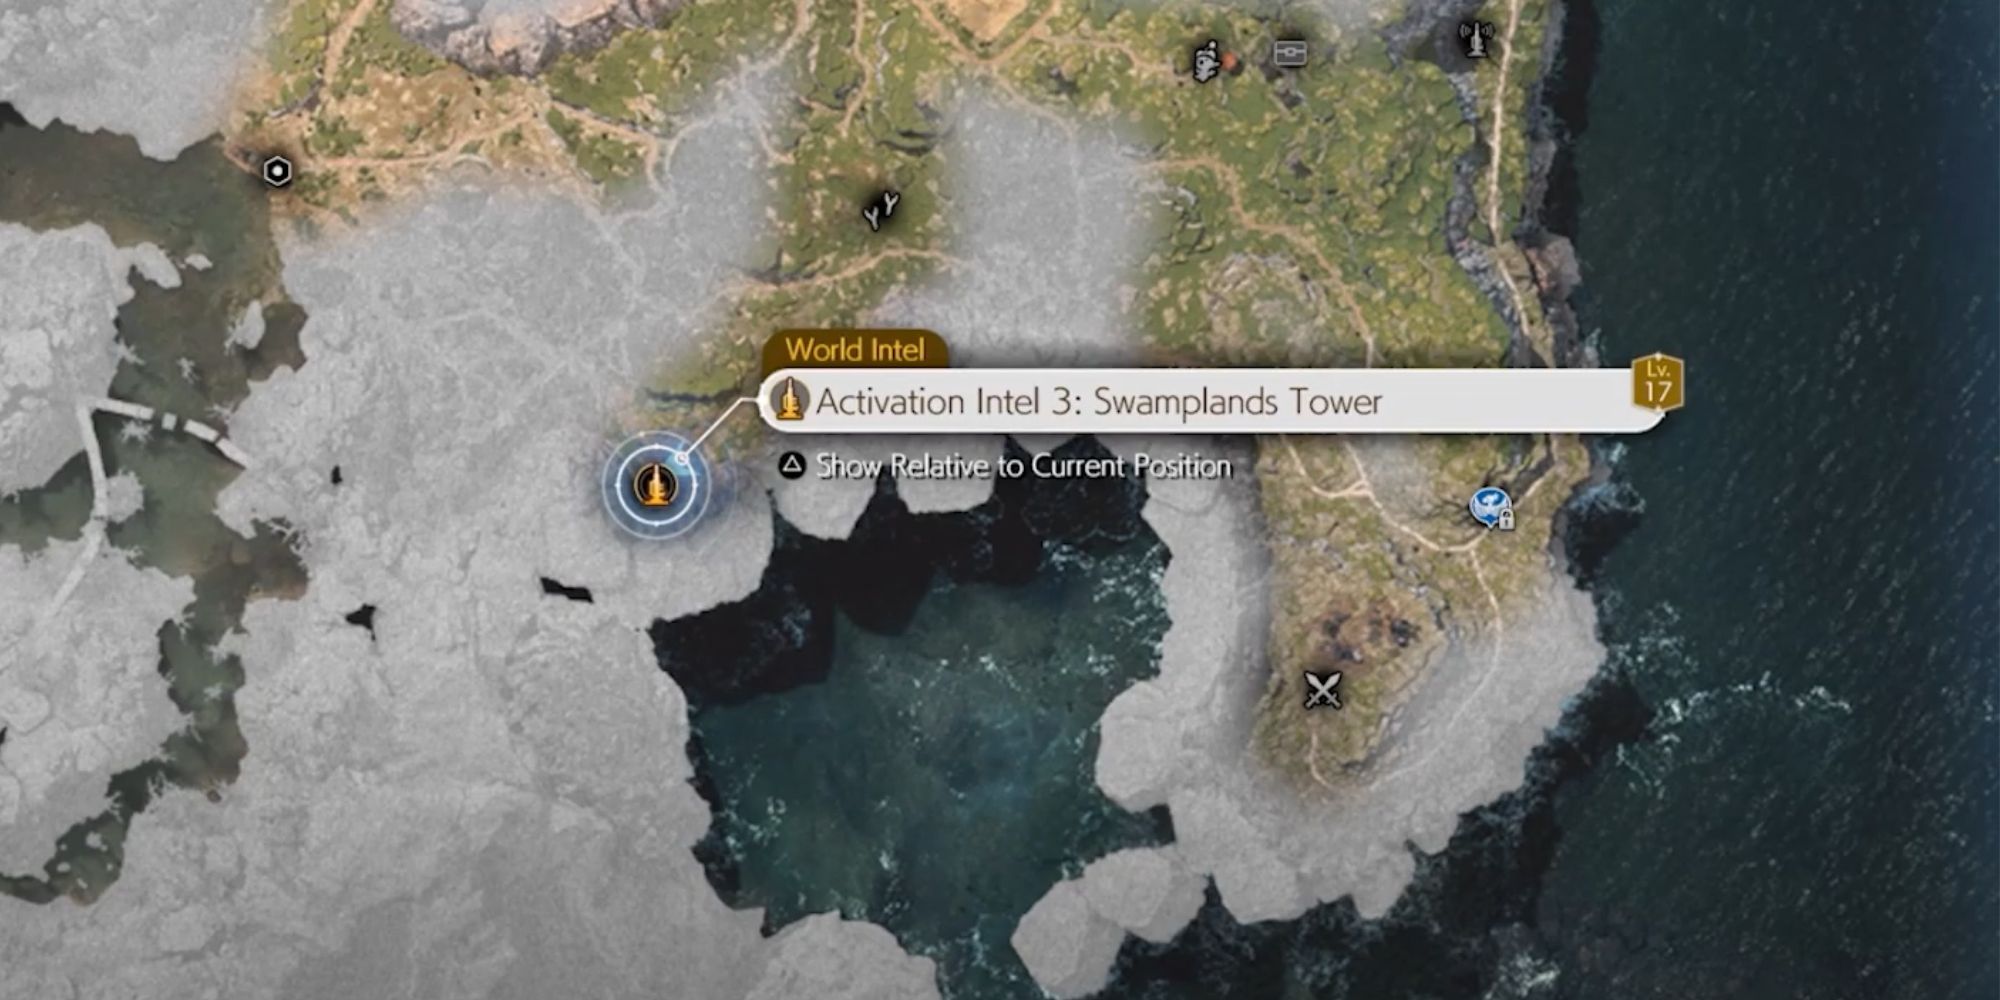
SwamplandsTower
Activation Intel
Head on over to this tower and interact with it in the same way you interacted with Bill’s Ranch Tower in order to collect this World Intel. This will trigger a cutscene and then reveal additional locations of other pieces of World Intel for you to collect.
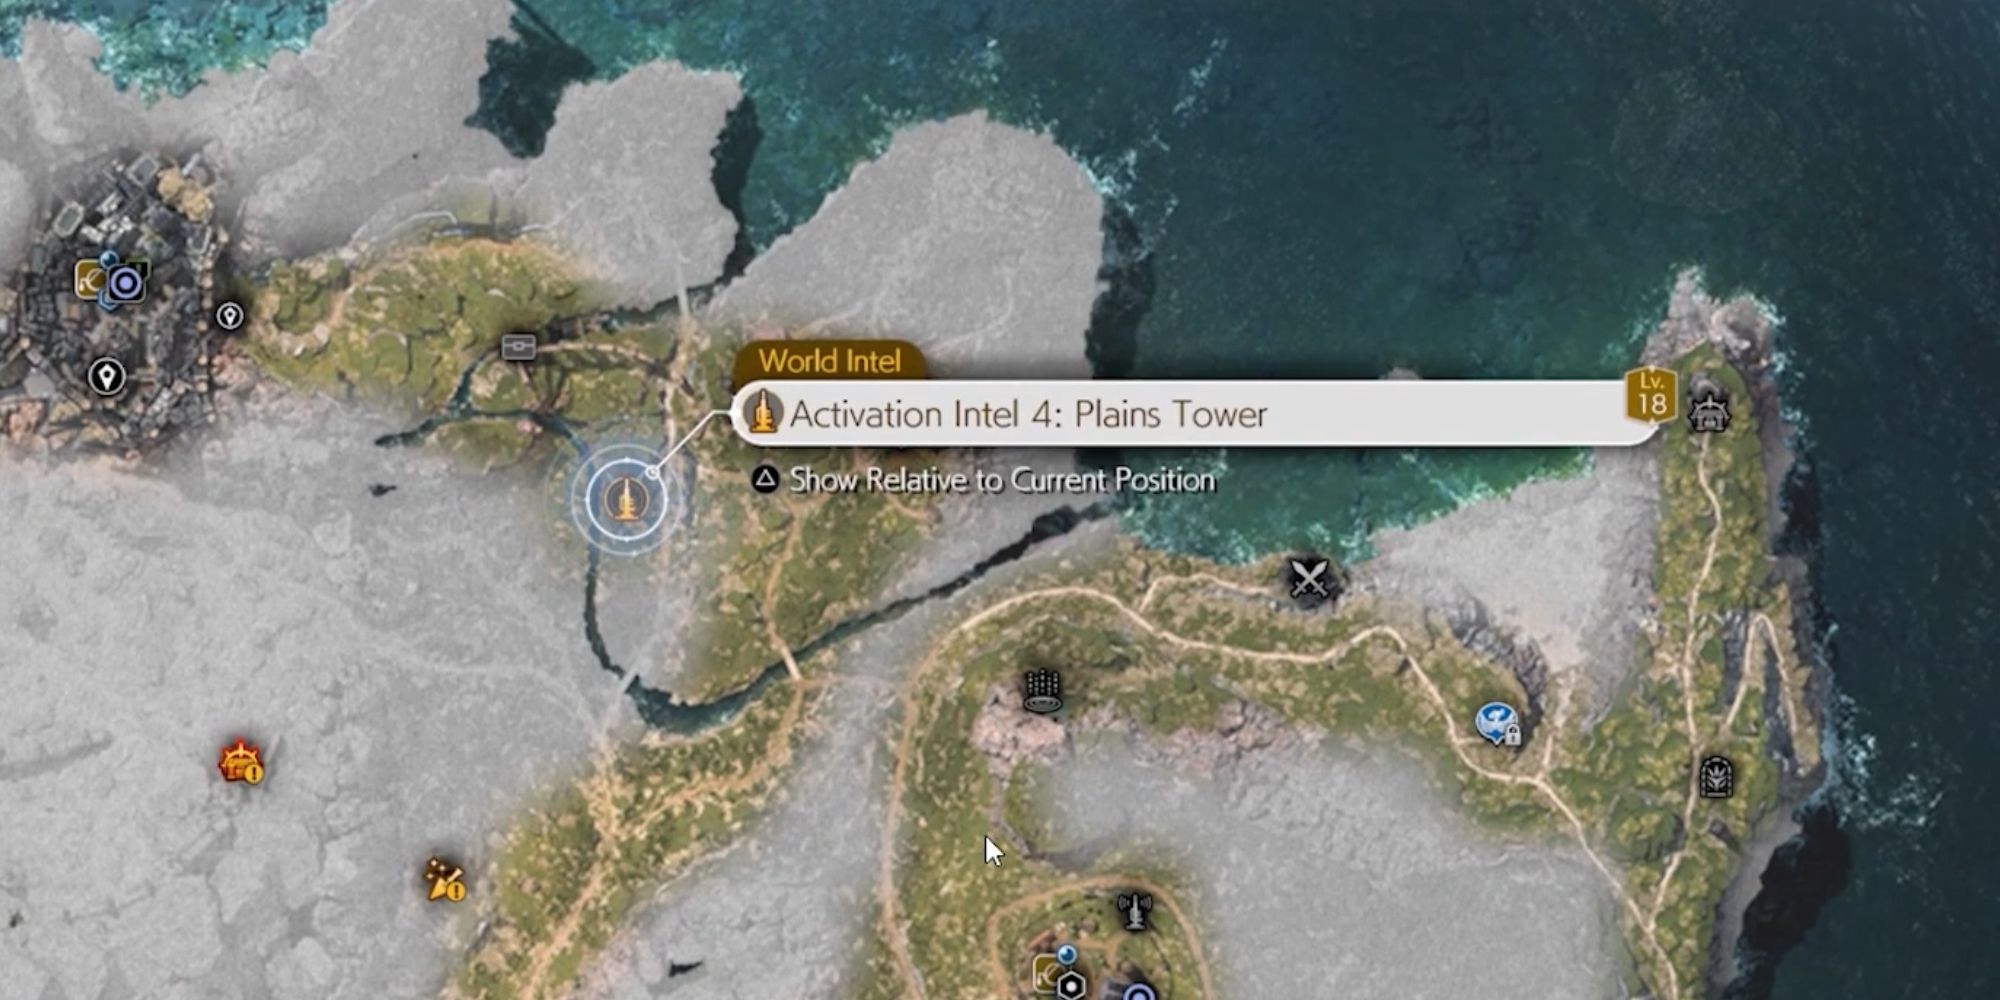
Plains Tower
Activation Intel
Head on over to this tower and interact with it in the same way you interacted with Bill’s Ranch Tower in order to collect this World Intel. This will trigger a cutscene and then reveal additional locations of other pieces of World Intel for you to collect.
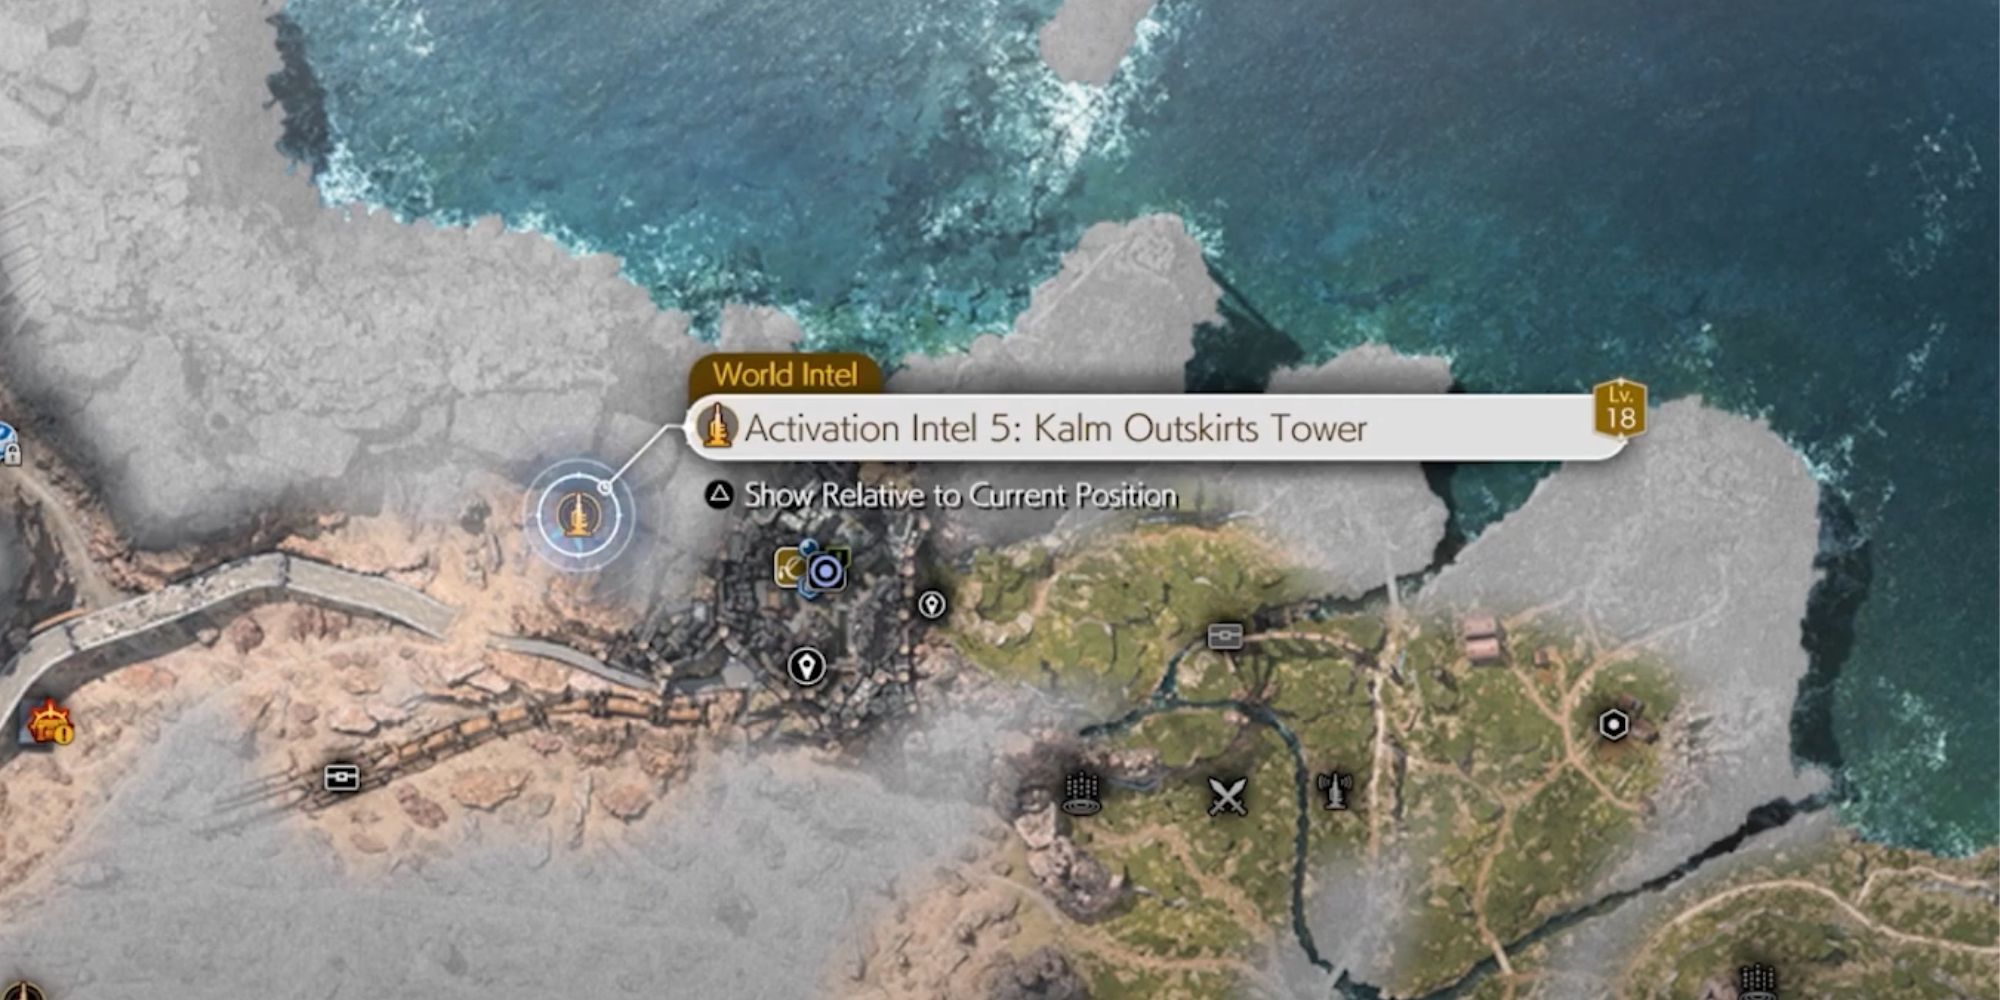
Kalm Outskirts Tower
Activation Intel
Head on over to this tower and interact with it in the same way you interacted with Bill’s Ranch Tower in order to collect this World Intel. This will trigger a cutscene and then reveal additional locations of other pieces of World Intel for you to collect.
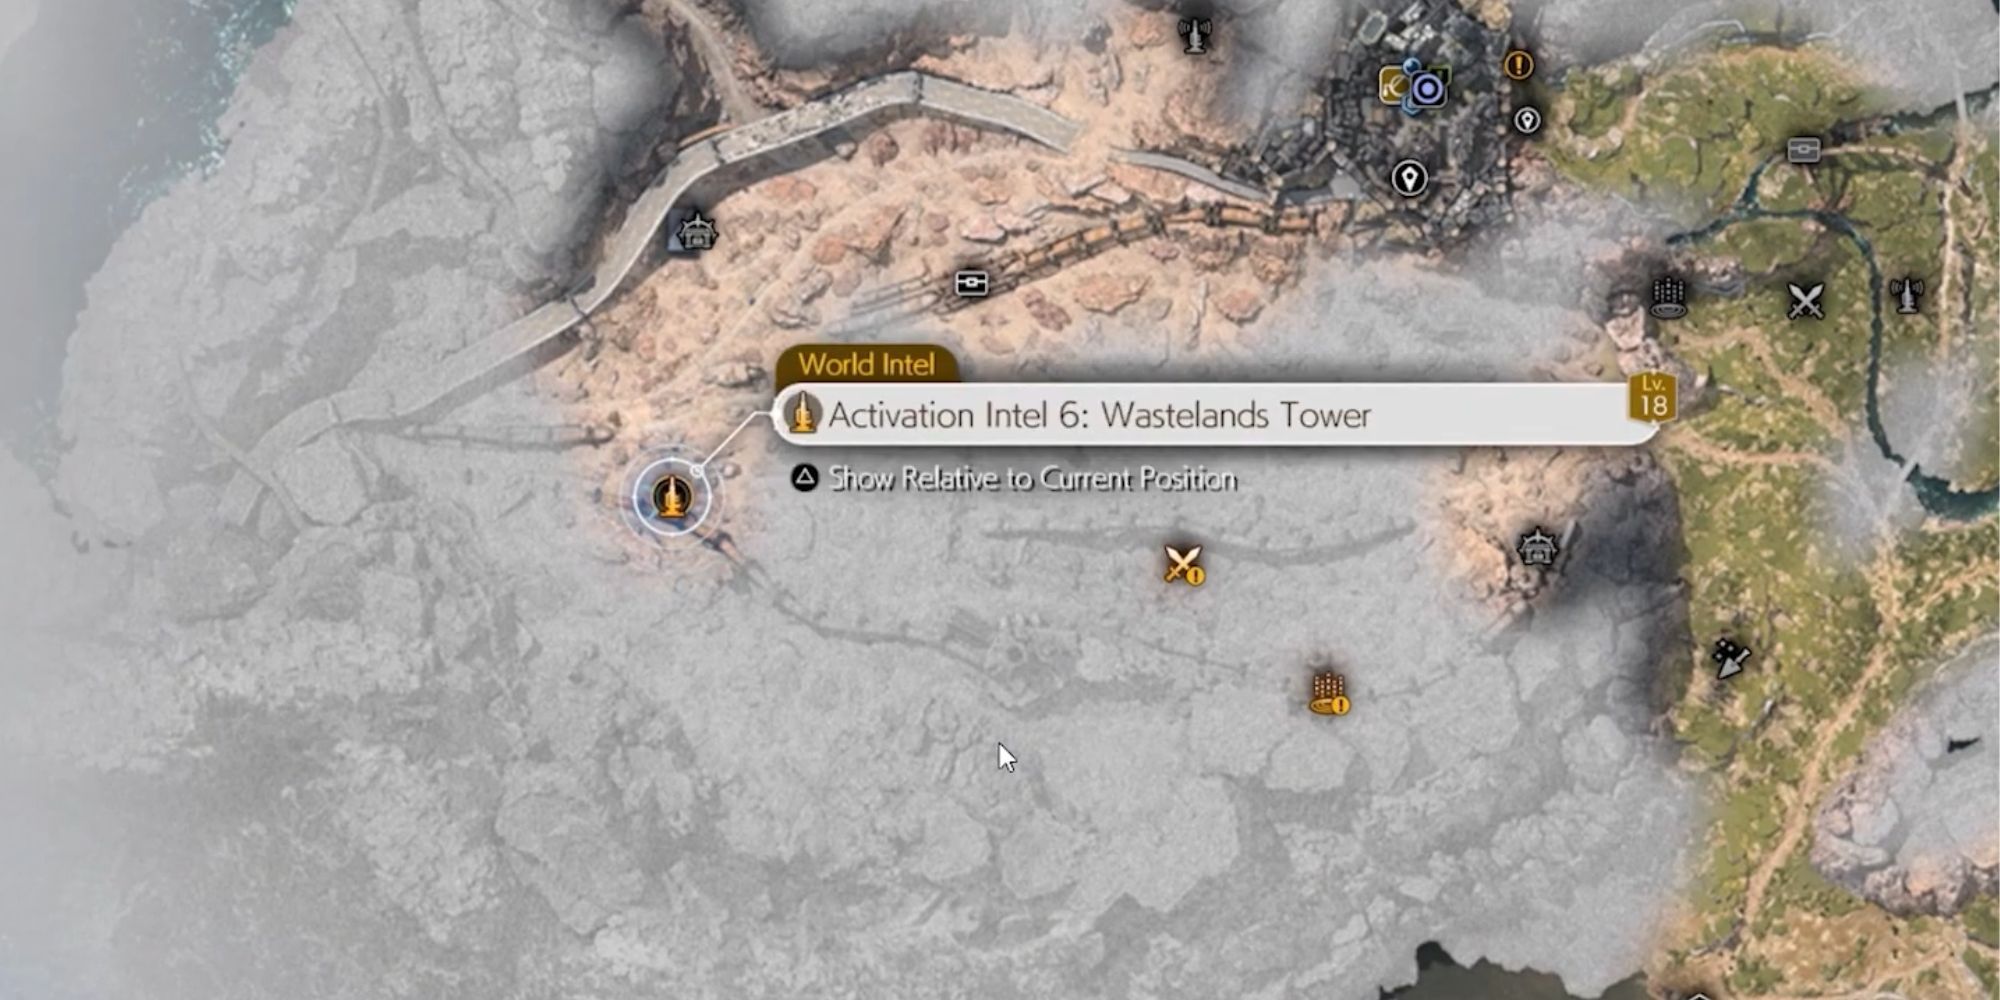
Wastelands Tower
Activation Intel
Head on over to this tower and interact with it in the same way you interacted with Bill’s Ranch Tower in order to collect this World Intel. This will trigger a cutscene and then reveal additional locations of other pieces of World Intel for you to collect.
Cragshade Lifespring
Expedition Intel
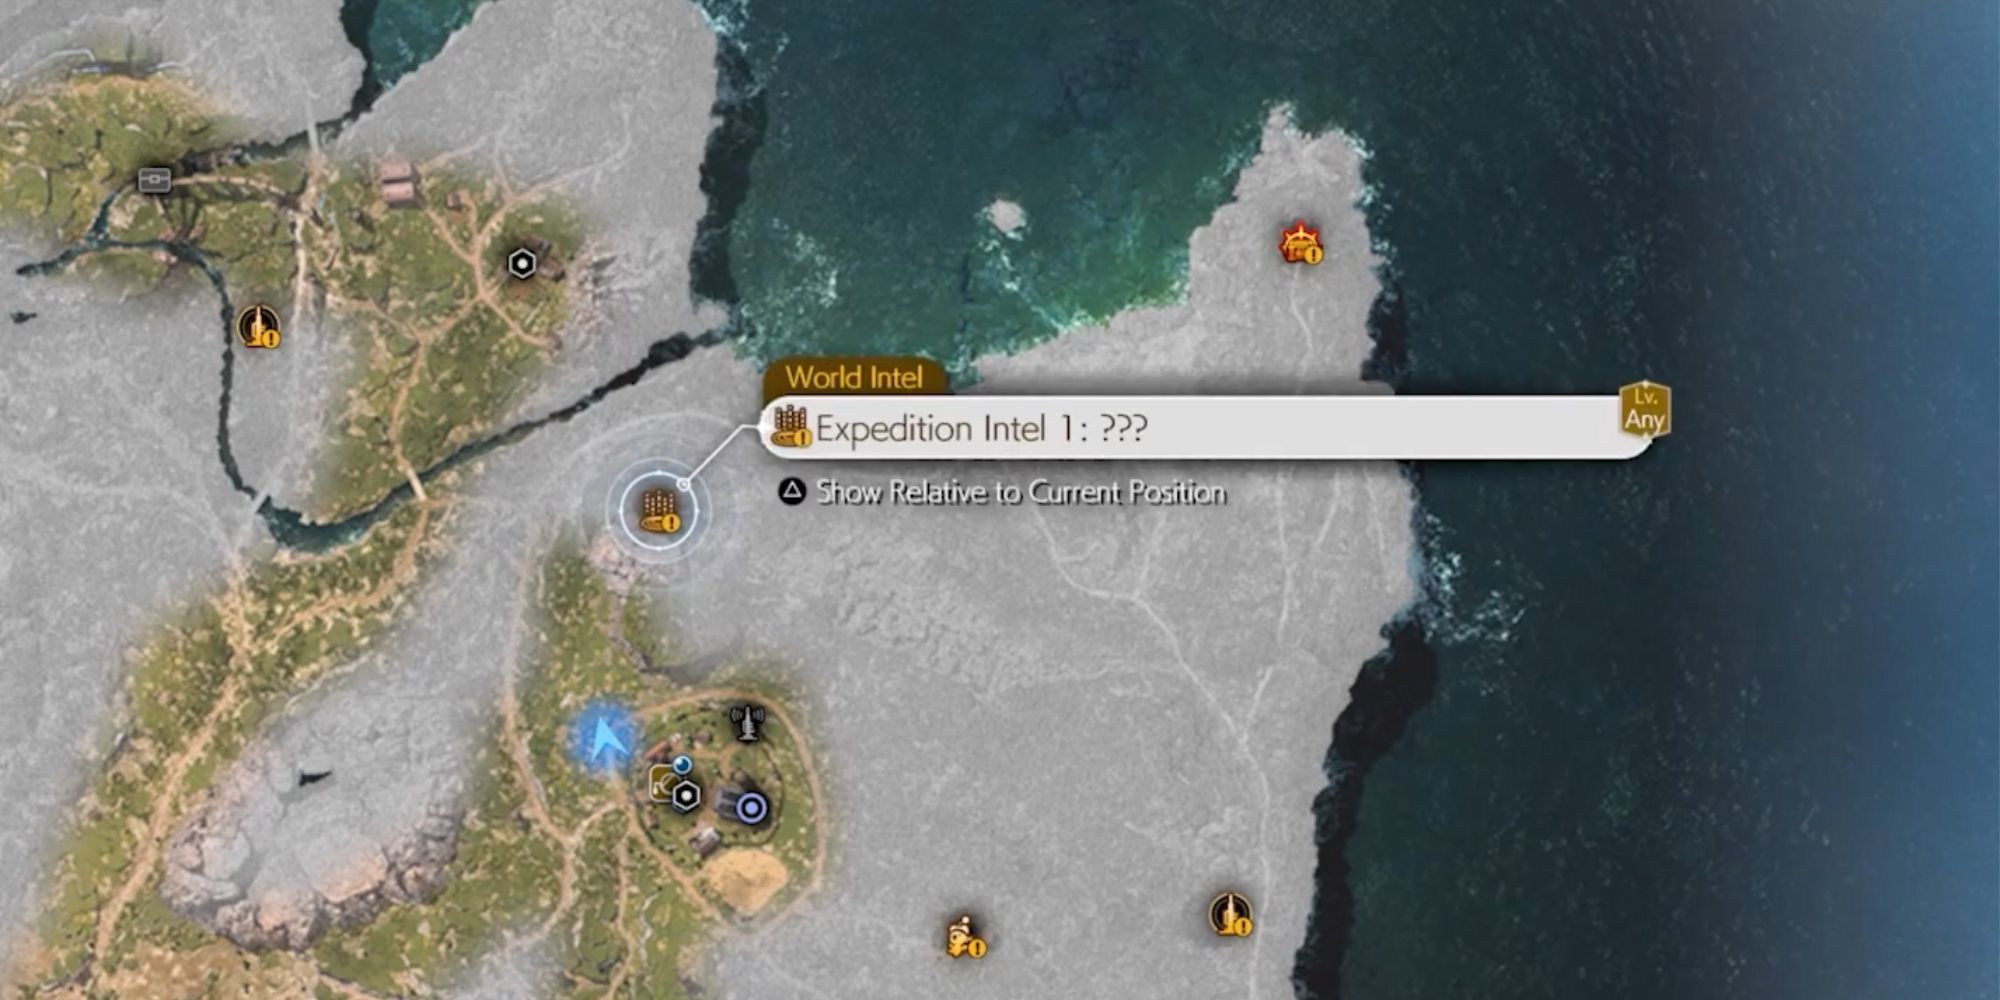
Once you approach this area, you will be able to discover a special bird. This is a bird that you see each time you do one of these Expedition Intels. Follow behind this bird, and it will lead you to your first Lifespring — Chadley will contact you once you find it. You will then need to approach this blue crystal and press the triangle button to interact with it. You will need to press the button prompts that appear on the screen to complete your research of this World Intel.
Wetlands Lifespring
Expedition Intel
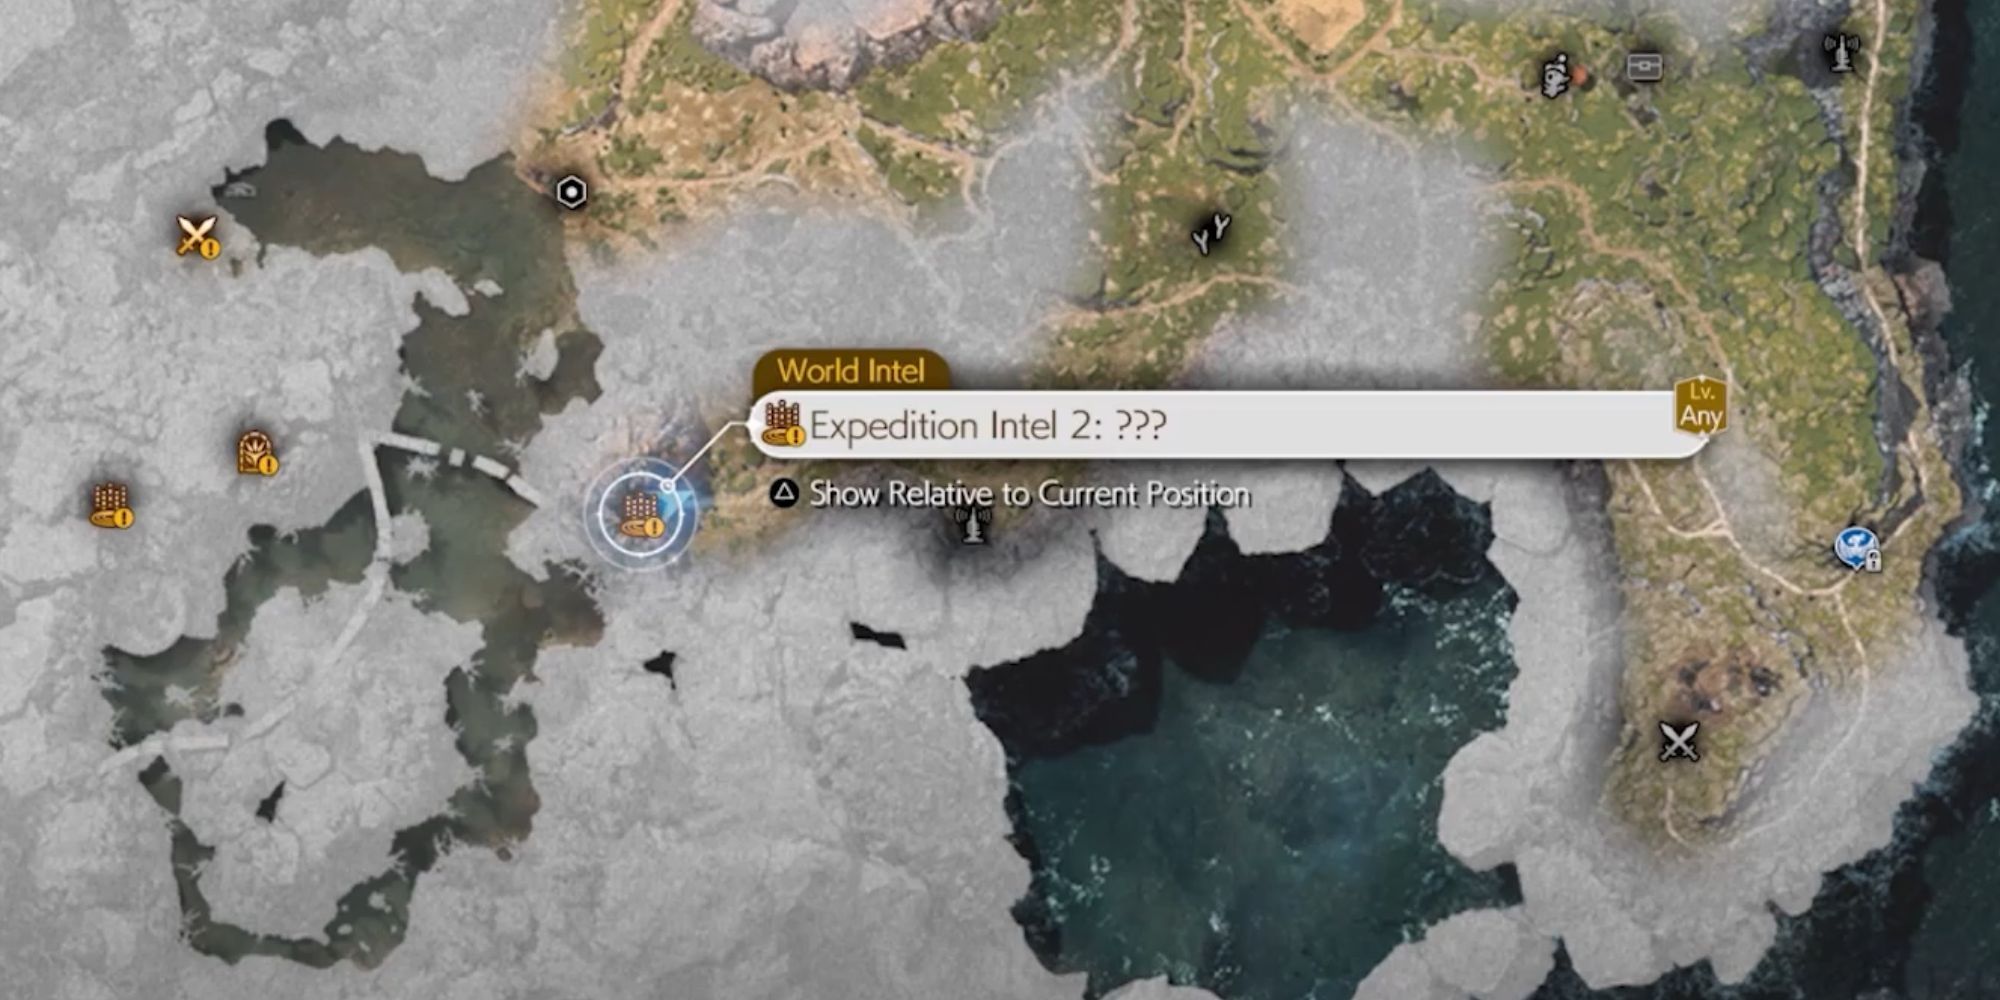
Just like last time, you will see and hear a bird. Follow the bird to some cliffs to climb up, and it will lead you straight to the blue crystal to interact with.
Morass Lifespring
Expedition Intel
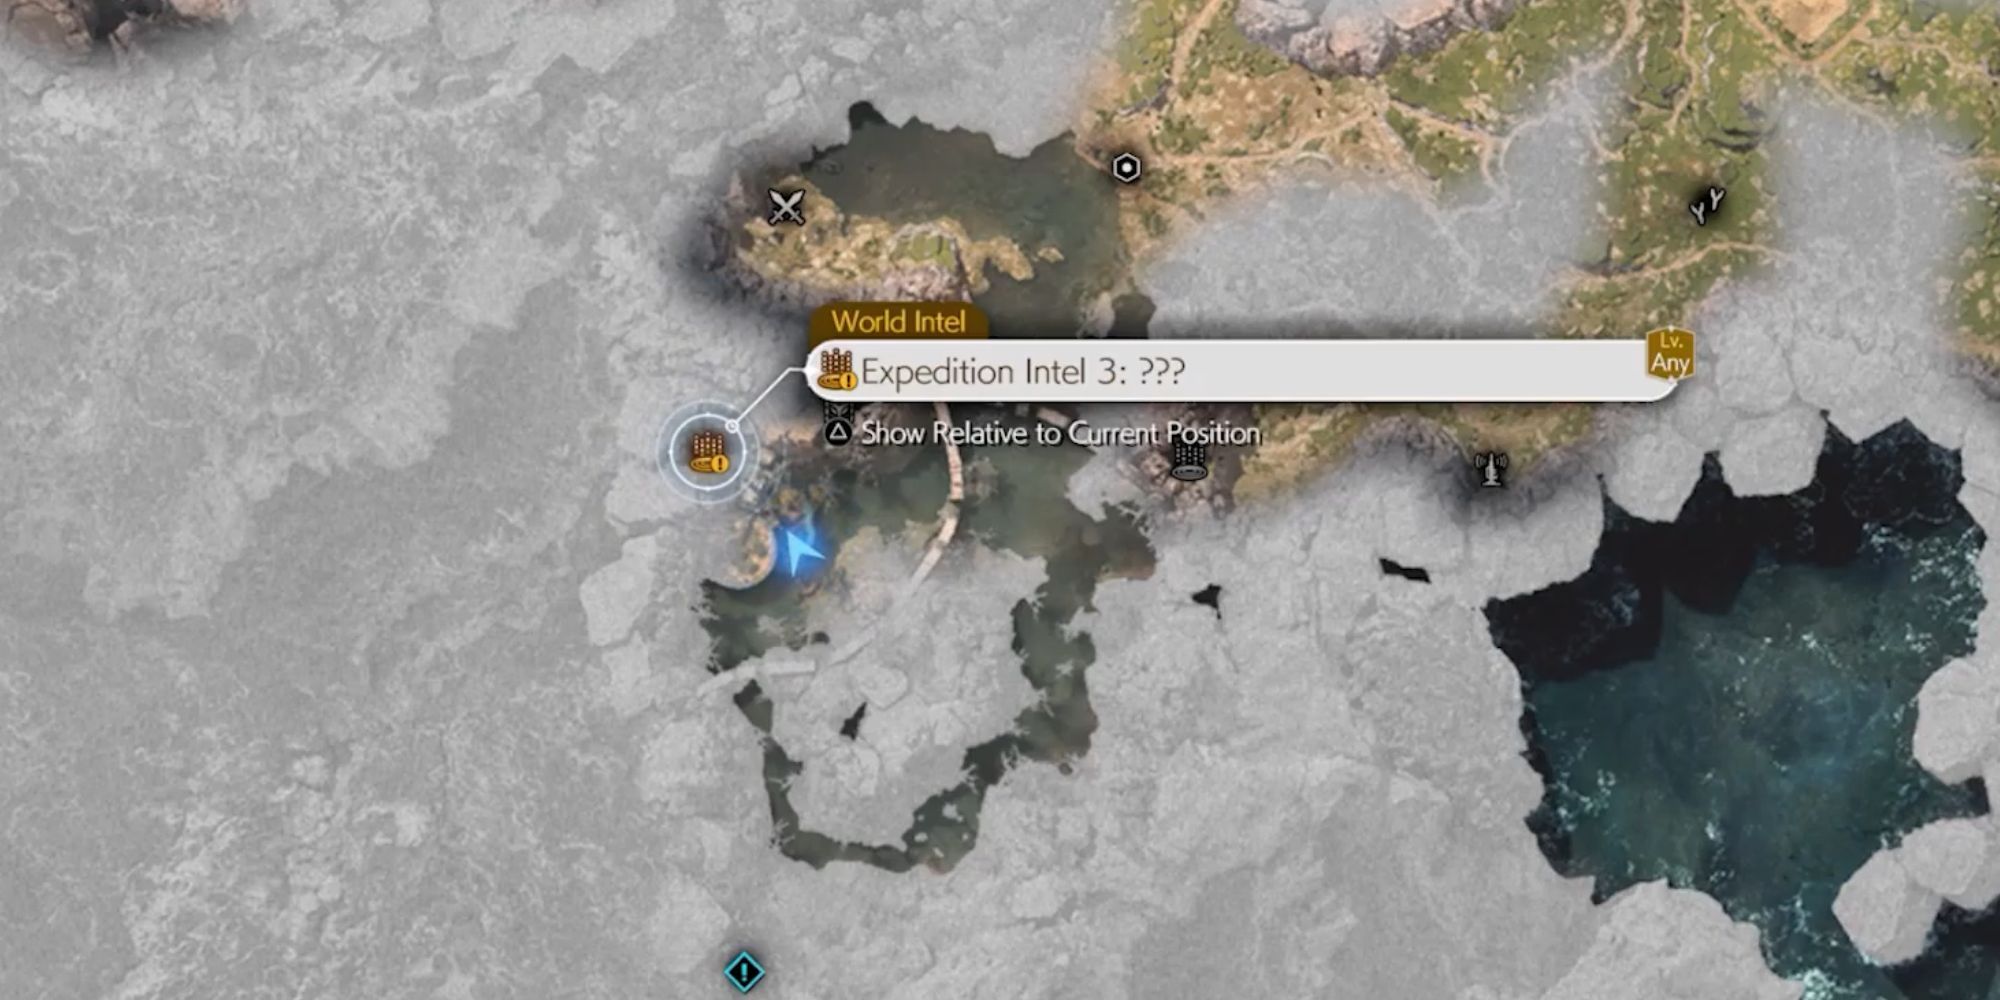
Once you arrive in the area, you will see some metal stairs. Make your way up these stairs, and you will discover the bird you need to follow. Follow it, and it will lead you straight to the Lifespring.
Grasswastes Lifespring
Expedition Intel
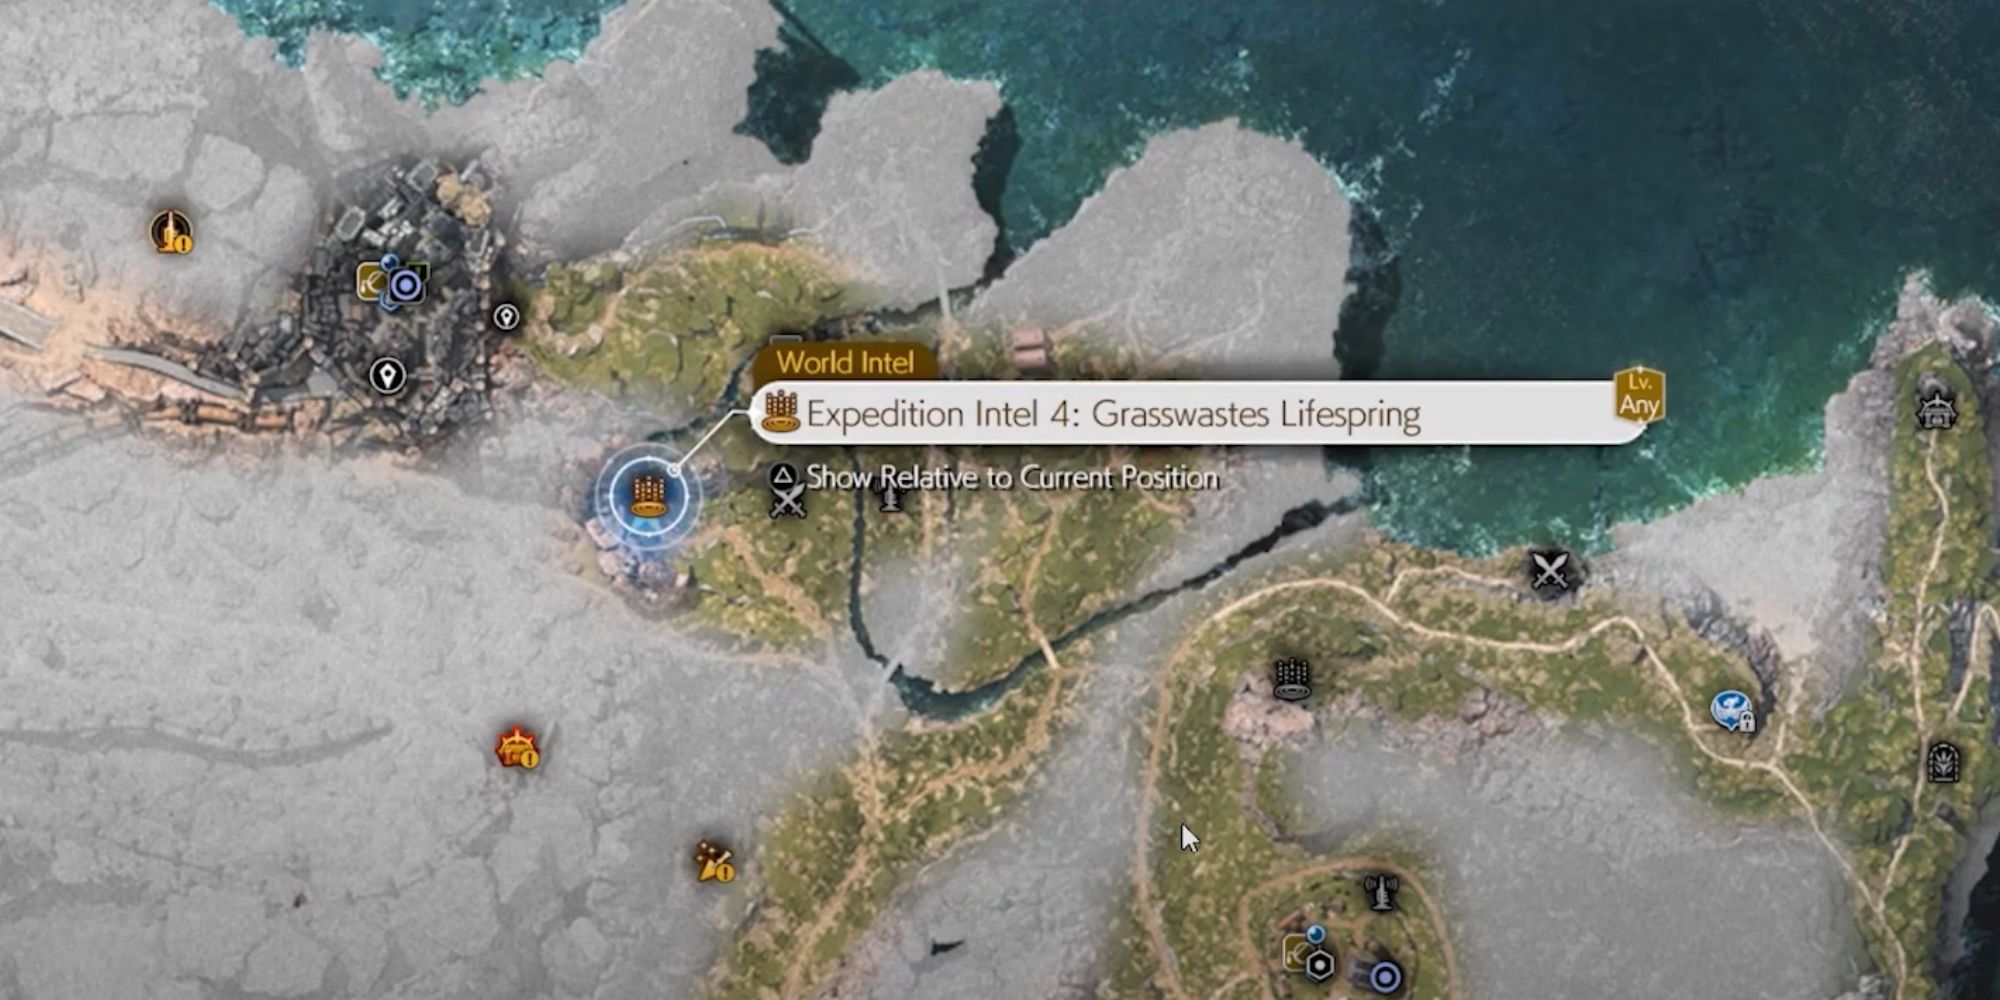
This Lifespring can be found in the very nook of this area. Just don’t stray or go up any ridges and you’ll go right up to it even without following the bird.
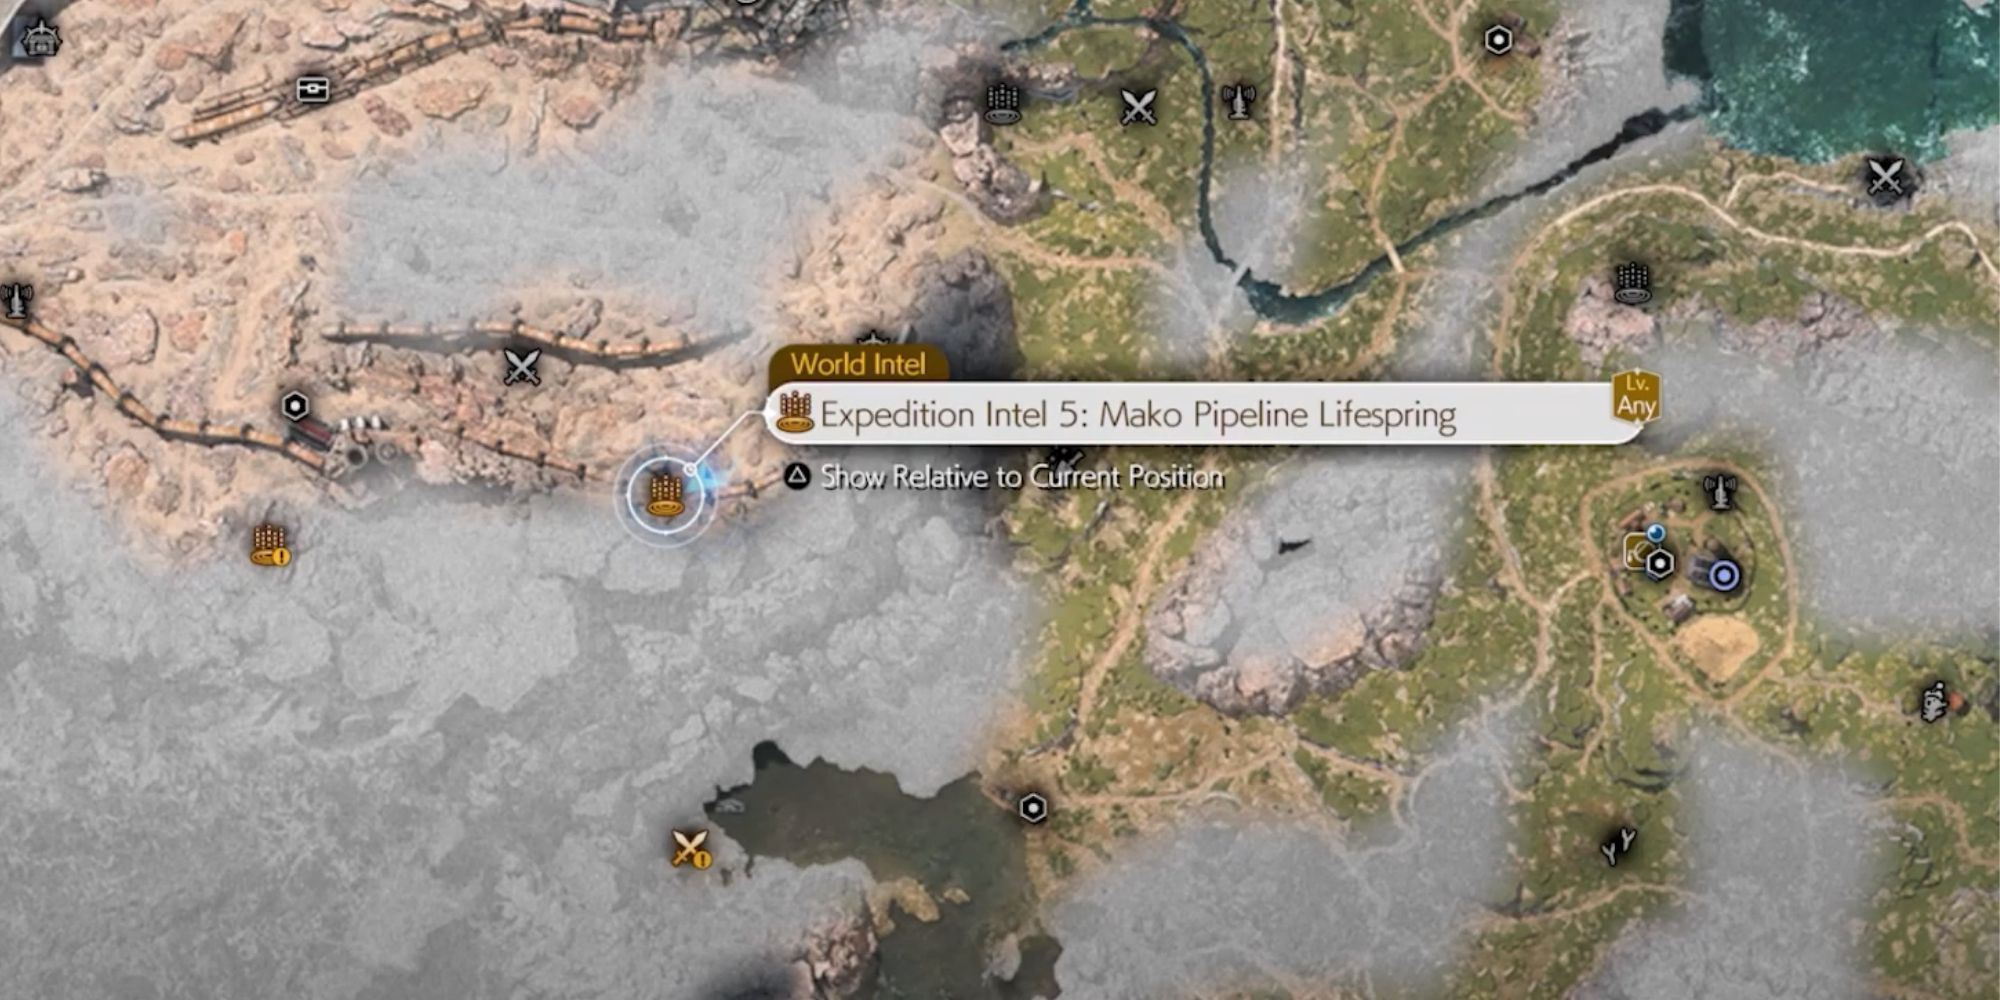
Mako Pipeline Lifespring
Expedition Intel
Head on over to the marked area and once you see the bird, just follow it straight to the Lifespring.
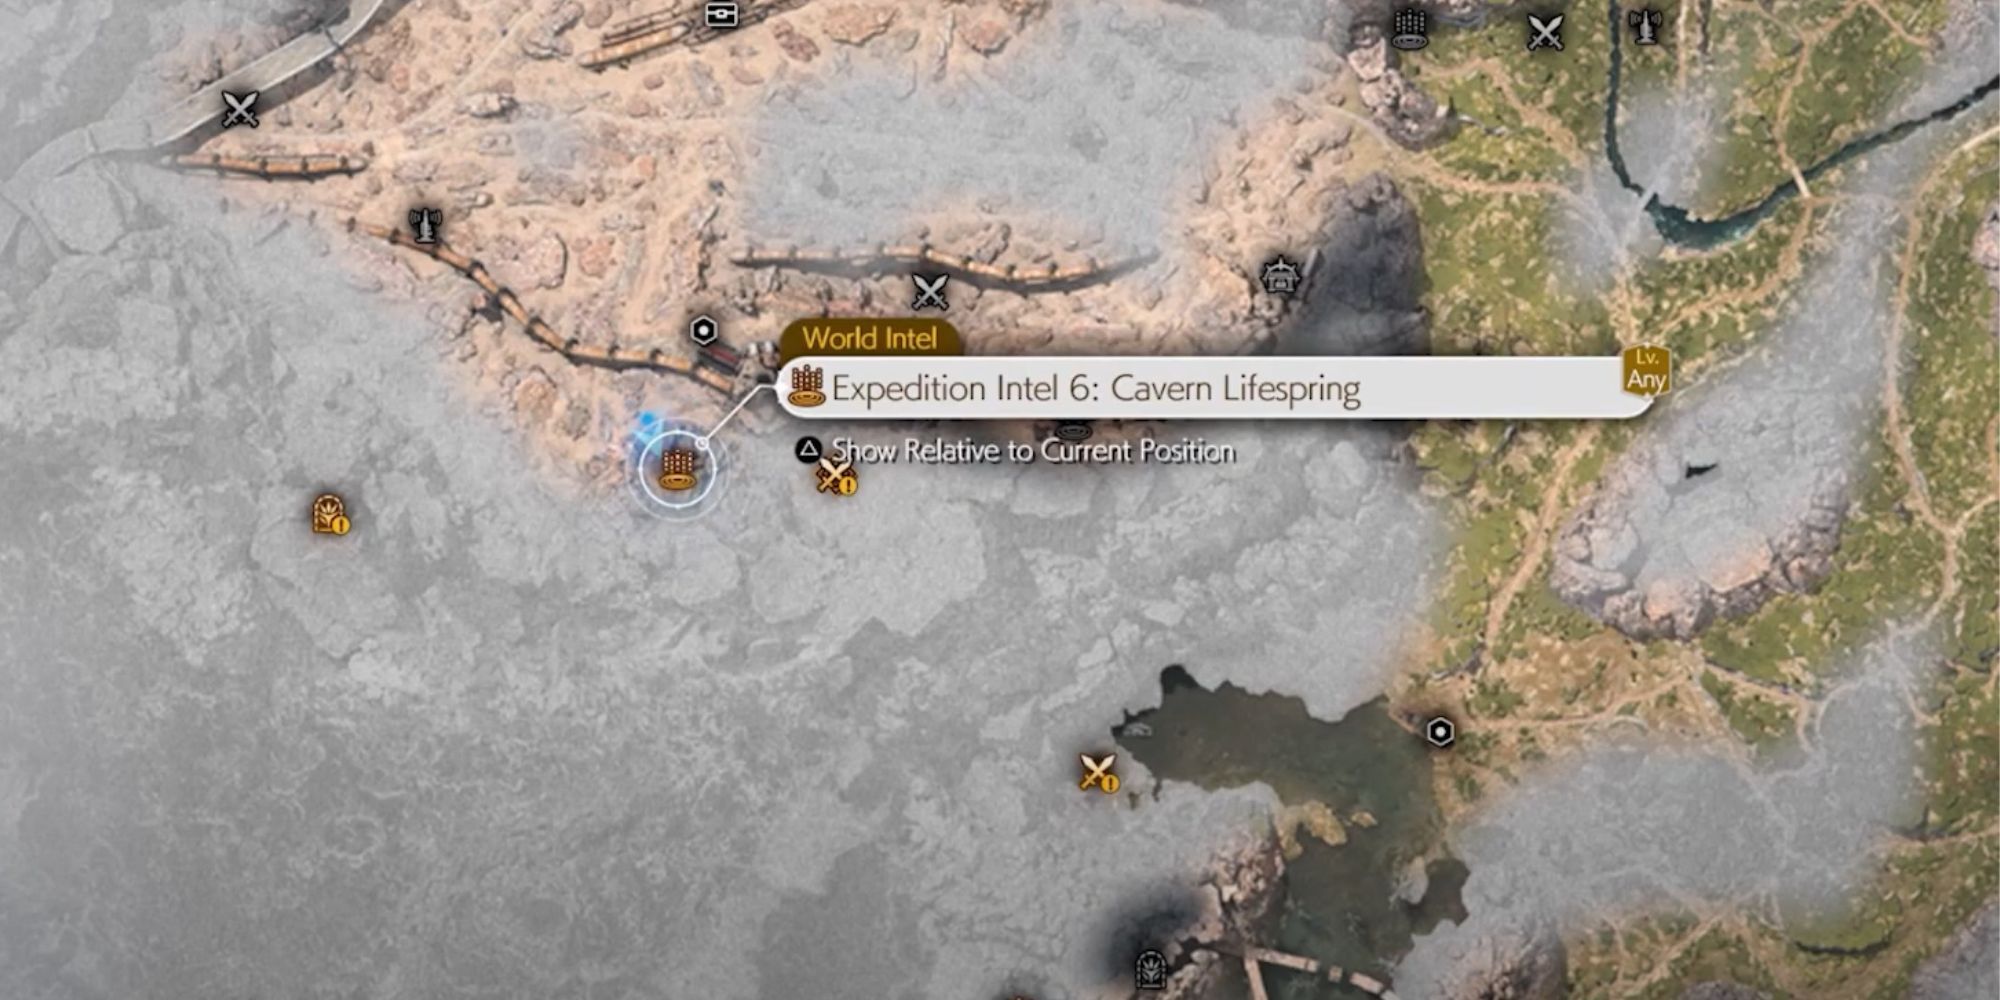
Cavern Lifespring
Expedition Intel
Head on over to the marked area and once you see the bird, just follow it straight to the Lifespring.
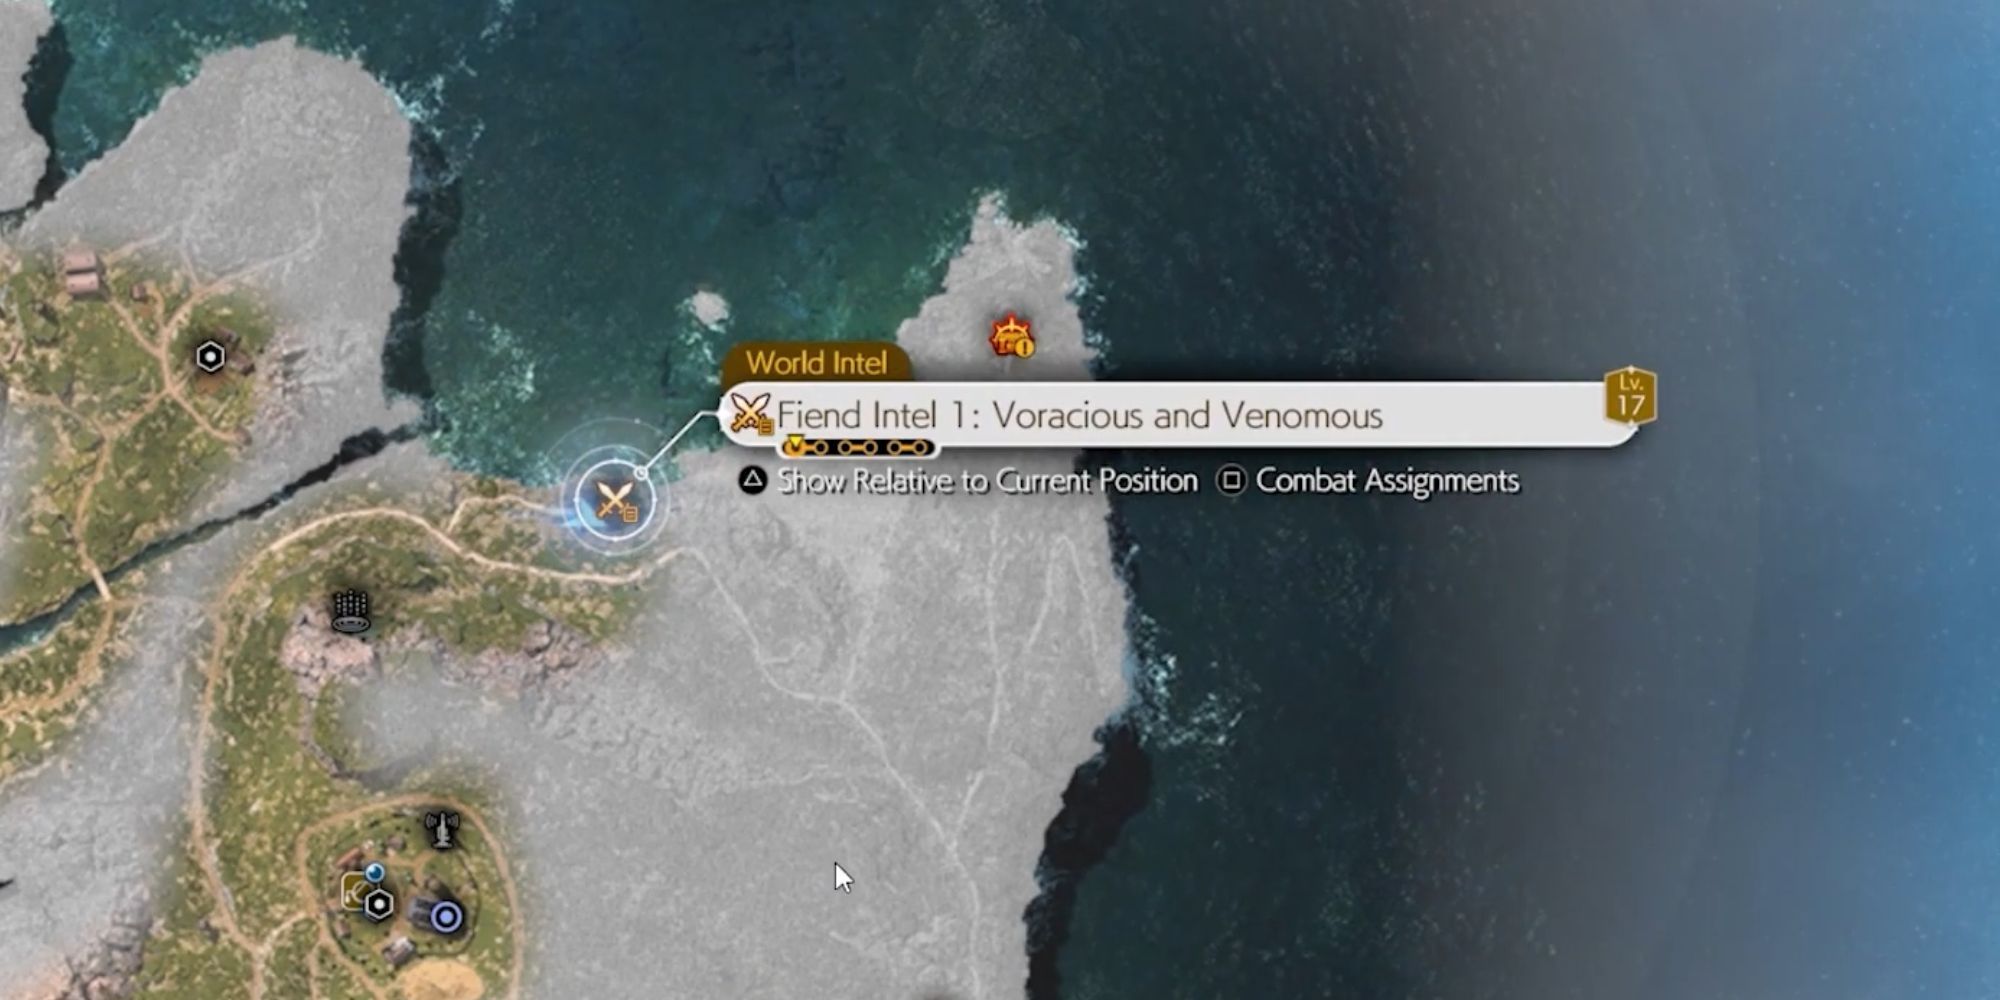
Voracious and Venomous
Fiend Intel
When it comes to Fiend Intel, you will need to complete various objectives. For this one, you will need to Pressure an enemy by using Blizzard, Stagger an enemy by relentlessly attacking it, and avoid being poisoned by not taking any damage.
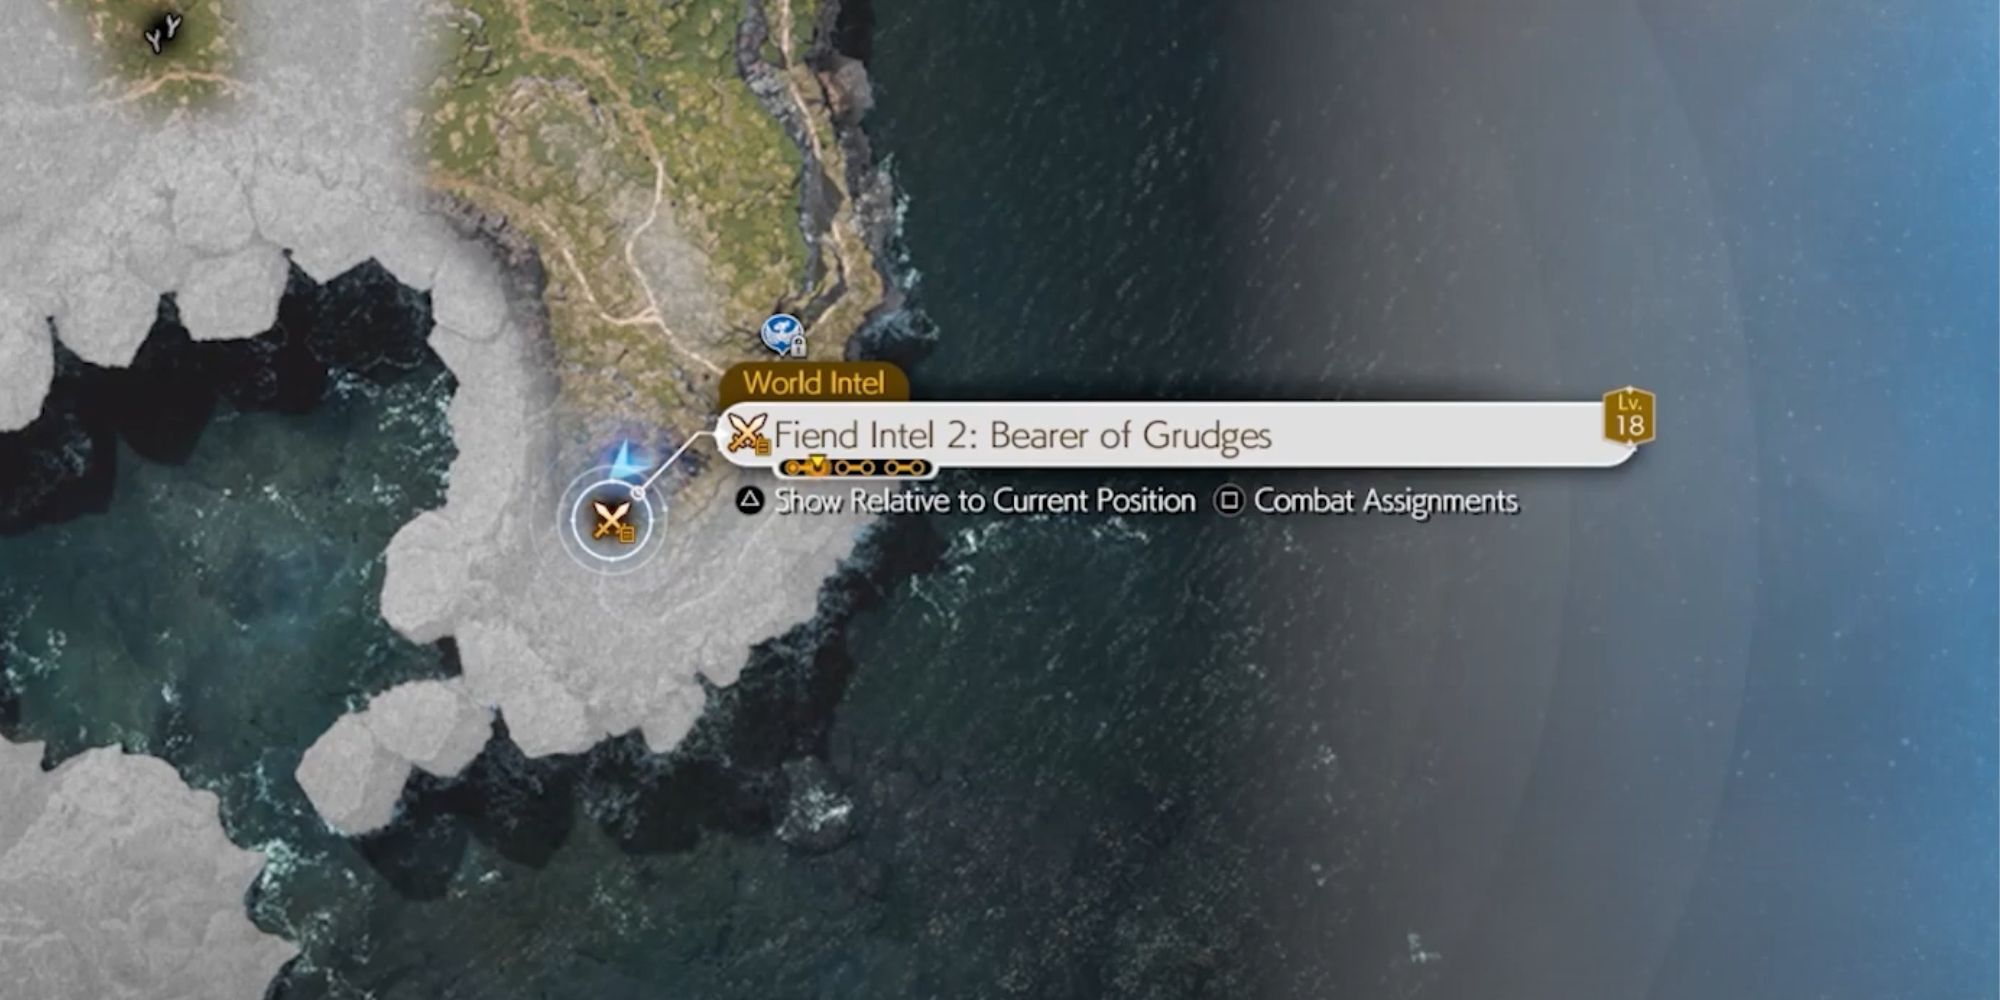
Bearer of Grudges
Fiend Intel
Just like the last Fiend Intel, you will need to Pressure an enemy, as well as Stagger an enemy. However, for your third objective, you will need to defeat all of the fiends within a set time limit. You can Pressure an enemy using fire this time around.
Keepers of the Burrow
Fiend Intel
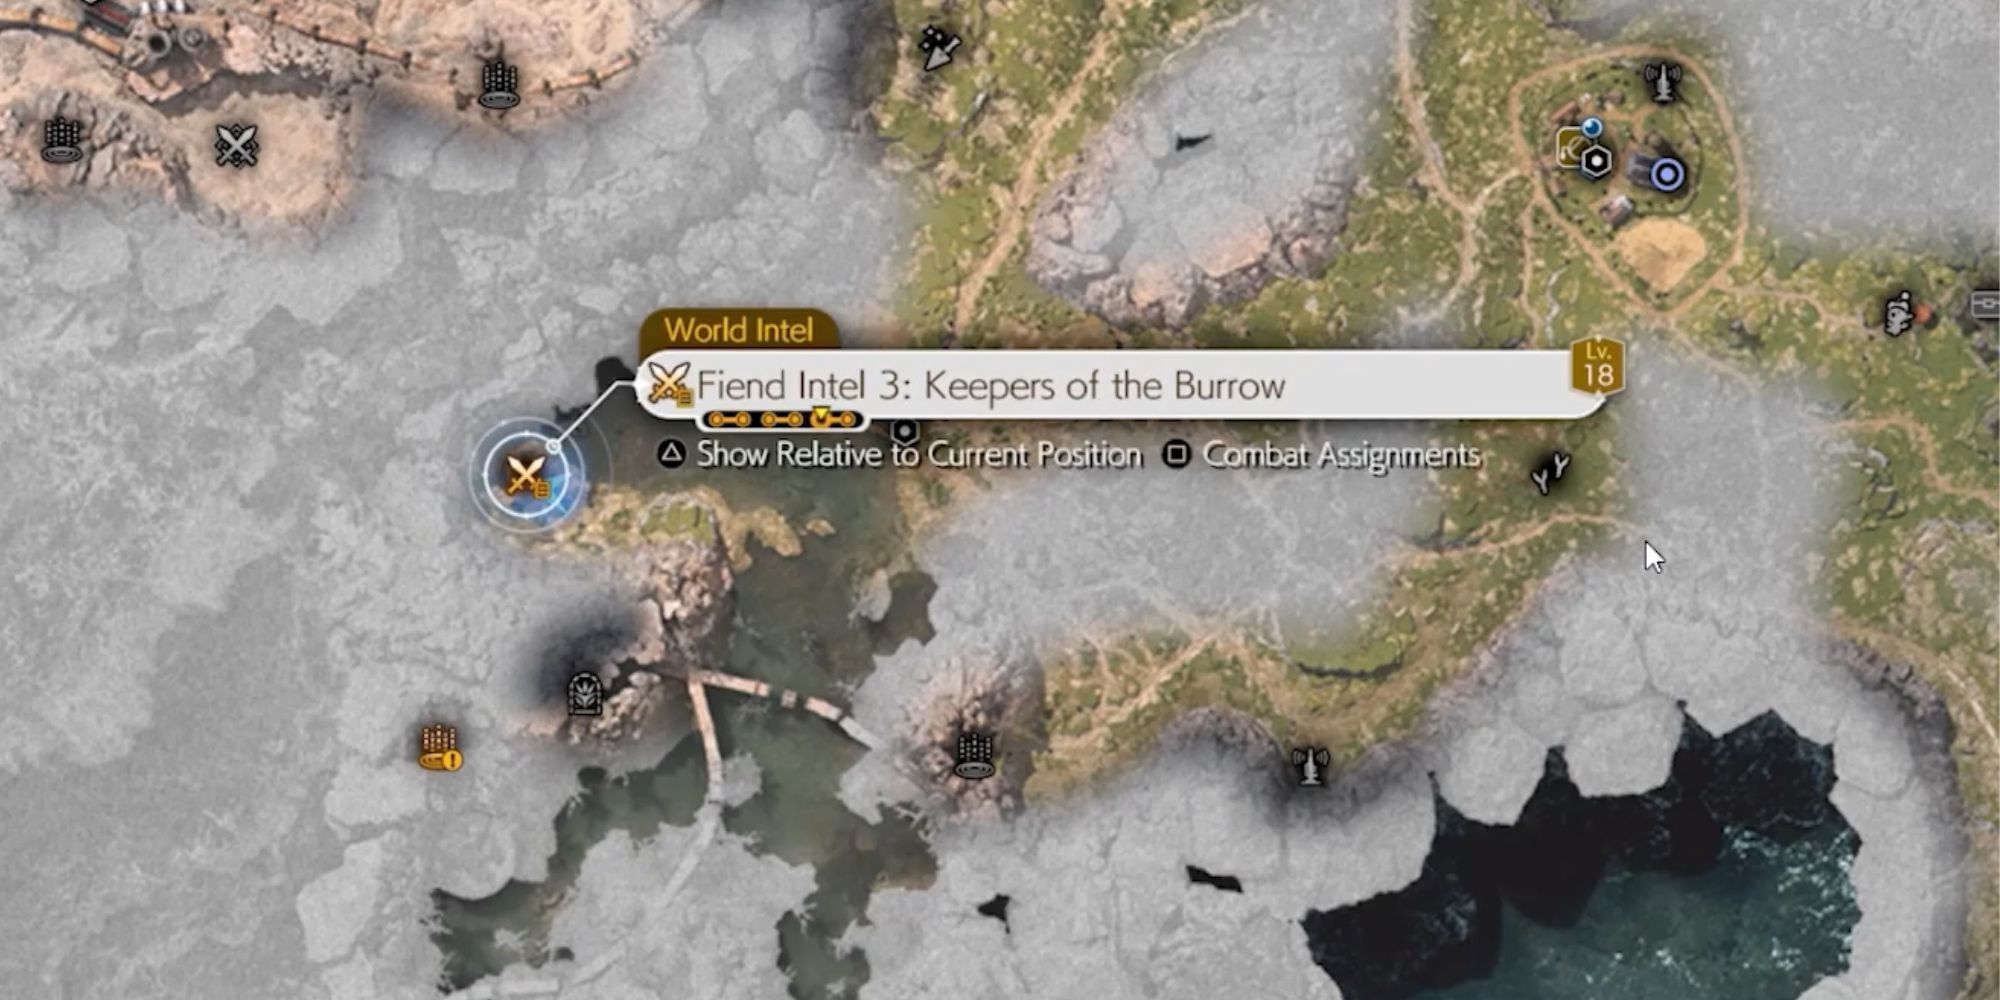
For this piece of Fiend Intel, you will need to Pressure both fire and ice-imbued enemies, Stagger an enemy, and defeat all of the fiends within the set time limit.
Wailing Weed
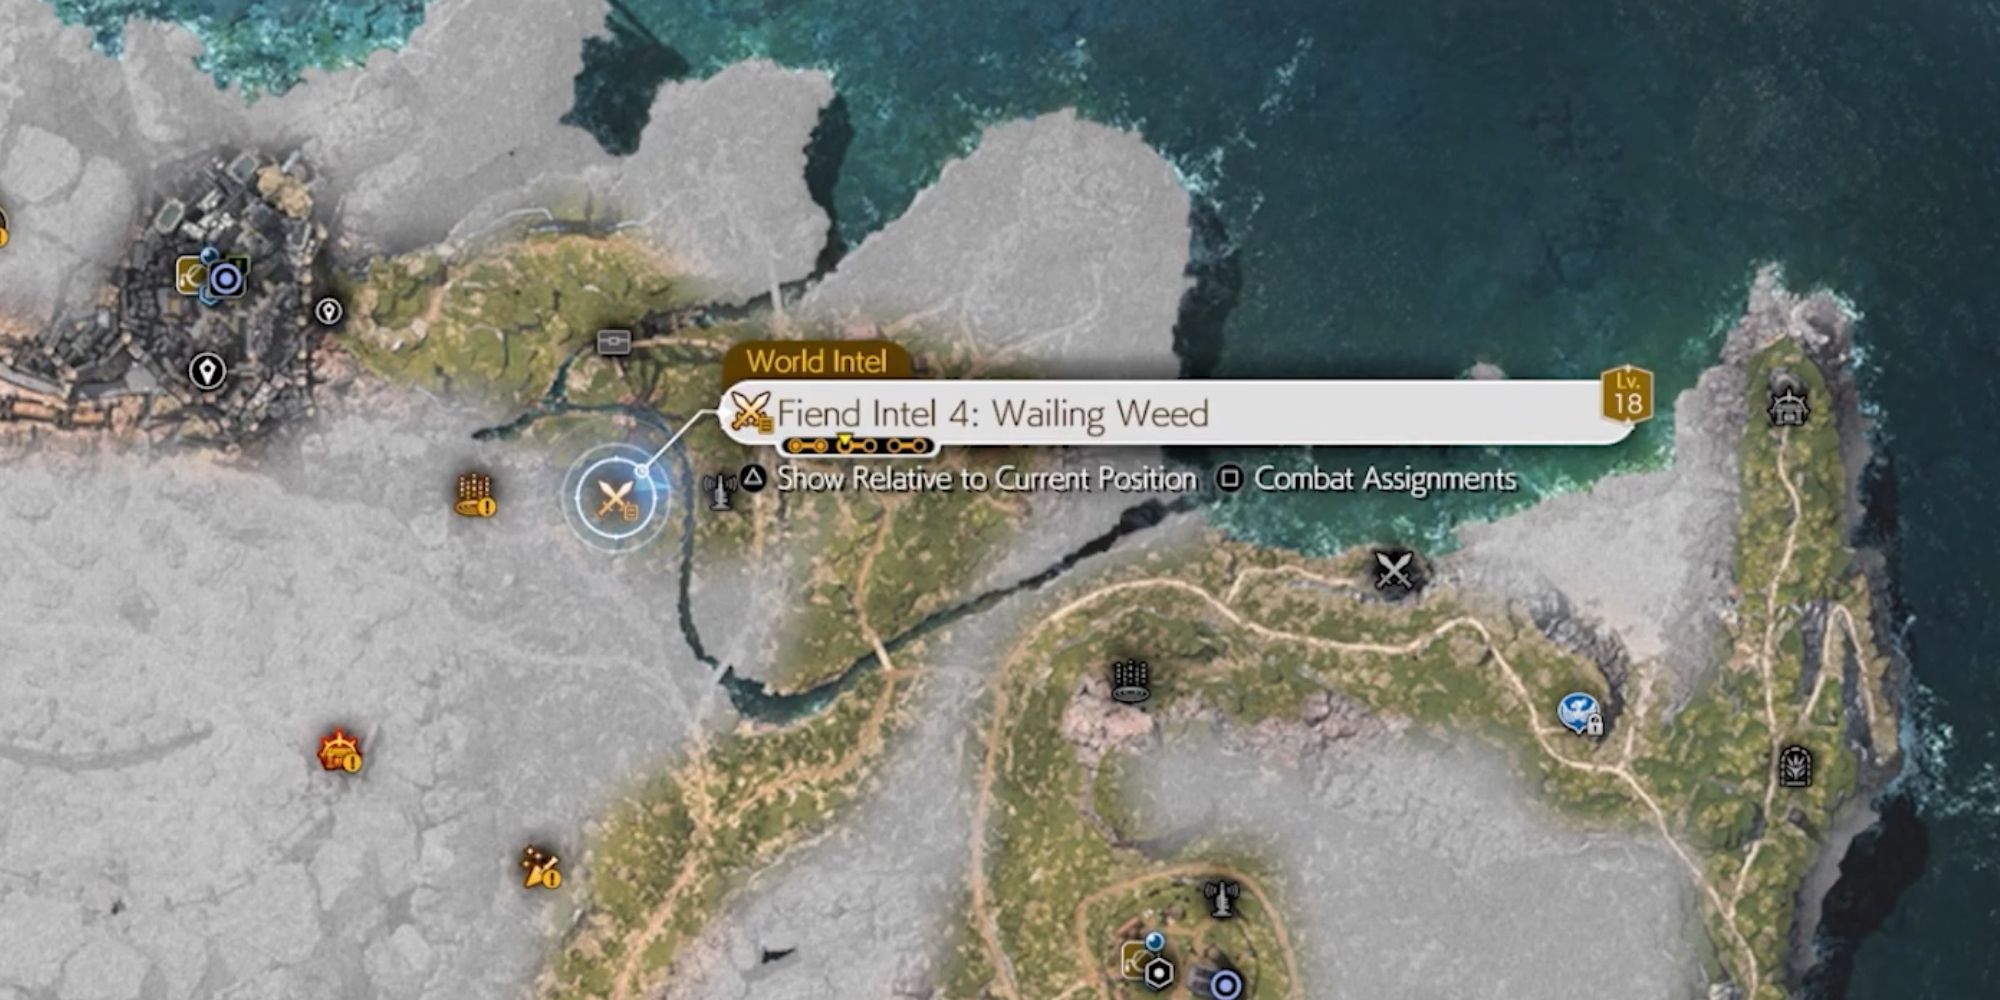
Fiend Intel
For this piece of Fiend Intel, your objectives will be to prevent enemies from using Quick Nap, Stagger an enemy, and defeat all enemies within the time limit. Enemies will use Quick Nap if you stop piling on the damage, so be sure to attack relentlessly.
Voltaic Canine
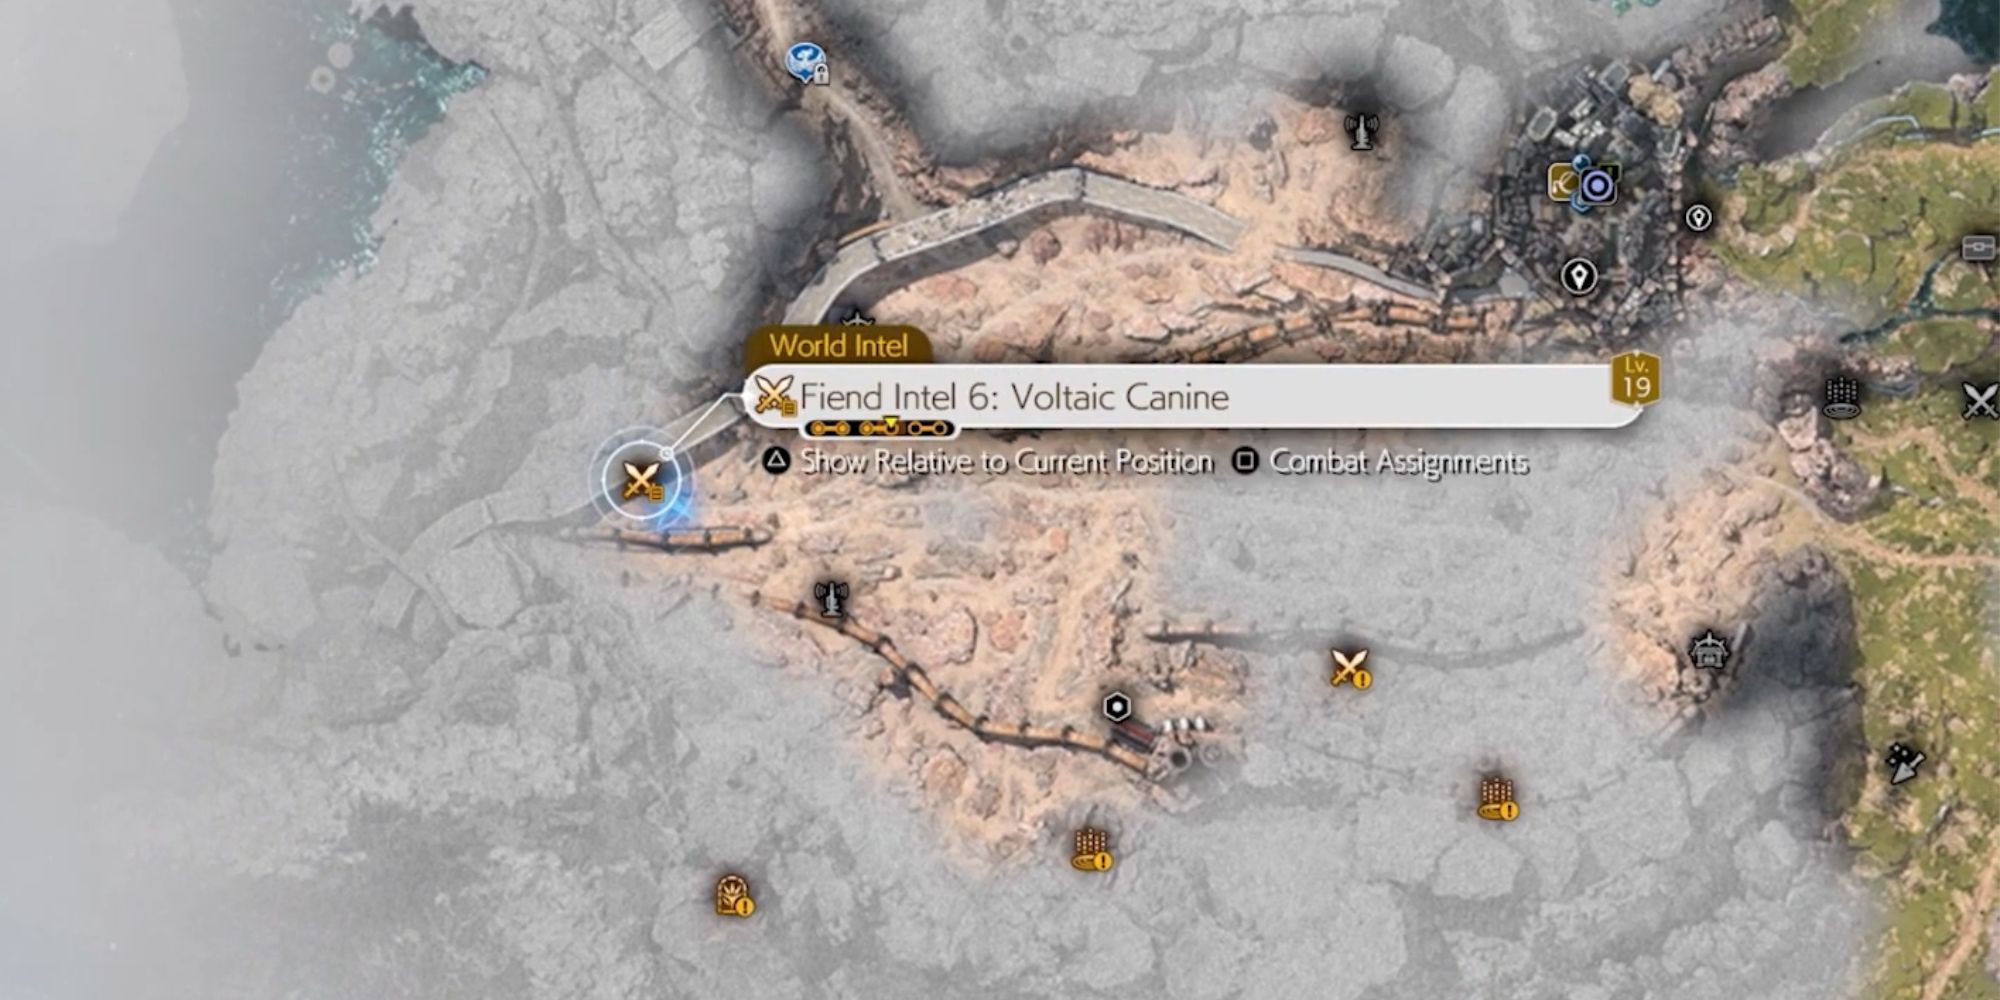
Fiend Intel
For this piece of Fiend Intel, your objectives will be to Pressure an enemy, Stagger an enemy, and to defeat all enemies within the time limit. Poison will be your go-to for Pressuring this time around.
Picky Eater
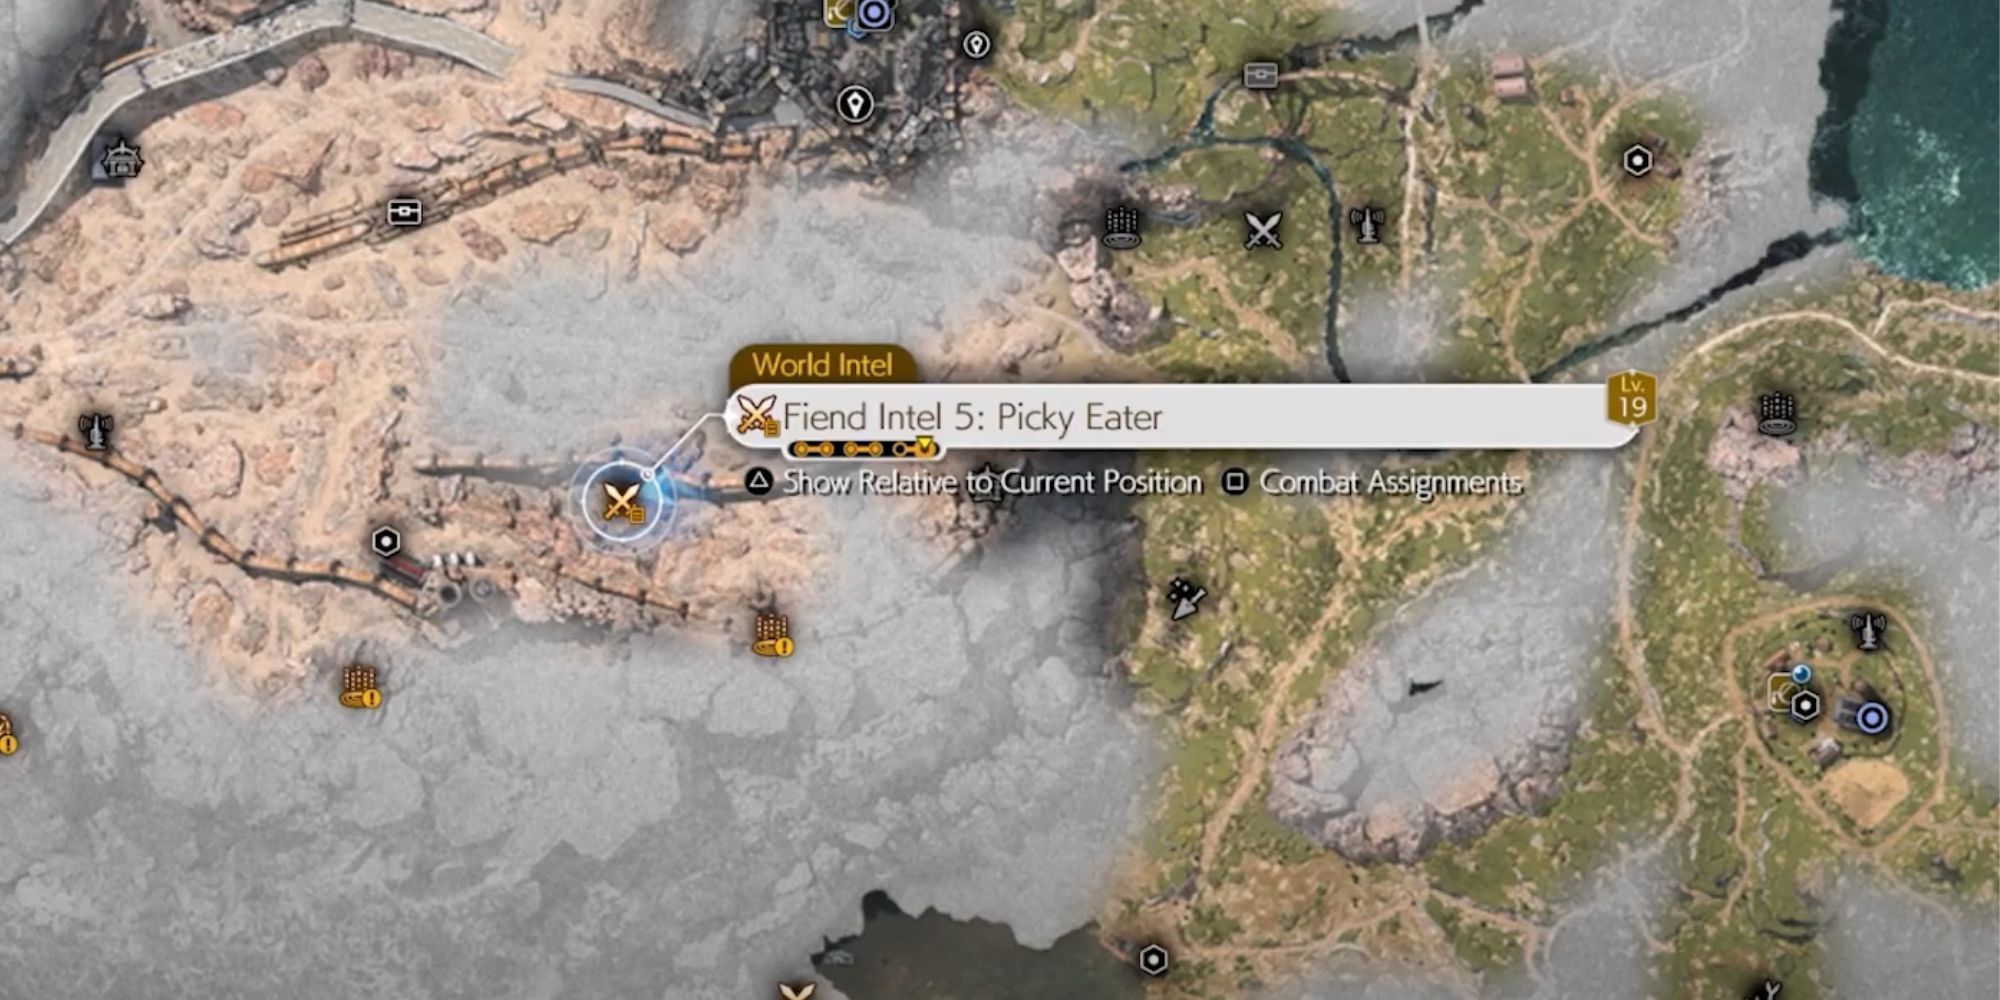
Fiend Intel
For this piece of Fiend Intel, your objectives will be to Pressure an enemy, Stagger an enemy, and defeat all enemies within the time limit. You can Pressure using fire again.
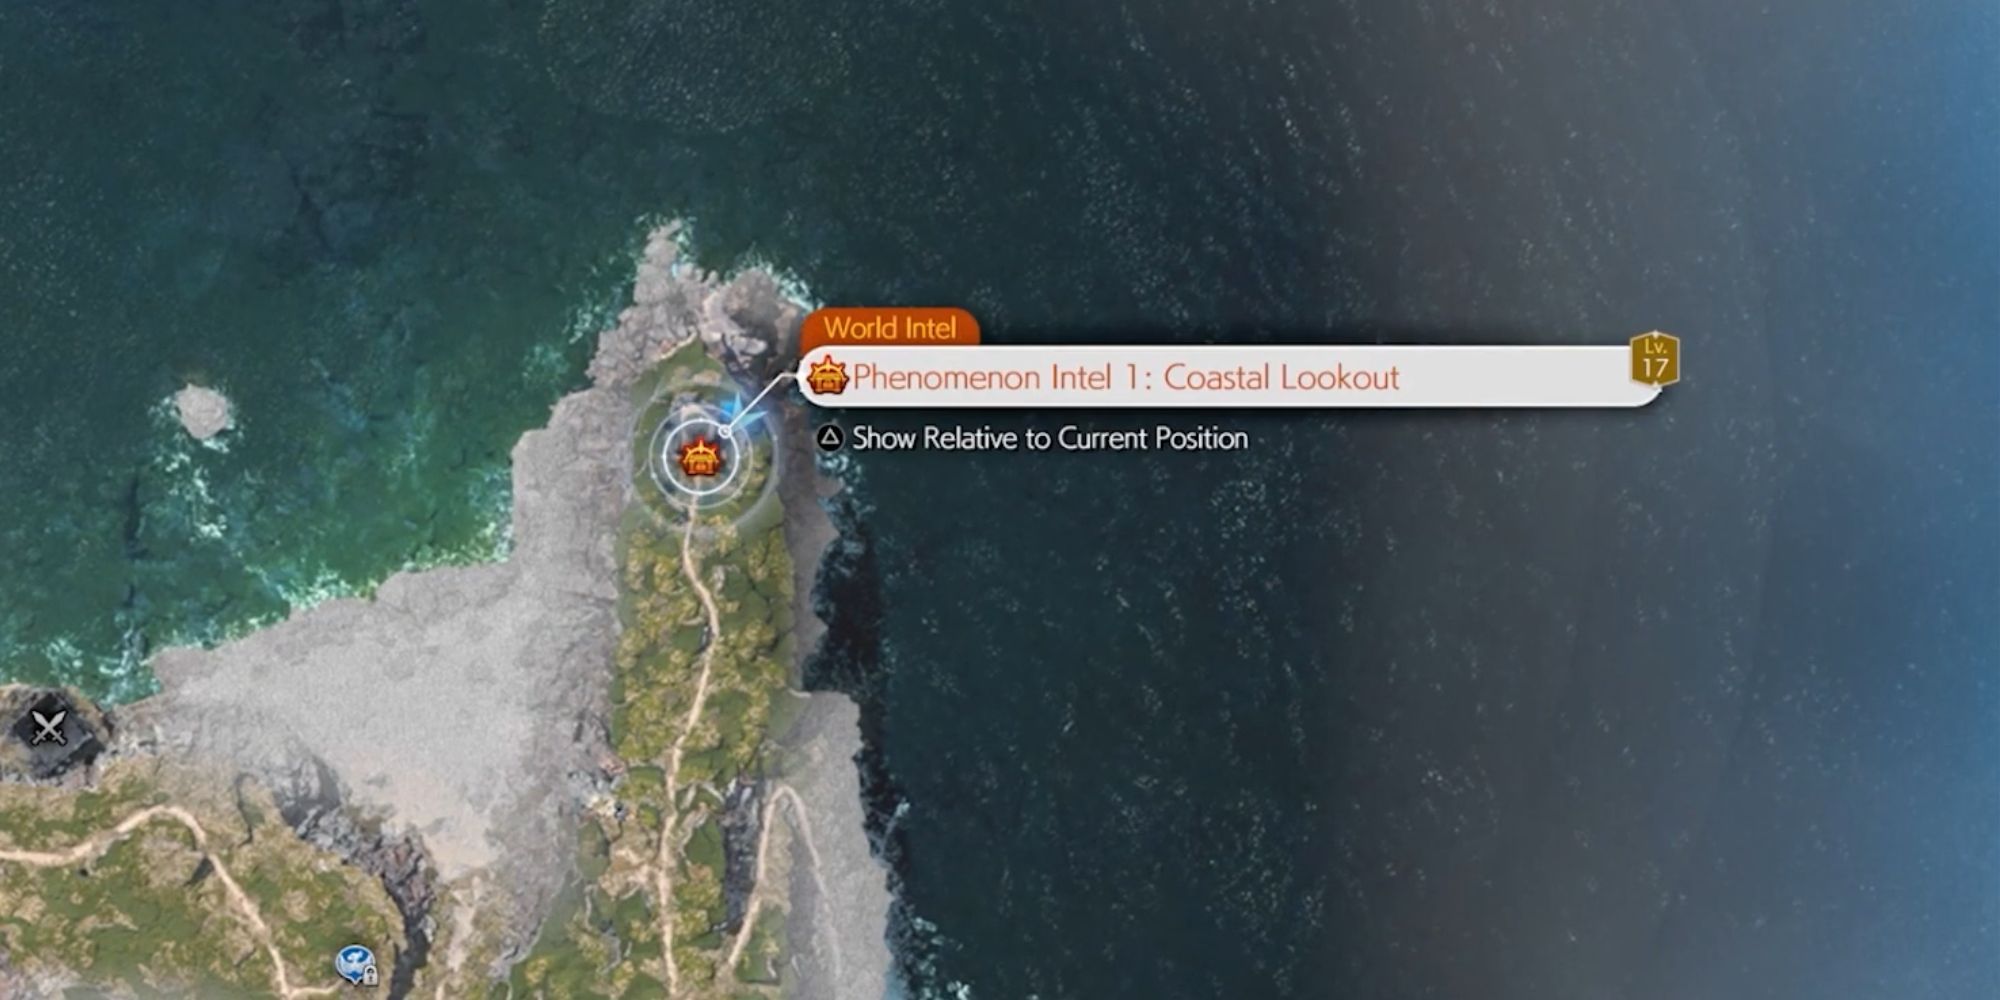
Coastal Lookout
Phenomenon Intel
Approach this area from the south, then travel east along the wall until you find a part of the fence that is broken. You can crouch to make your way inside. Once you go through the damaged fence, travel left along the building in front of you, and you will find some large wooden doors. To the left of them will be some grips you can climb up to get inside.
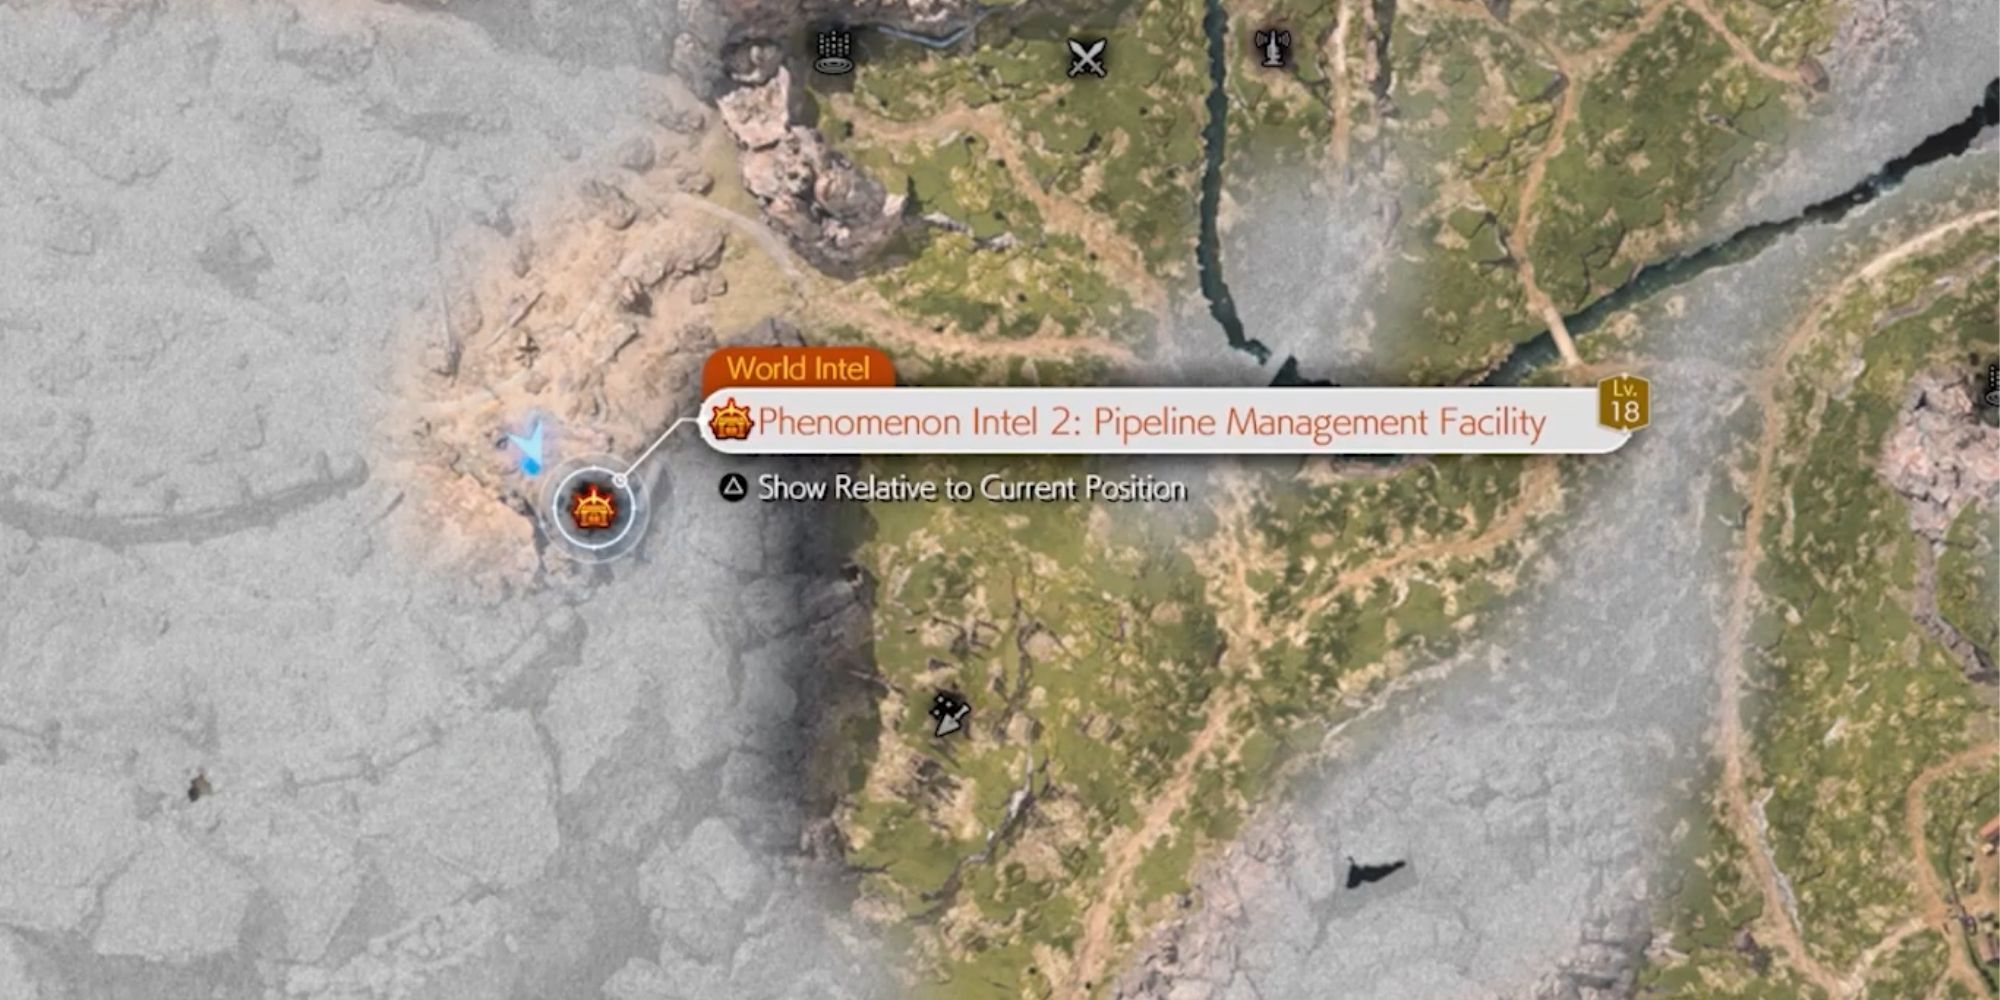
Pipeline management Facility
Phenomenon Intel
Once you approach this area, you will be instructed to stay hidden. You can do so by using the various shipping containers in the area. From the north, you can hide behind the red container. When nobody is looking head straight until you pass the blue container on your left, and go around it. When the enemy on your left turns around to walk back behind the blue container, watch the remaining enemy on your right. Once they are not looking, roll through to the red container on the far end and go into the house to receive a cutscene. Leave the house the way you came in and on the right will be a path you can climb to get the drop on Beck from above.
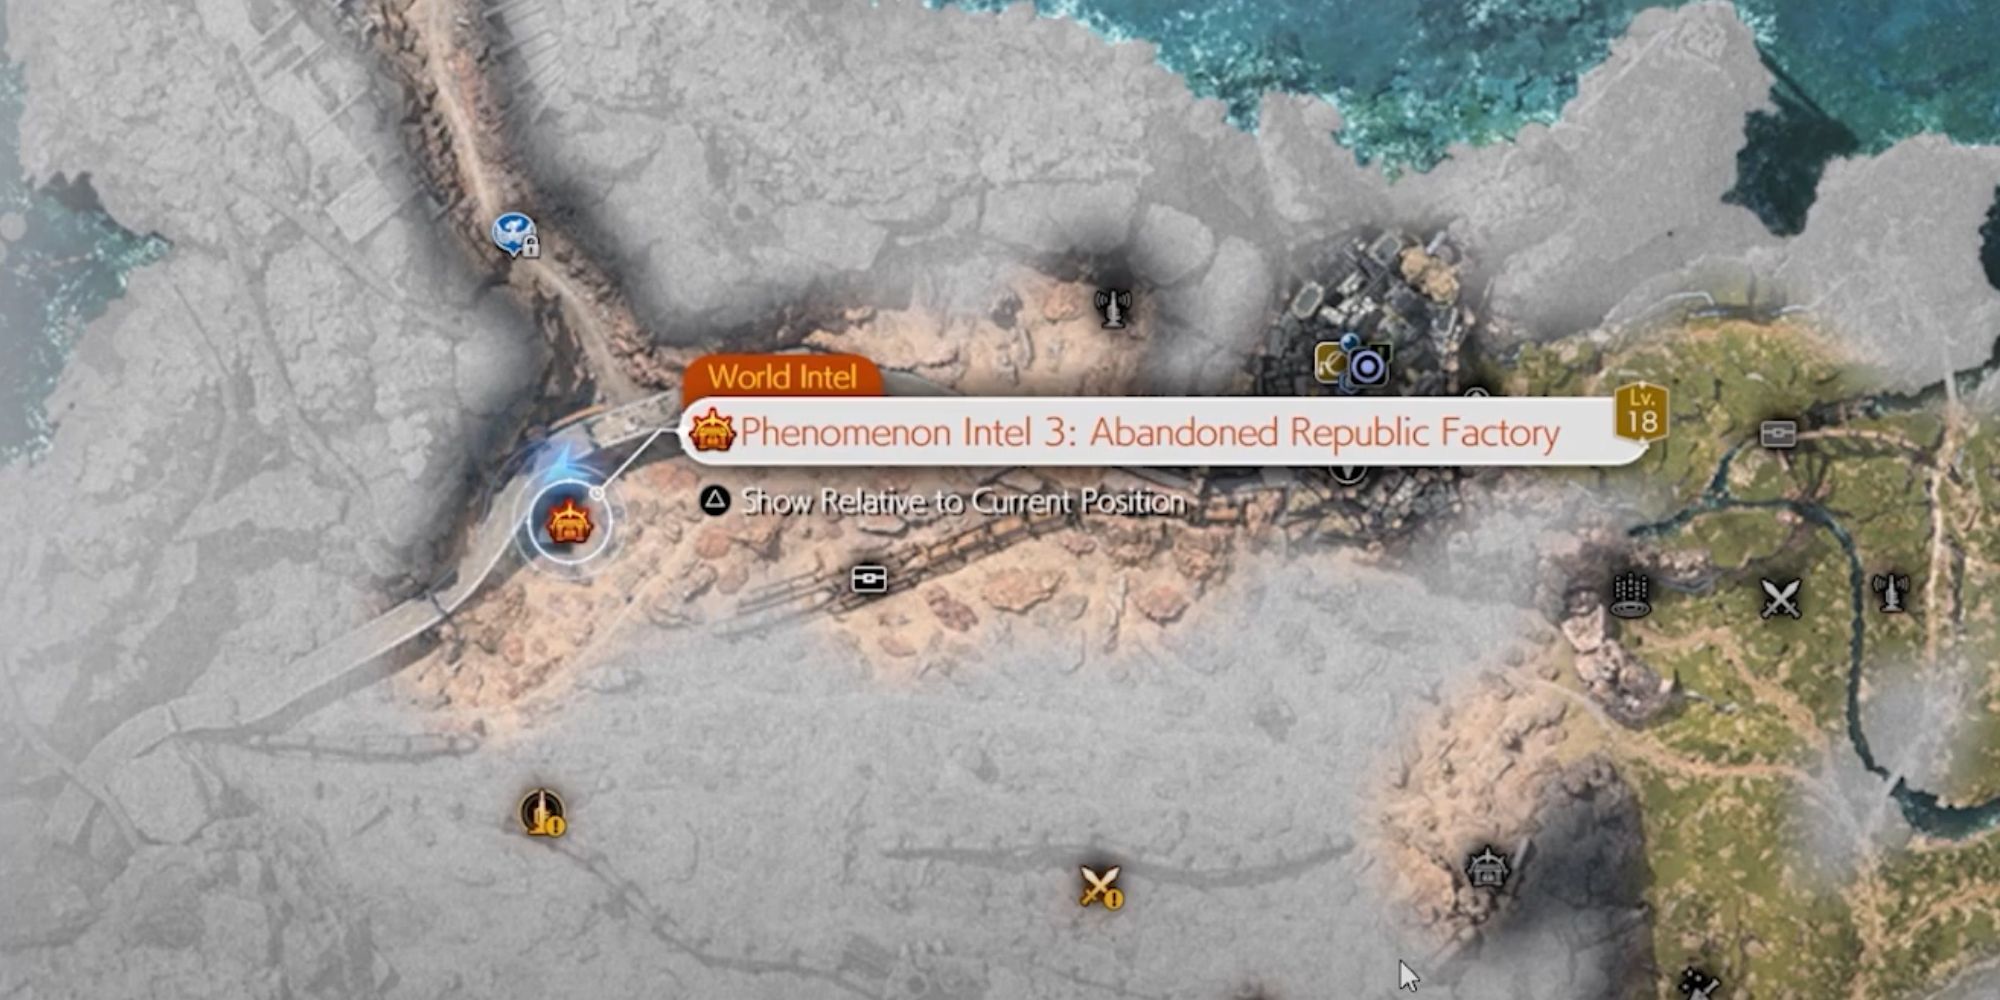
Abandoned Republic Factory
Phenomenon Intel
You will need to select which of the 3 enemies has the Relic. After you select the correct one, you will have to fight these enemies. The enemy with the Relic is Burke. Once the cutscene is over, use your Chocobo to pick up the scent. You can do this by holding up on the D-pad and then moving the right analog stick until a line appears to show you the way. You can only do this while there is a question mark prompt on the screen. Follow the trail until it lands in some blue sparkles. You can then press down on the D-pad to dig it up.
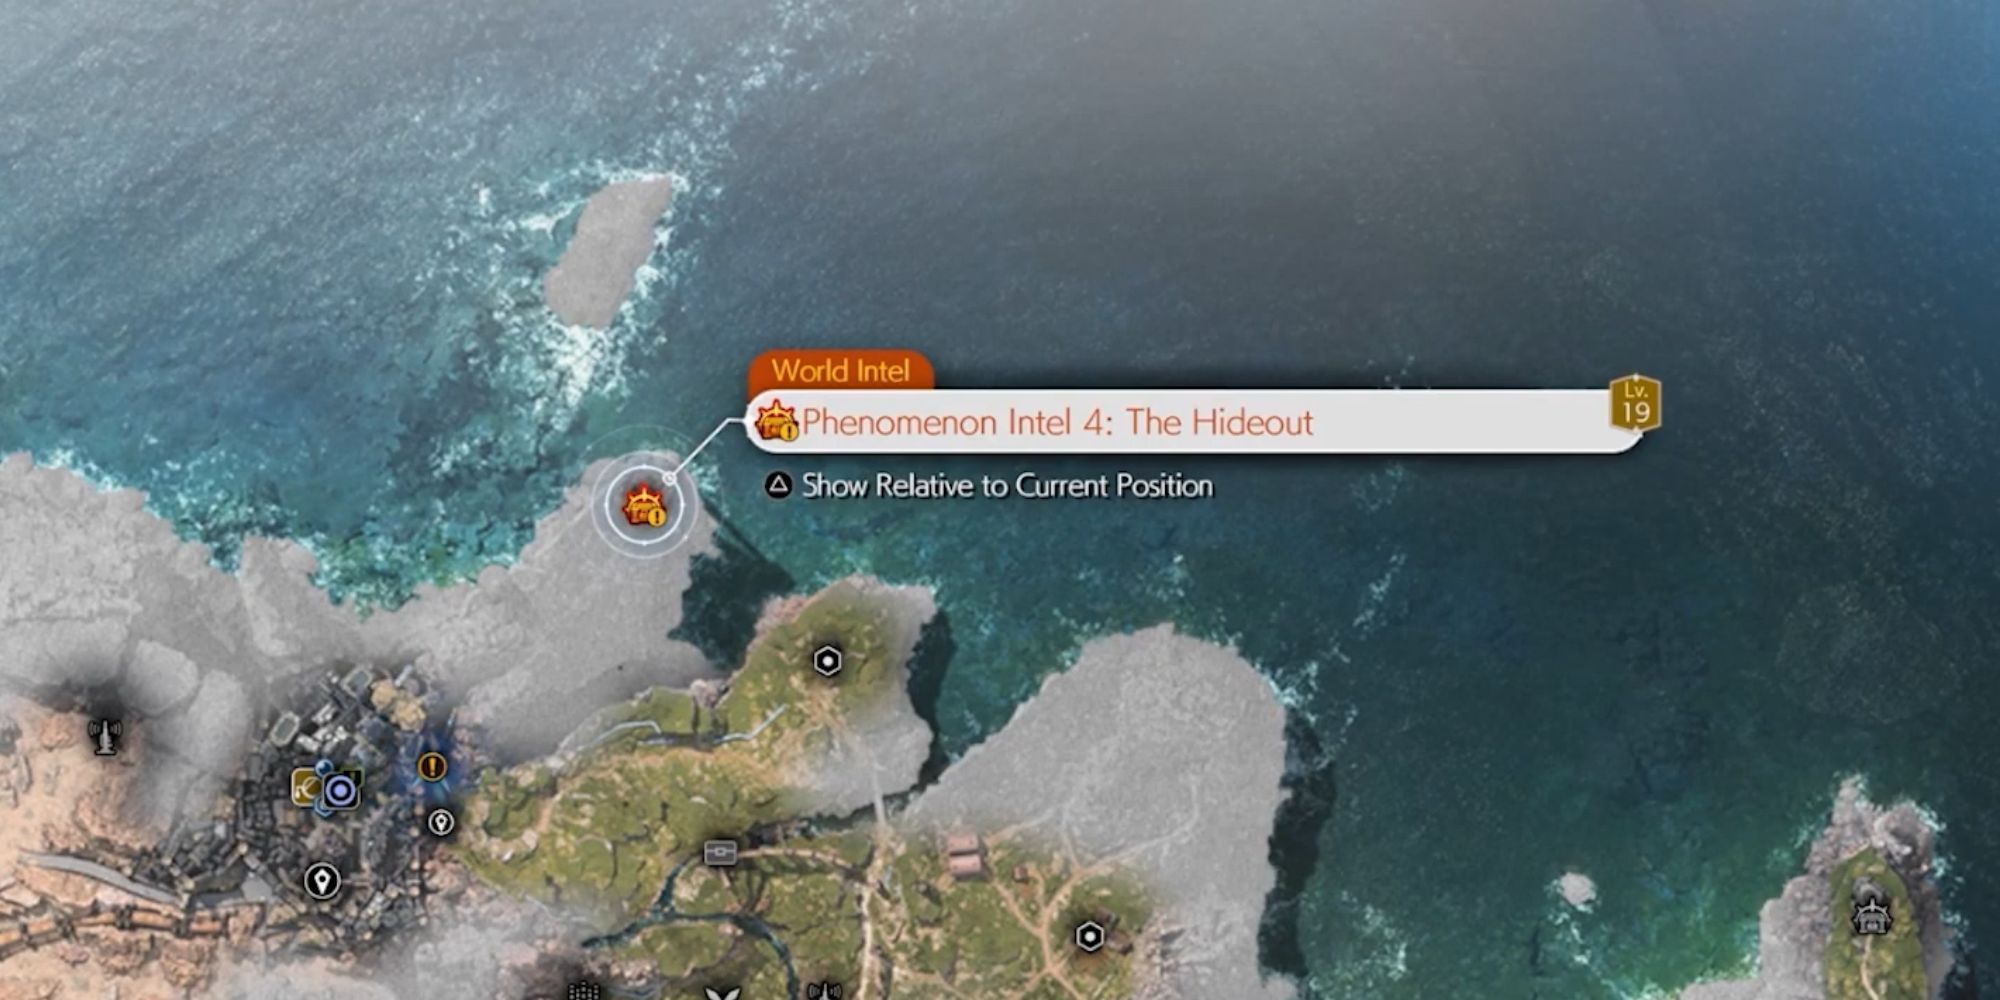
The Hideout
Phenomenon Intel
Fast travel to the Kalm Air-Raid Shelter and then follow the road north until you find a gate. This gate will also become marked on your map after collecting the previous 3 pieces of Intel. Interact with this gate to unlock it. Follow the road all the way up to the bandit’s hideout. Pull the level near the open garage doors to drop the large yellow container hanging from the roof. Defeat the bandits to obtain the Protorelic.
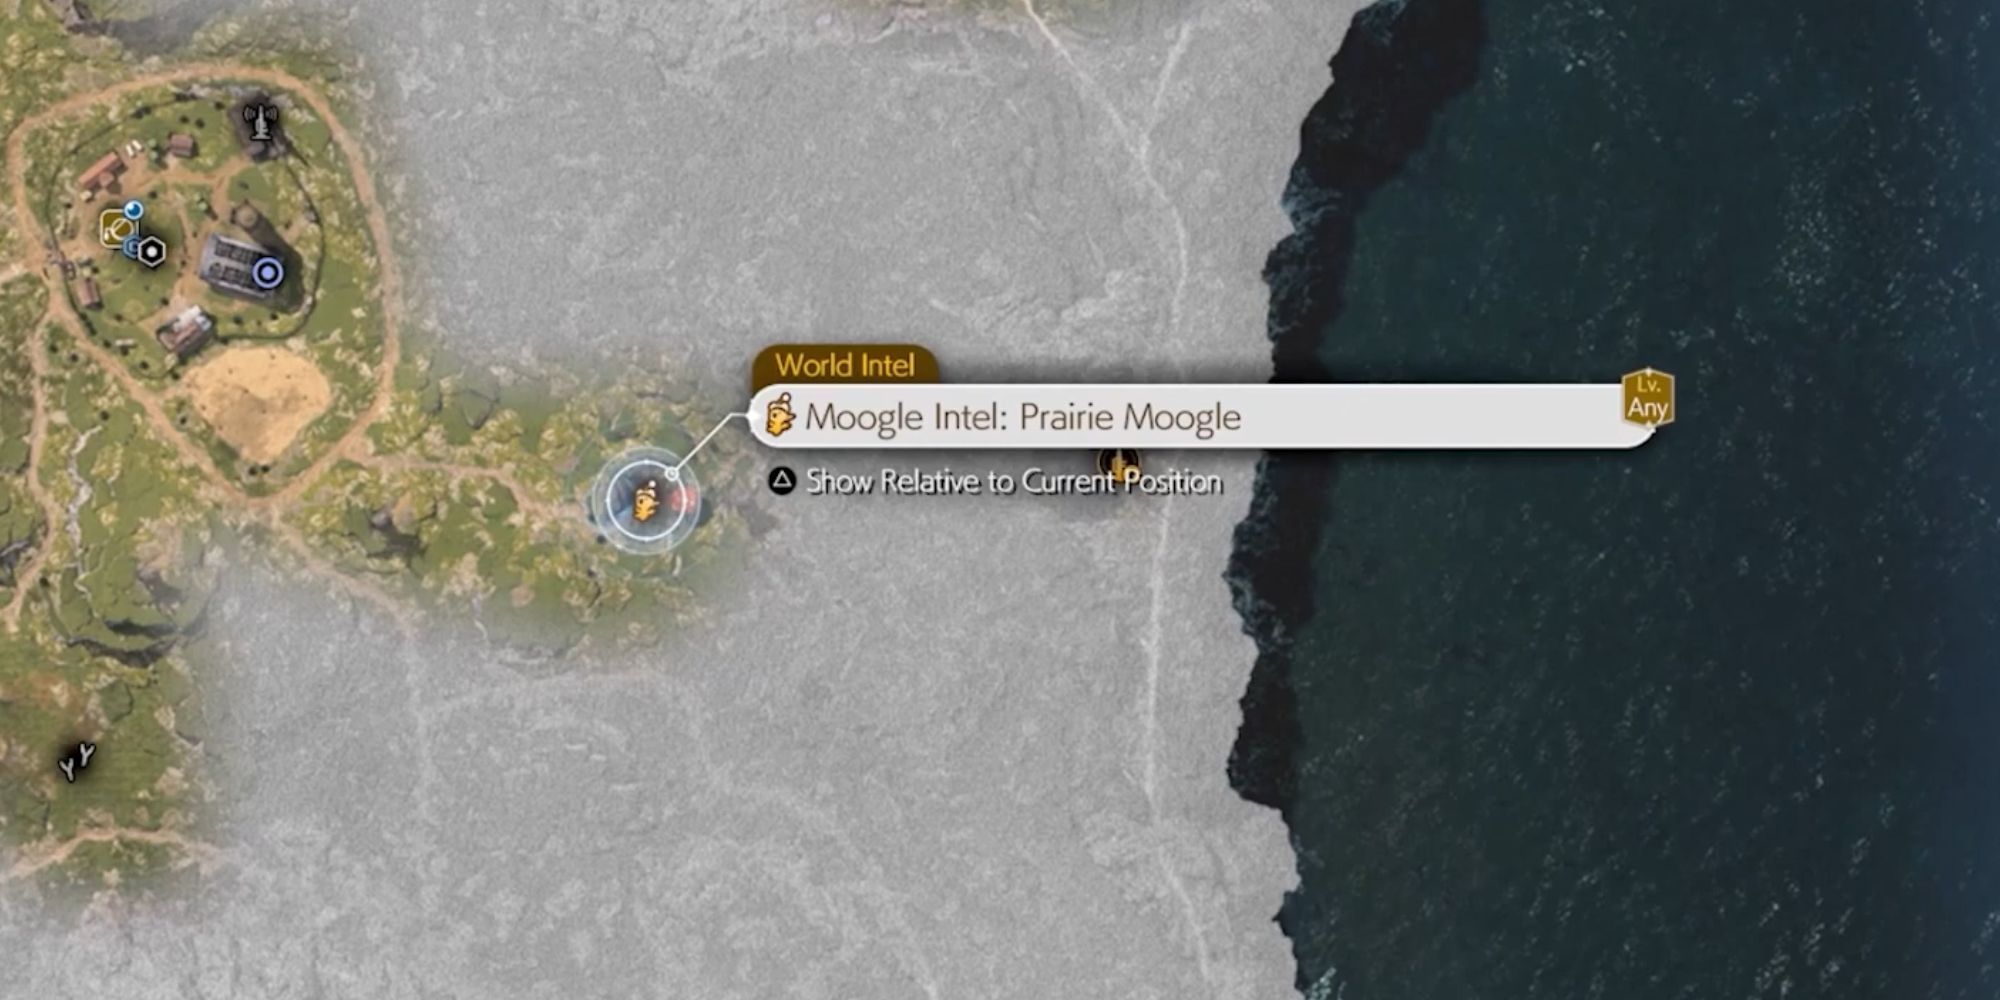
Prairie Moogle
Moodgle Intel
You will find a large mushroom called the Mogstool, interact with the door, and then round up the Moogles to collect this intel.
Titan Sanctuary Alpha
Divine Intel
For Divine Intel, you will be presented with several guidestones. Follow these Guidestones to the end and you will be able to collect the Intel. This first one is very straightforward — literally, you just run straight forward and there will be Titan Sanctuary Alpha. After you interact with it, comes the hard part. You will now need to memorize a series of points in a ring. A beam of light will pass over each point where an input will be. You will need to press each of the displayed inputs when the beam is pointing to these positions. However, they will all disappear when you start.
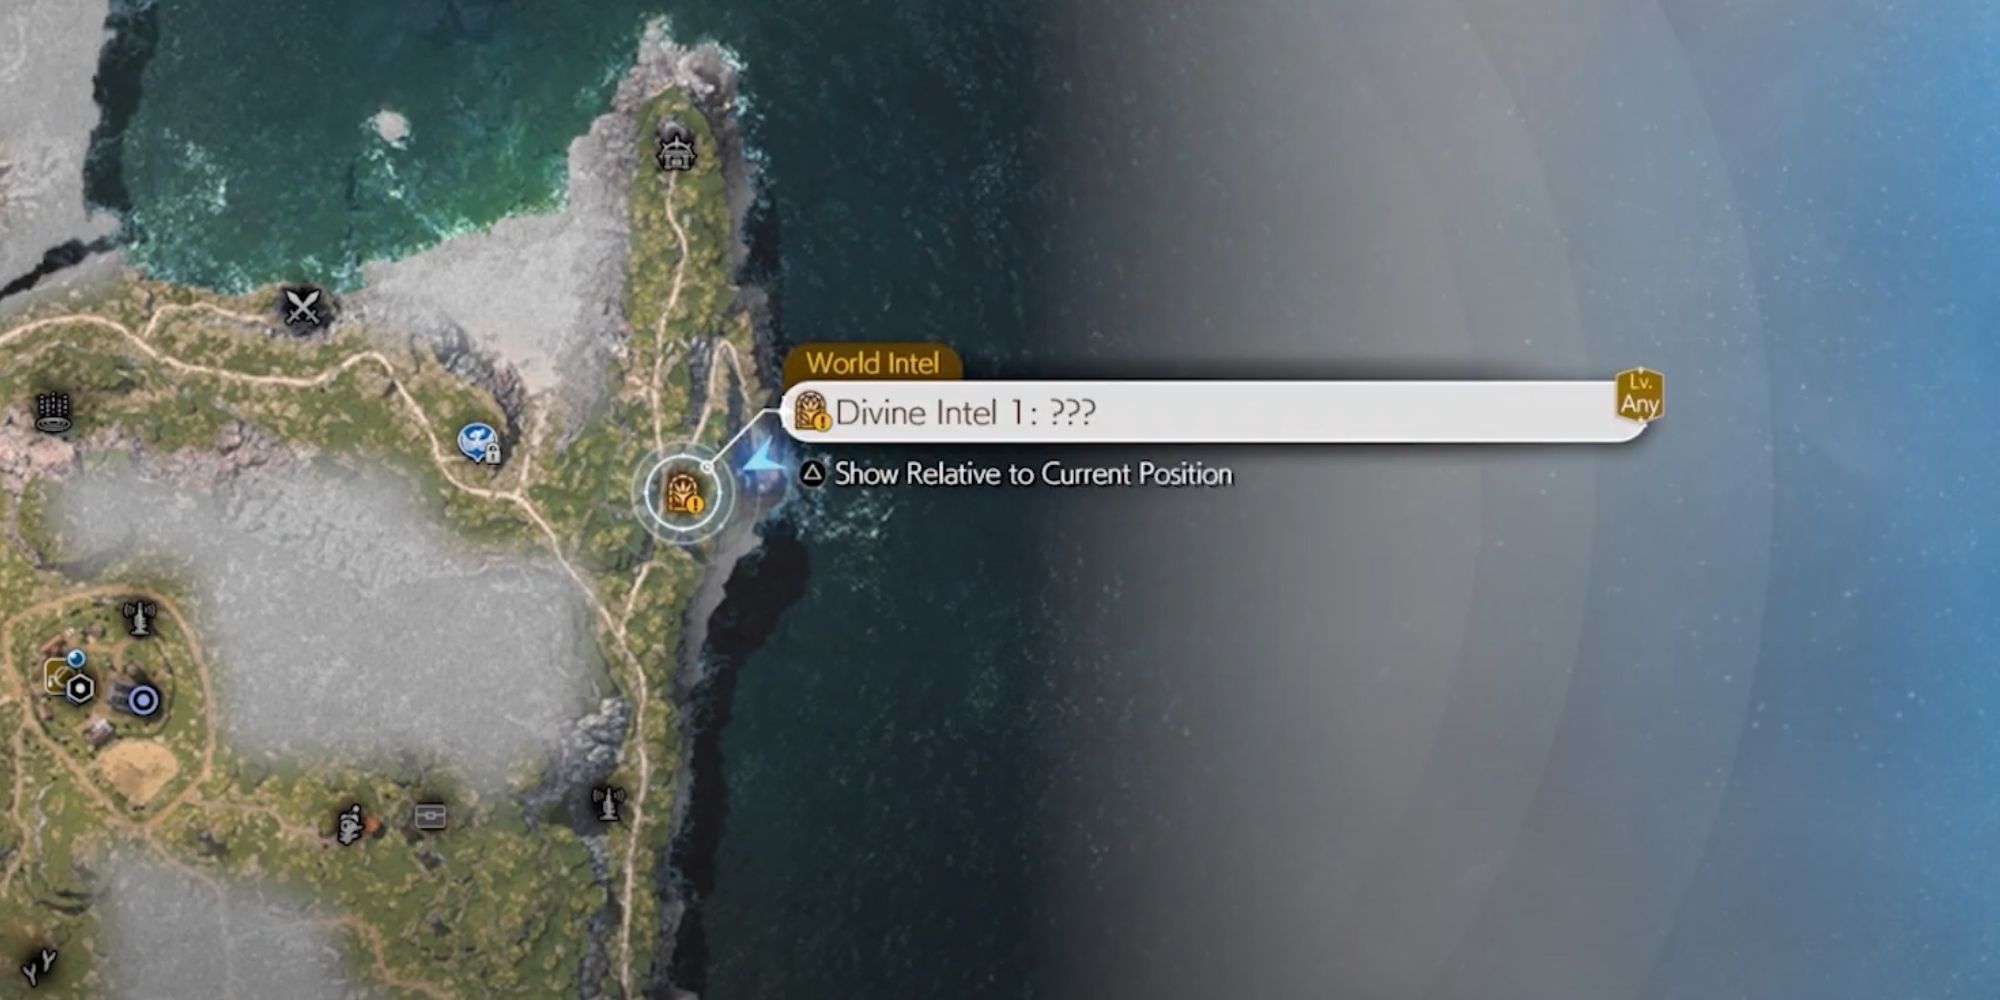
Titan Sanctuary Beta
Divine Intel
On your way to this marker, you will need to cross a river. When you do, you will find some grips you can climb to reach the top of the wall. Follow along this wall and you will find Sanctuary Beta. Interact with it and press the inputs at the right time to collect this intel.
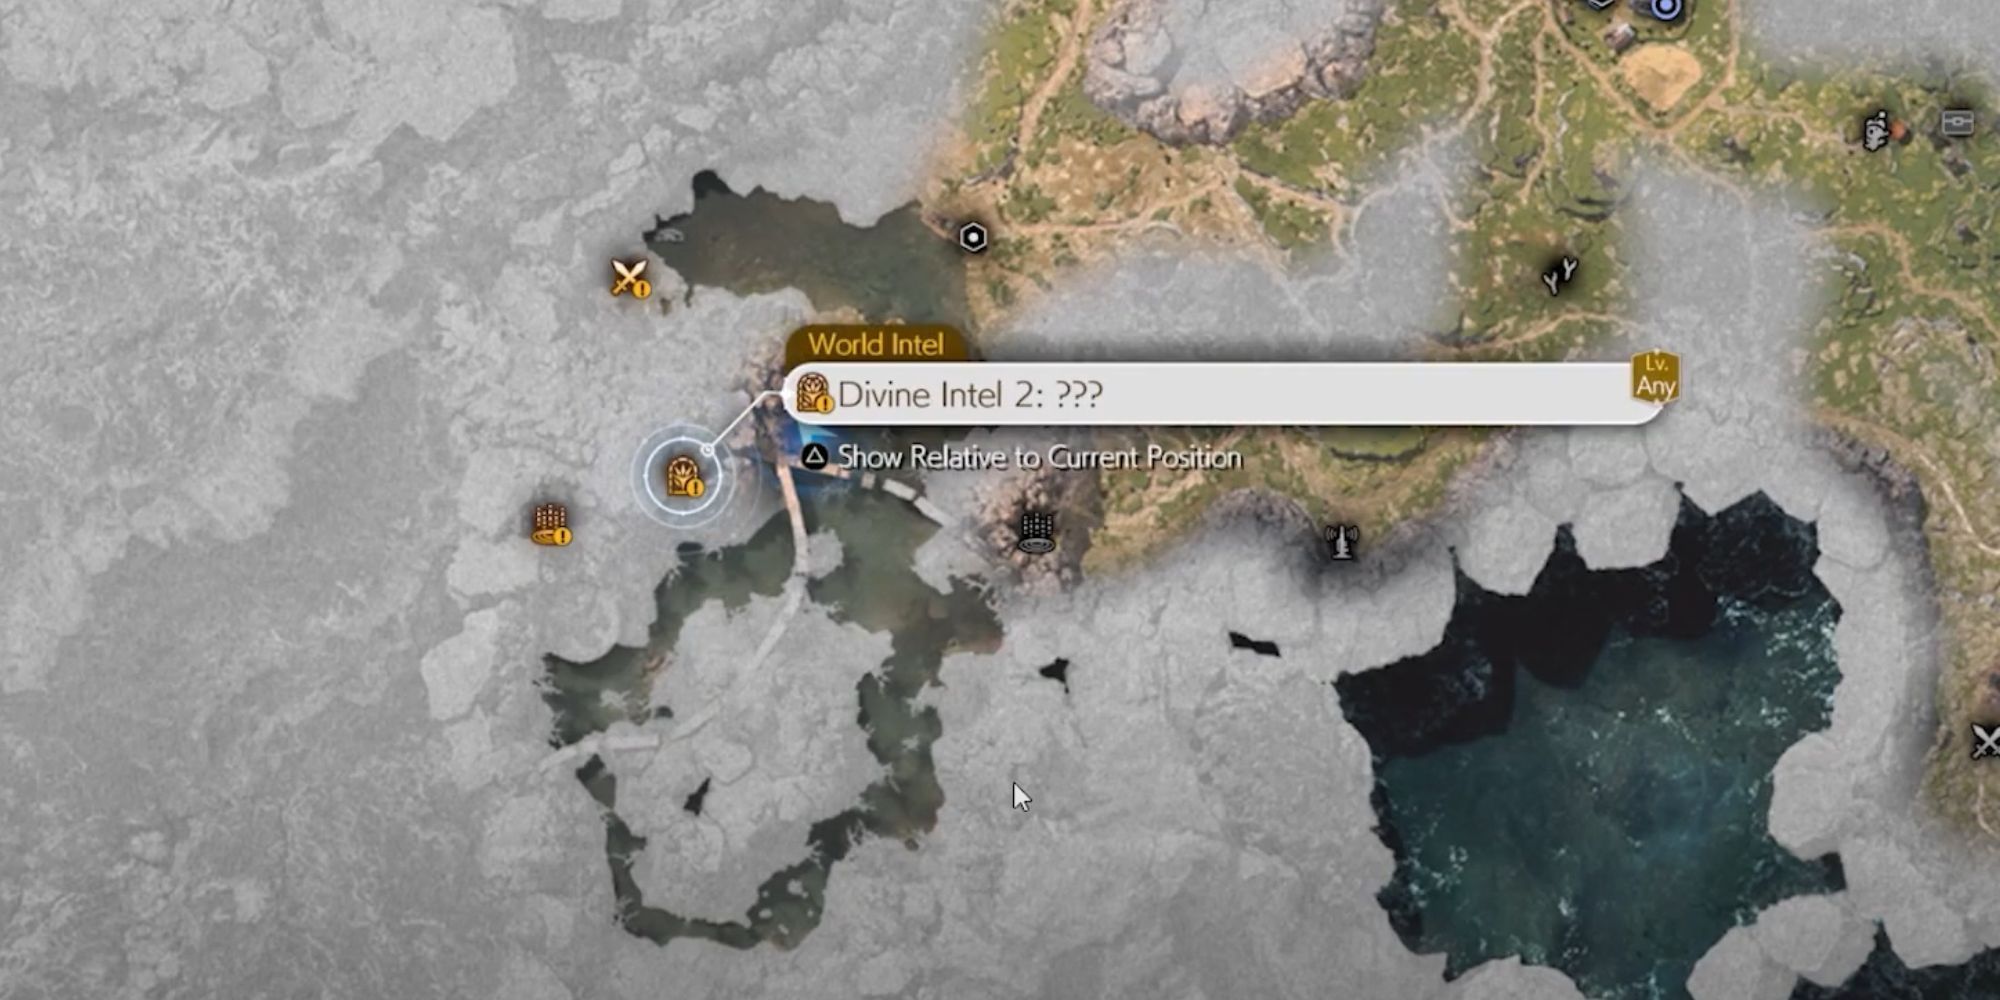
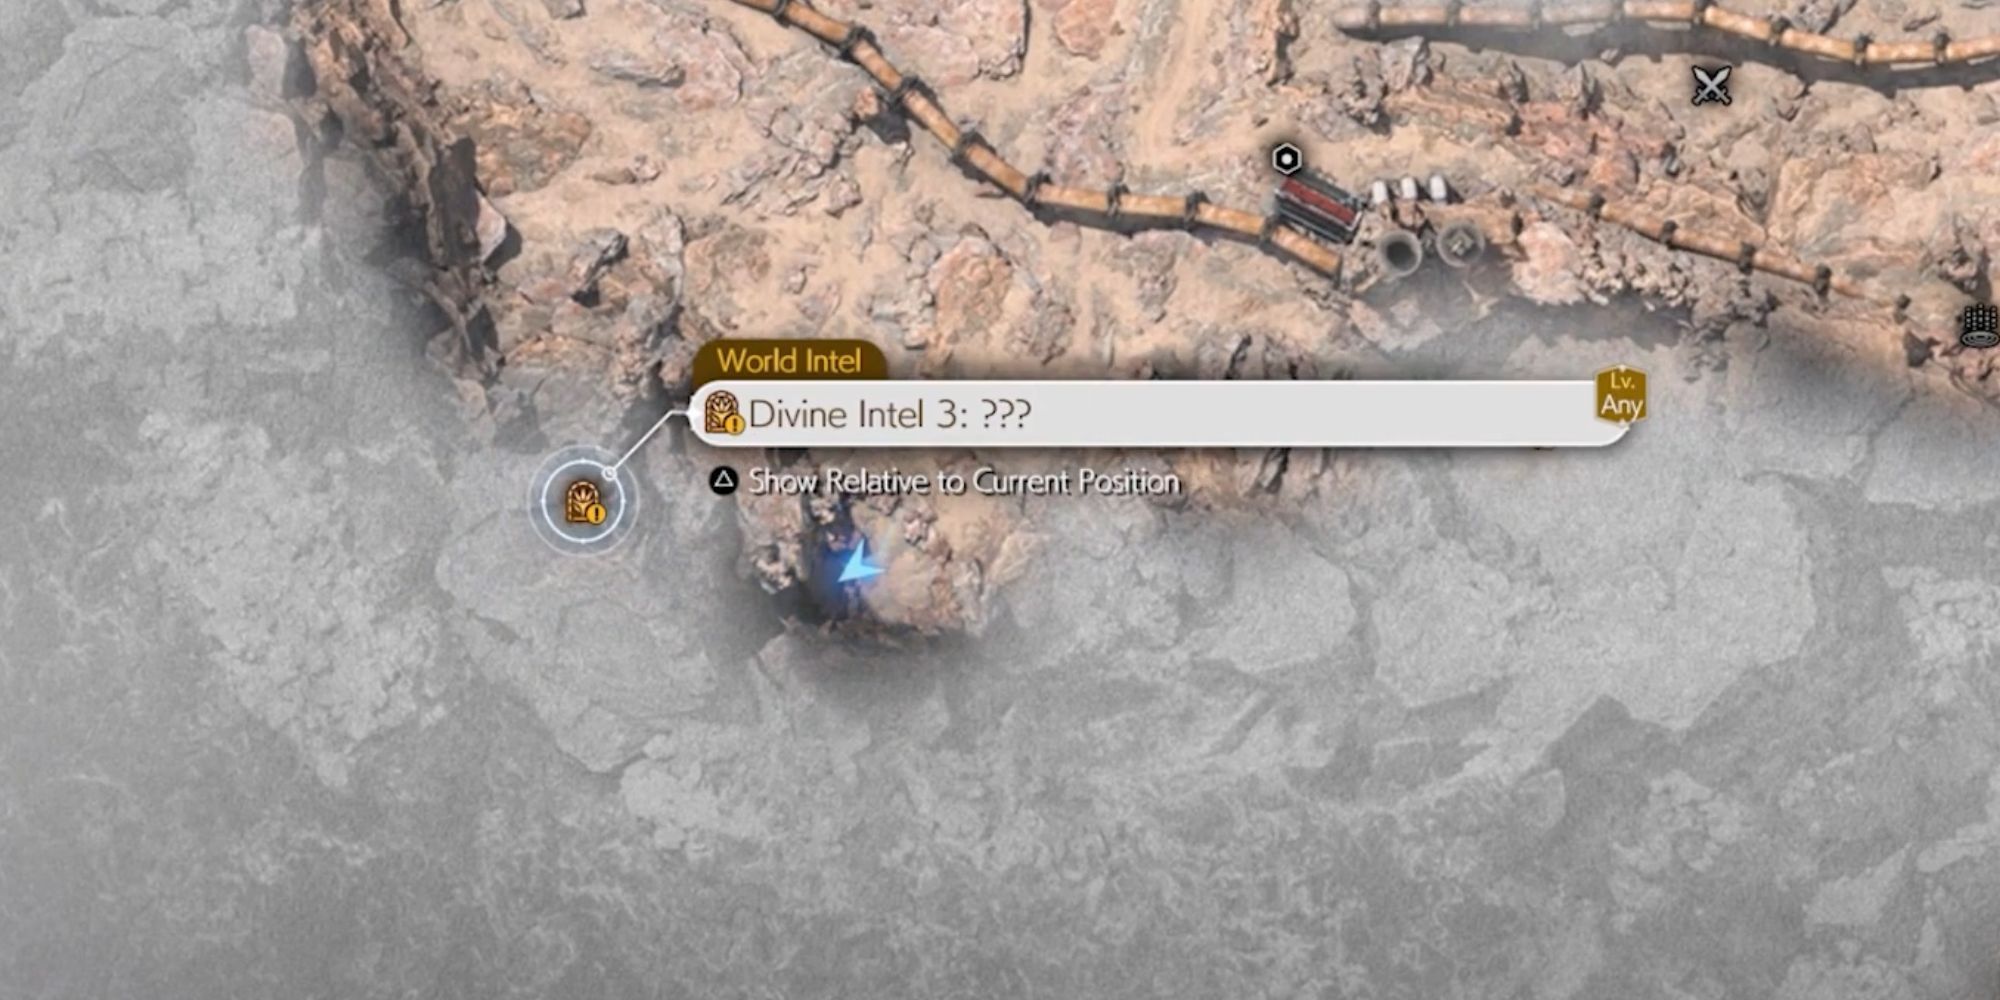
Titan Sanctuary Gamma
Divine Intel
While standing east of the marker, follow the wall in front of you southward. Keep watching this wall, and you will find a cave that will take you straight to the Sanctuary. This will be the trickiest one yet and might take more attempts than either of the previous two.
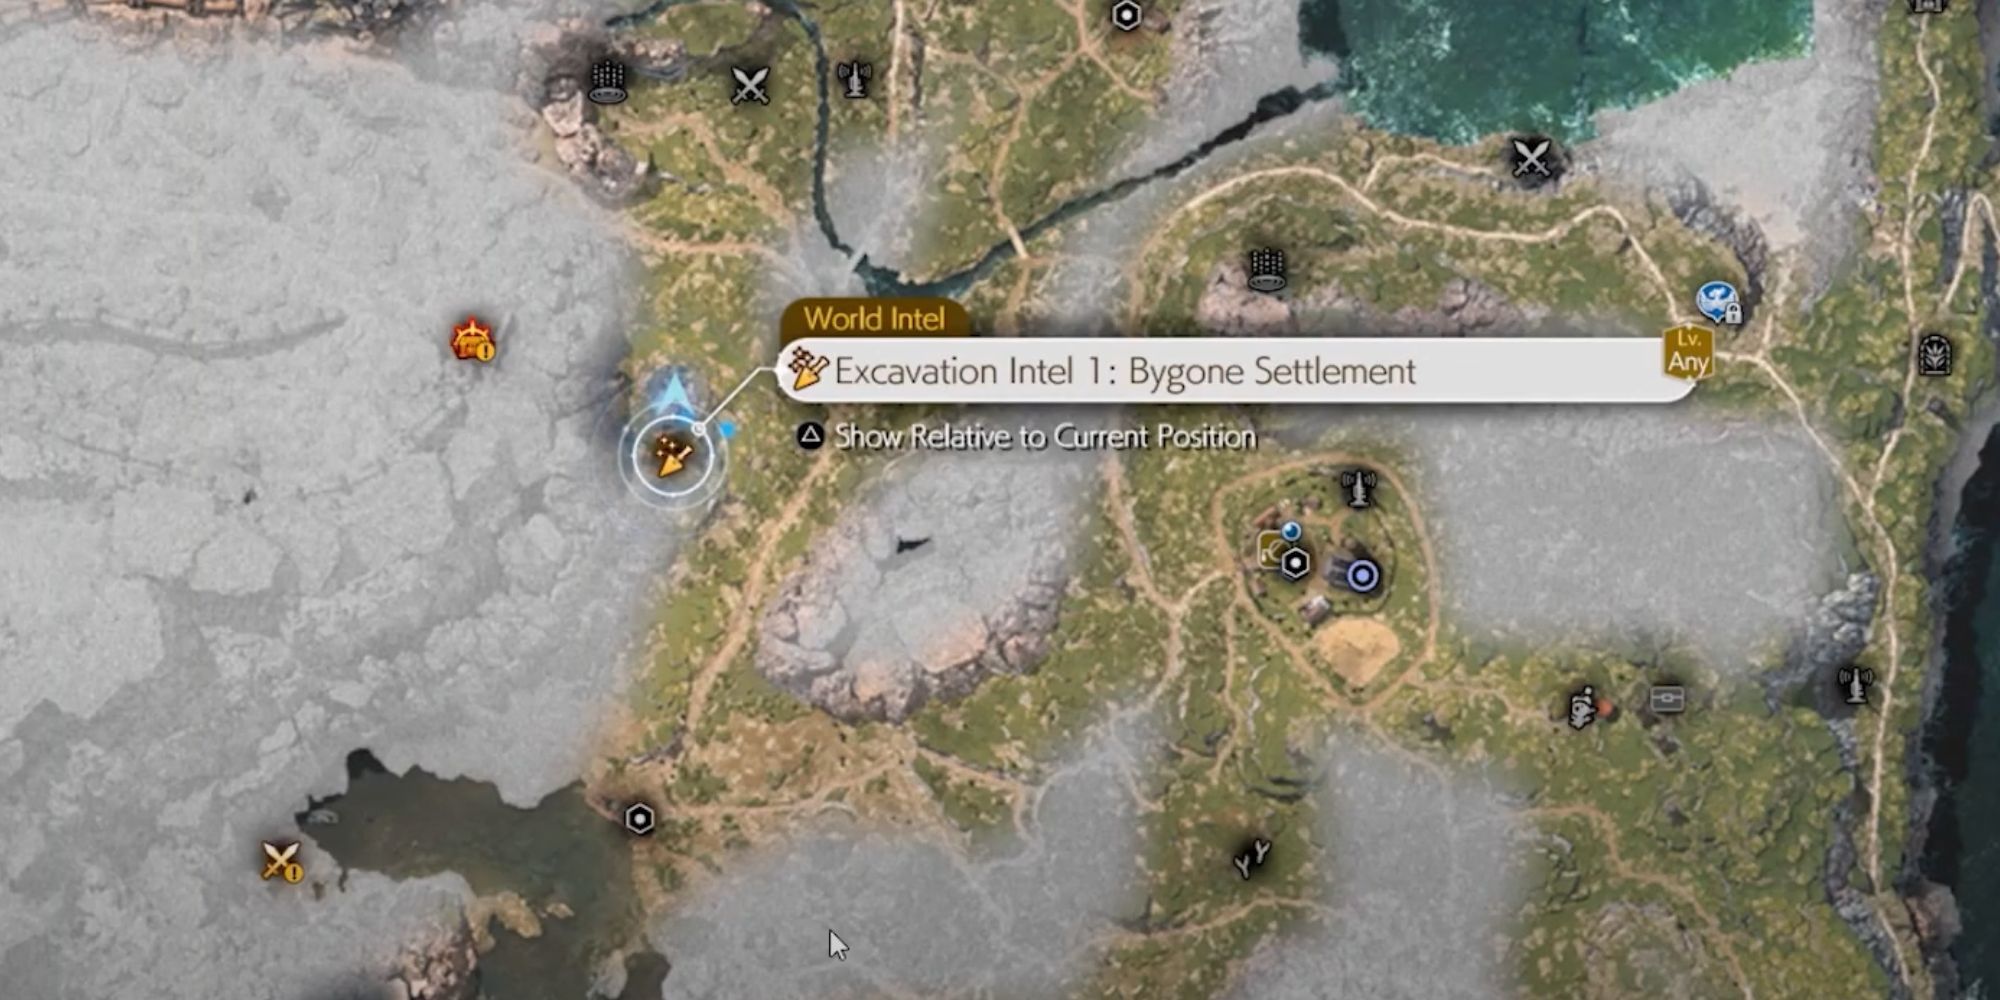
Bygone Settlement
Excavation Intel
You will need to be mounted on your Chocobo when you enter this area. While crossing through this area, you will see a blue question mark appear overhead. Hold up on the D-pad and then look around until a blue line appears. Follow this line to where it stops and press down on the D-pad to excavate. There are a total of 3 items to excavate in this settlement.
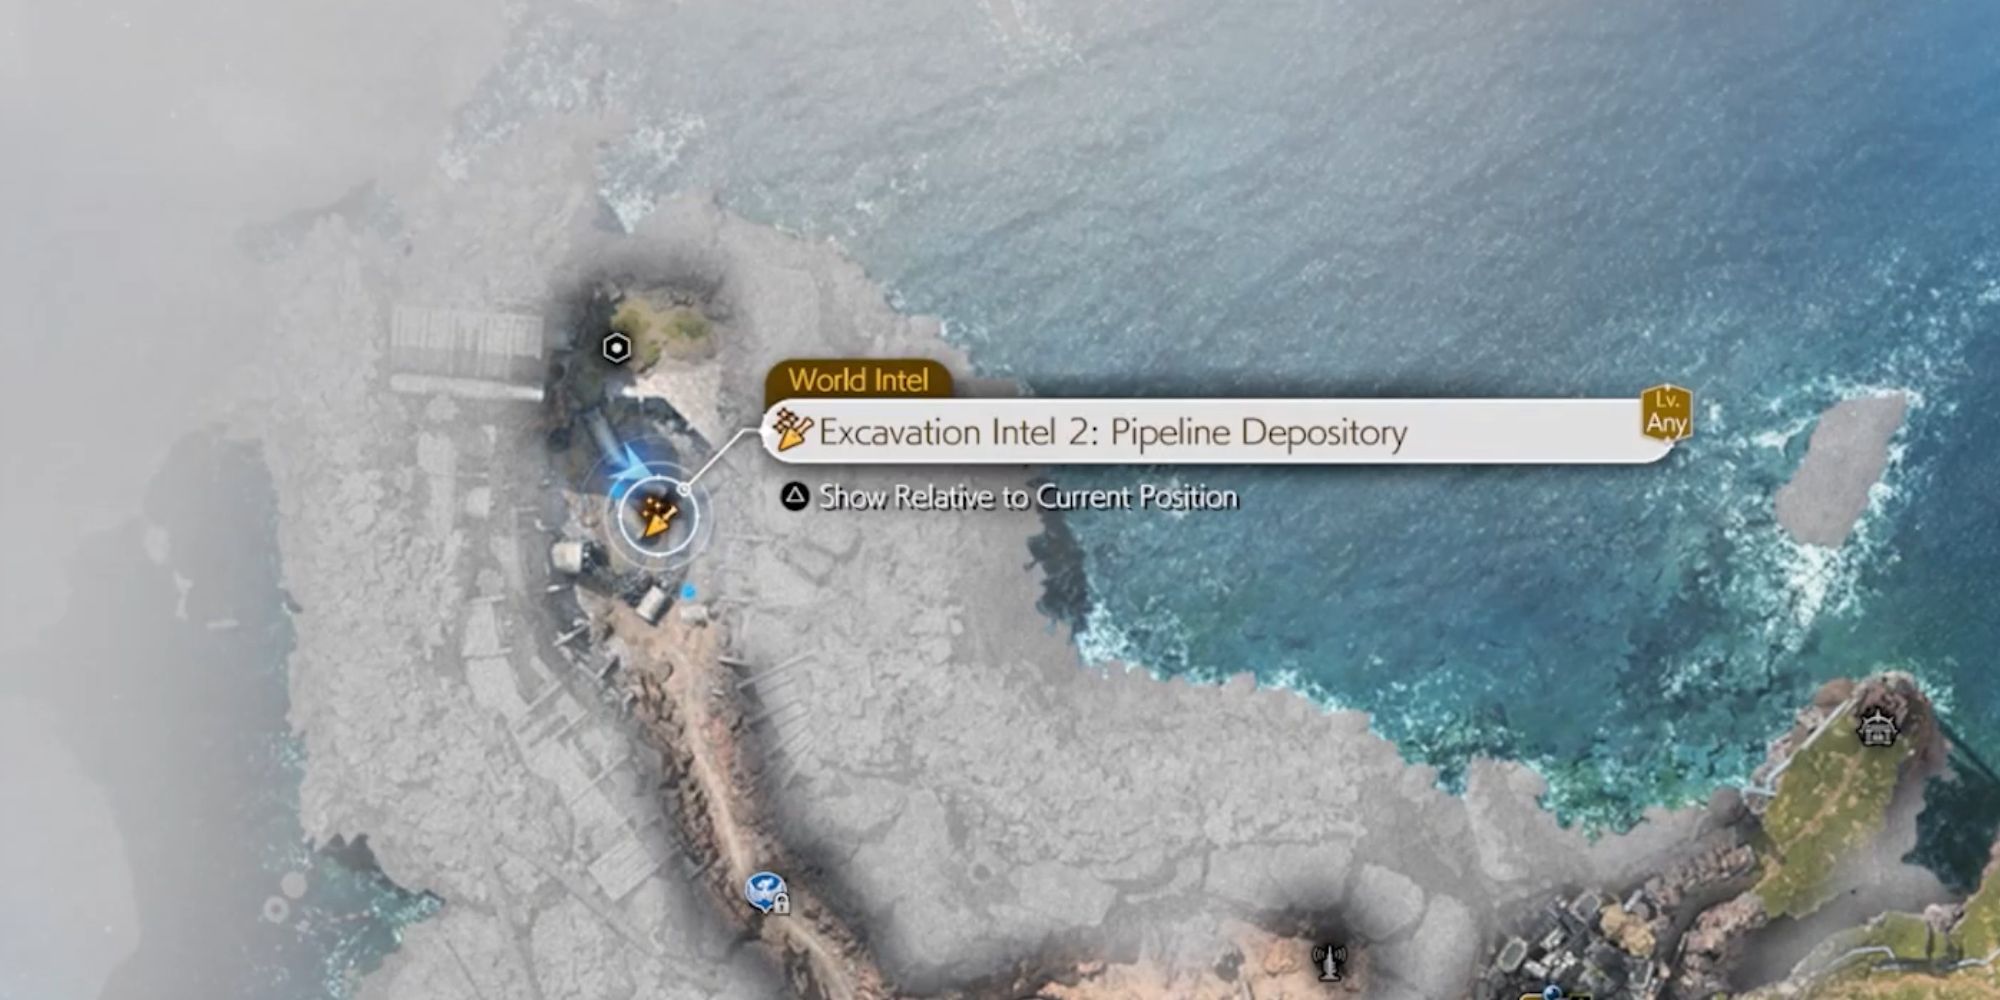
Pipeline Depository
Excavation Intel
Just like the previous Excavation Intel, once a blue question appears on the screen, press up on the D-Pad, follow the line, and press down on the D-Pad. Do this for all 3 treasures in the area.
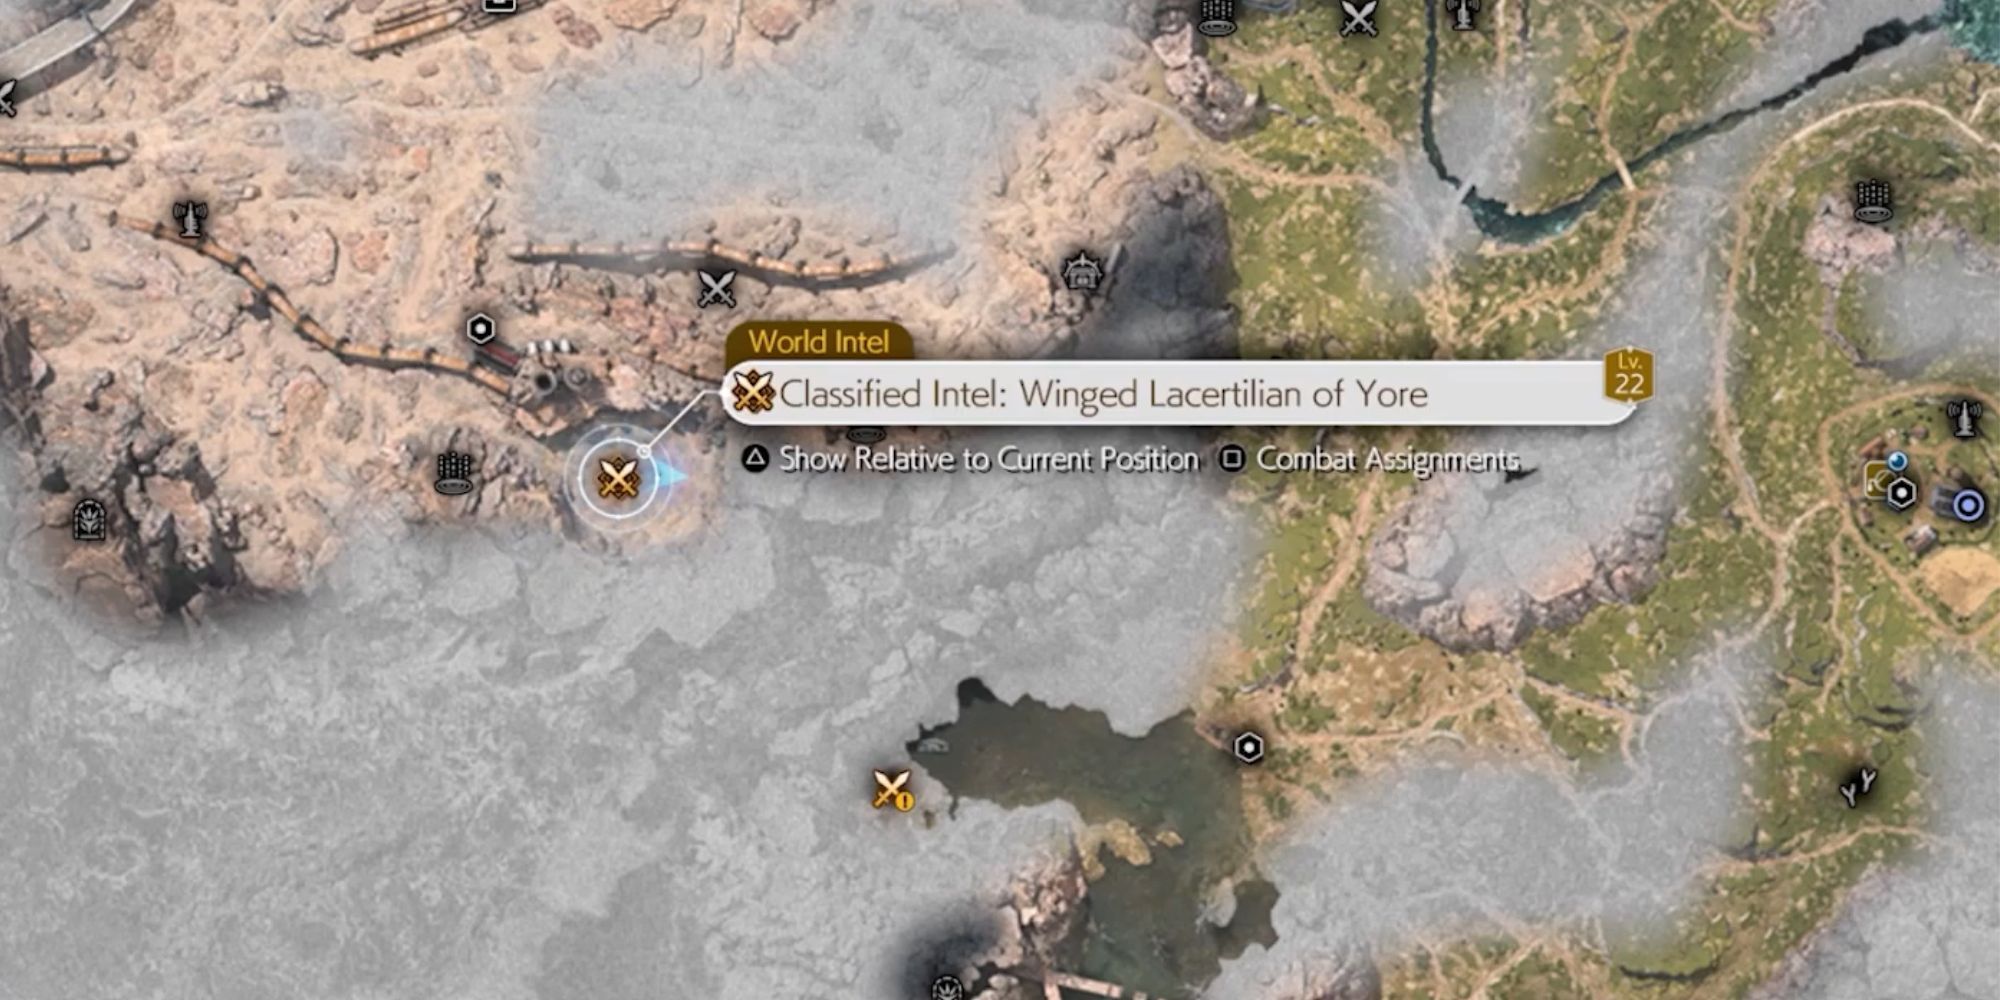
Winged Lacertilian of Yore
Classified Intel
Collecting this World Intel is extremely simple. Head on over to the marker on the map and press the triangle button to cause an enemy to appear — defeat it.
