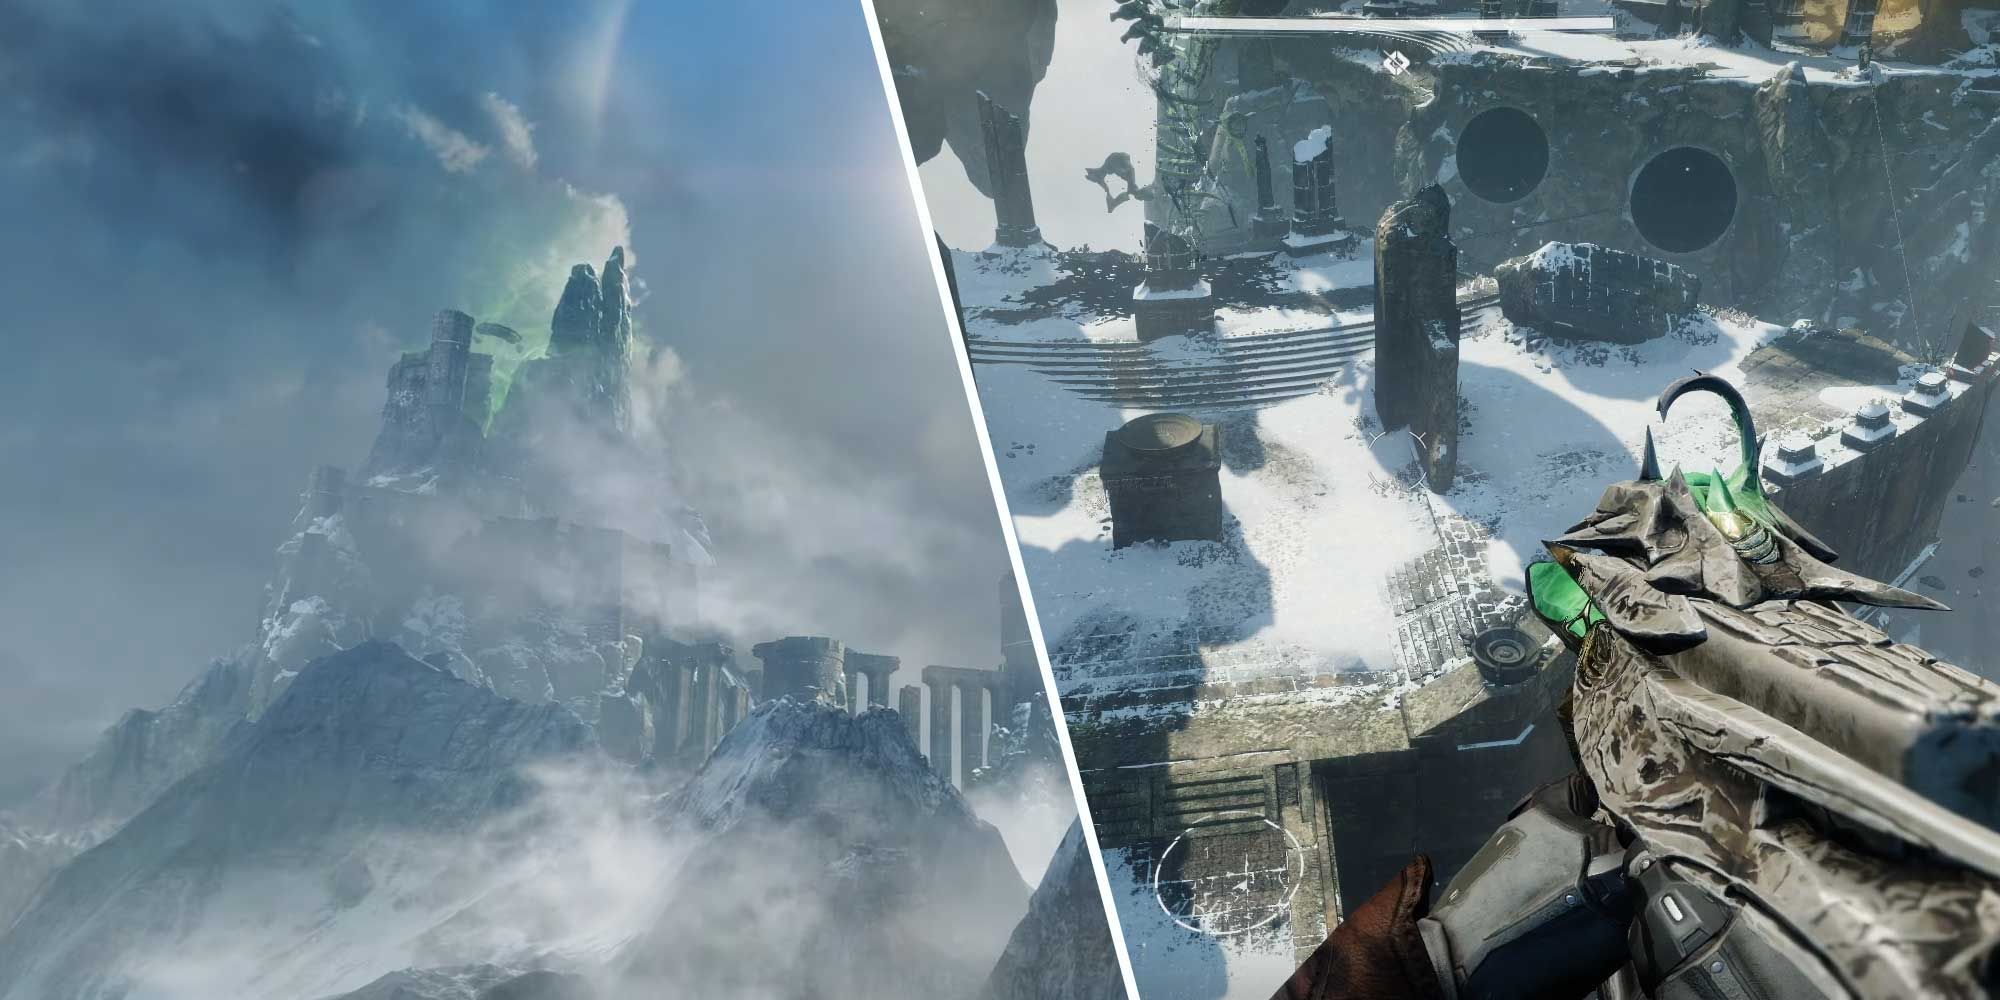
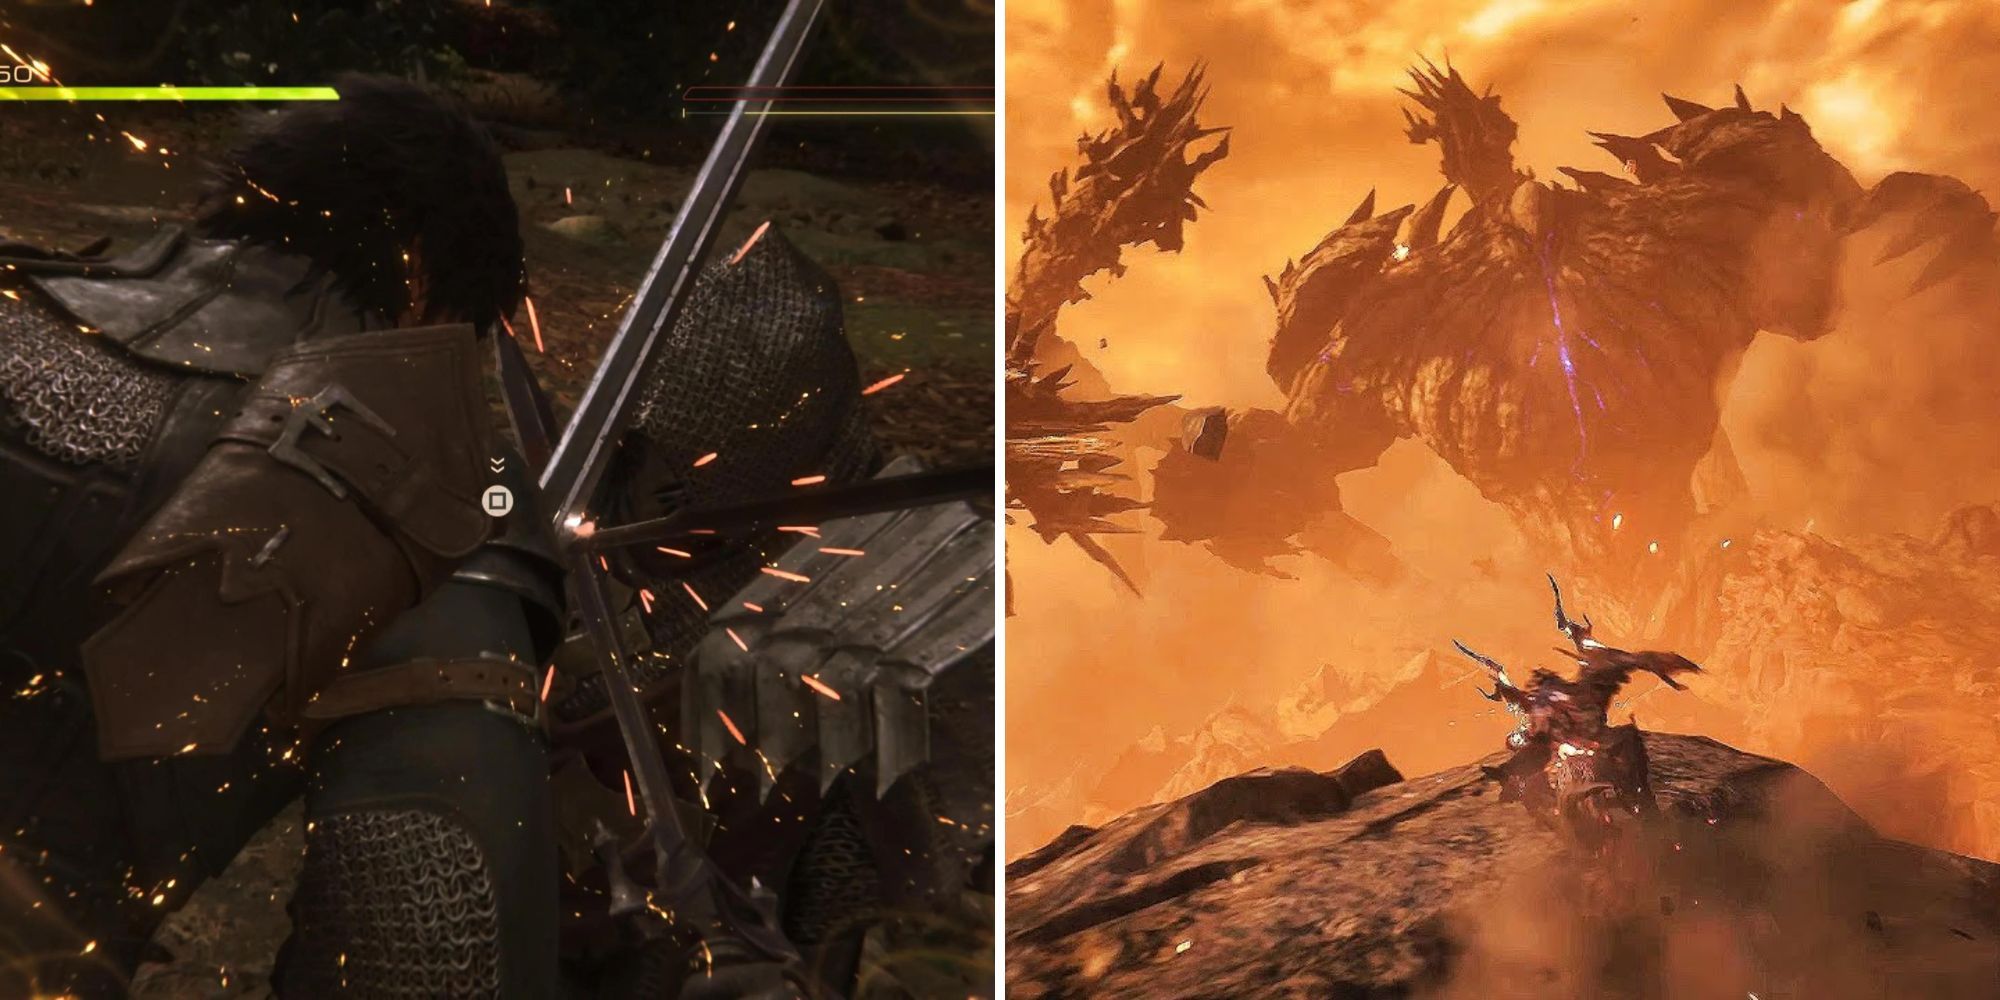
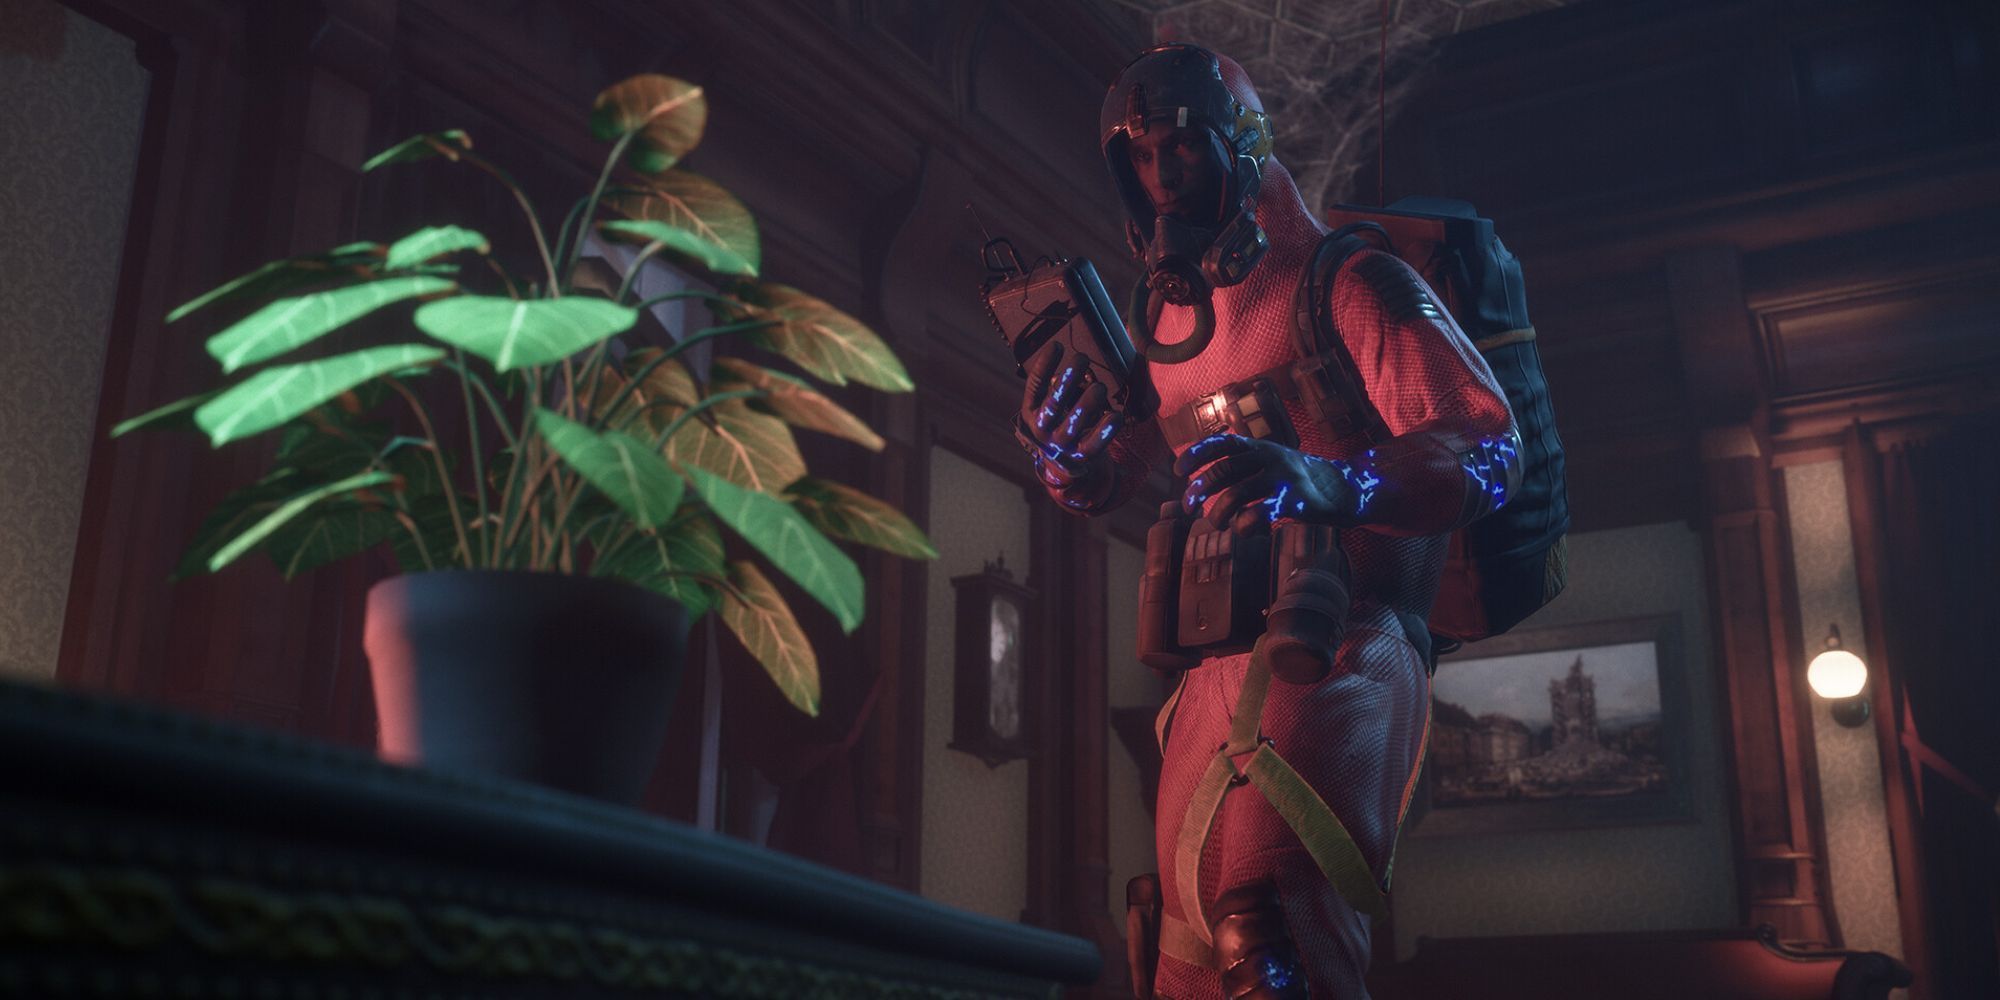
The new Destiny 2 dungeon, Warlord’s Ruin, is now live, and you have a whole new playground to explore, three major bosses to defeat, and some neat puzzles to solve. The new dungeon takes you to the high mountains of EDZ, where you need to stop Scorn and Taken from forming a ritual.
Destiny 2 Season Of The Wish: How To Get The Witcher Emblem
Add some wolves to your Emblem!
Similar to all other dungeons, Warlord’s Ruin has some mysteries in each major encounter, plus a big mystery between the first and second encounters. We will help you with all those mechanics and bosses in a full walkthrough here. So, sit tight and be prepared!
Warlord’s Ruin Build Suggestions
We are not going to have an exact character build based on mods or subclasses, as those are things you can change unlimitedly during your experience, though regarding the Season of the Wish artifact, the Solar subclass could probably be the best for every character class. You can change it where you see fit in the game.
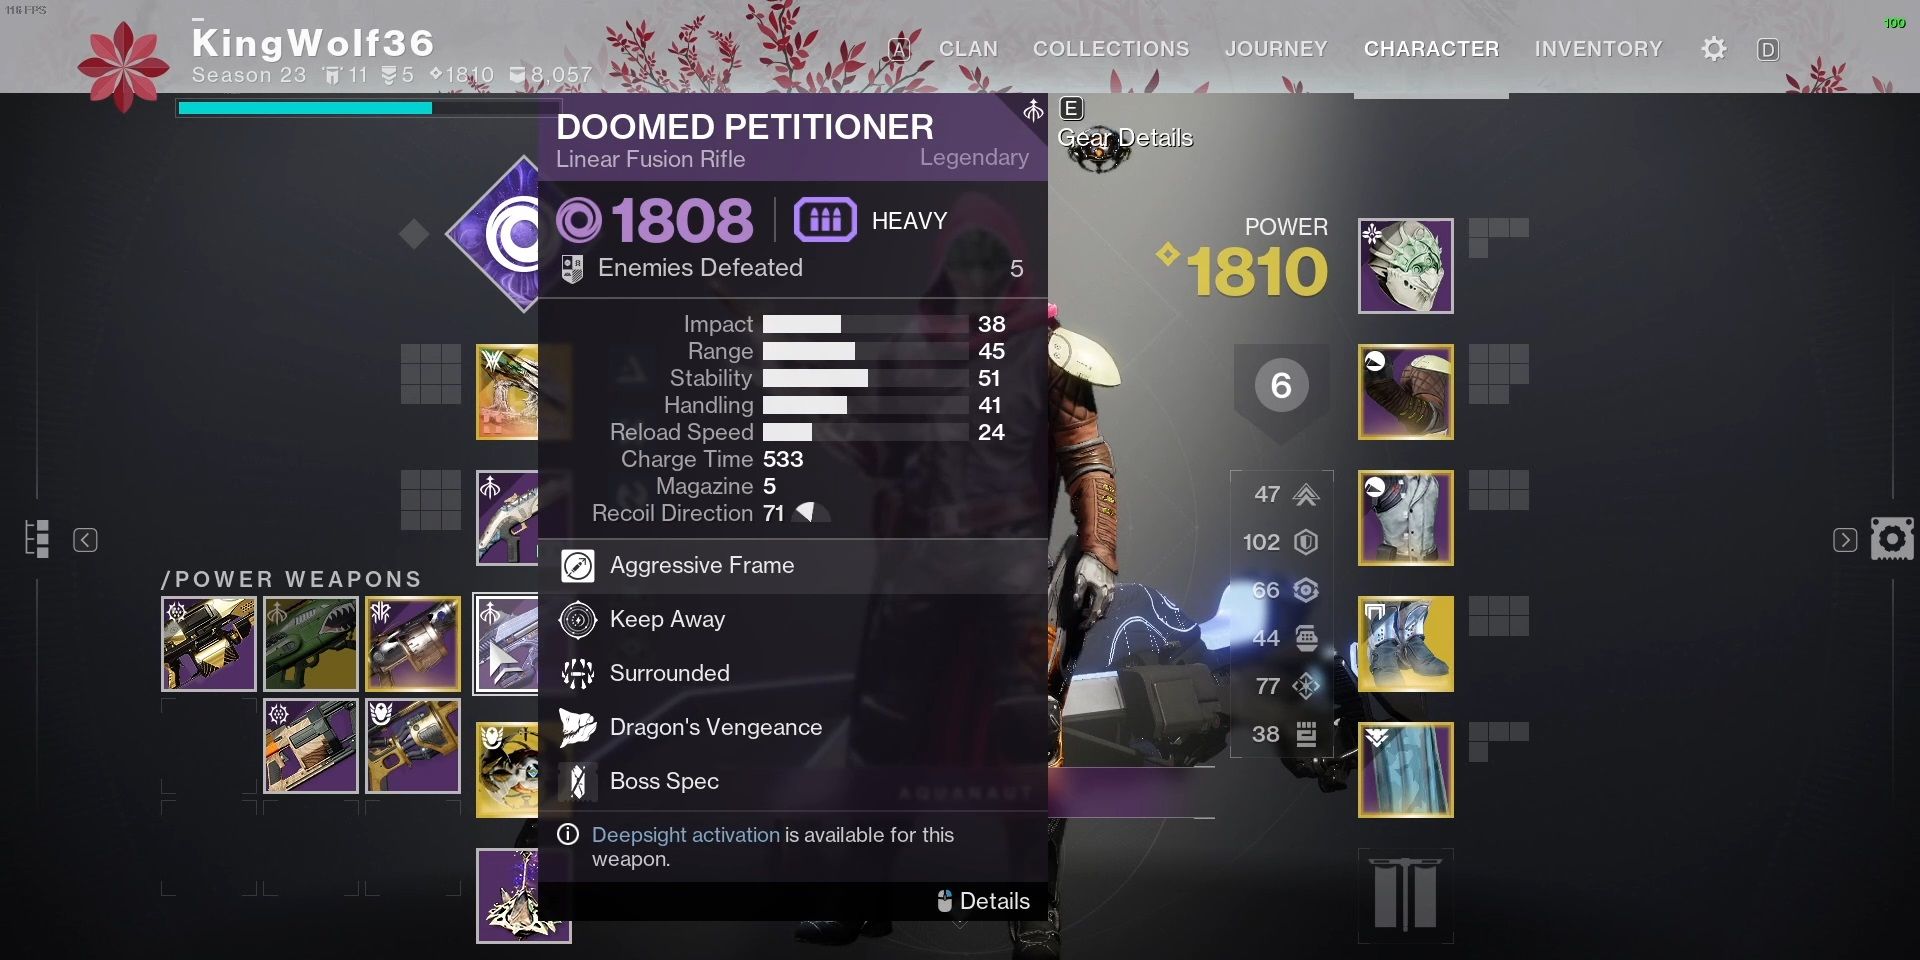
However, we do have some suggestions for your weapons, as you can’t access your vault during the activity. Firstly, make sure you have a superb Linear Fusion Rifle at your Power slot. I can’t stress enough how important it is for the final boss in Warlord’s Ruin. Stormchaser or the new Doomed Petitioner are great choices for your Power Slot. Next to that, add a Machine Gun and a Rocket Launcher to your arsenal.
In your Special Ammo slot, we suggest you equip either a shotgun or an Exotic Linear Fusion Rifle like Arbalest. Finally, use a highly effective Primary Ammo weapon such as Sunshot, Osteo Striga, Rufus’ Fury, Perpetualis, and simply anything that can deal sustained damage with a big magazine and fast reload time.
Reaching The First Encounter
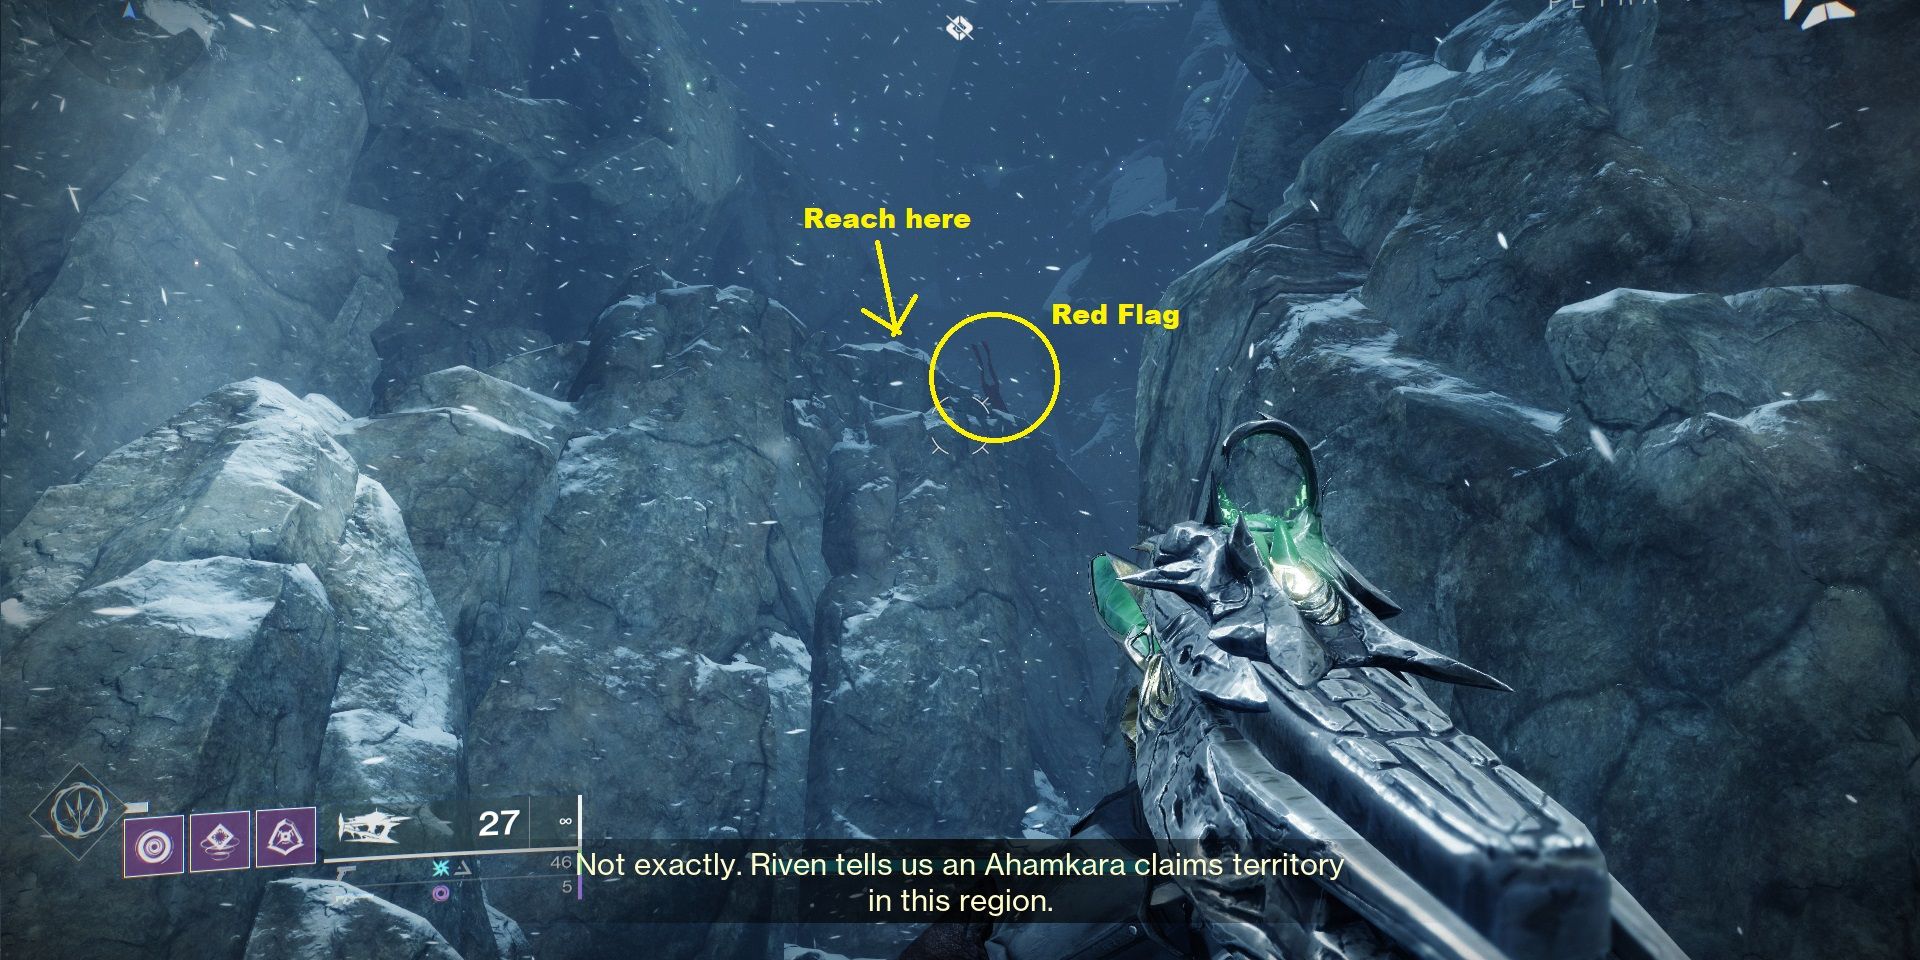
There is a small platforming puzzle at the beginning. Once you start traversing the mountain, you will reach a place with a tall cliff in the middle and two roads around it. On top of this cliff, there is a red flag. You simply need to jump and stand next to that flag. Now, turn back and look to your left, where you can see a narrow edgy cliff. Use it to traverse to the other side of the mountain.
Continue the path based on the image above until you see a bunch of Scorn next to a long bridge. That’s your way to go. Pass over the bridge, head inside the temple, and then turn left. You will also find a door inside the temple that requires “Dispel Level 1”. There are multiple instances of this door in the entire dungeon, but you cannot open them on your first run. You will earn Dispel by completing the mission that Ikora Rey gave you earlier, but the first part of that mission is to complete Warlord’s Ruin at least once. So, ignore all those doors on your first run.

Destiny 2 Season Of The Wish: How To Complete Riven’s Lair
Which portal will you cleanse?
How To Win The First Encounter
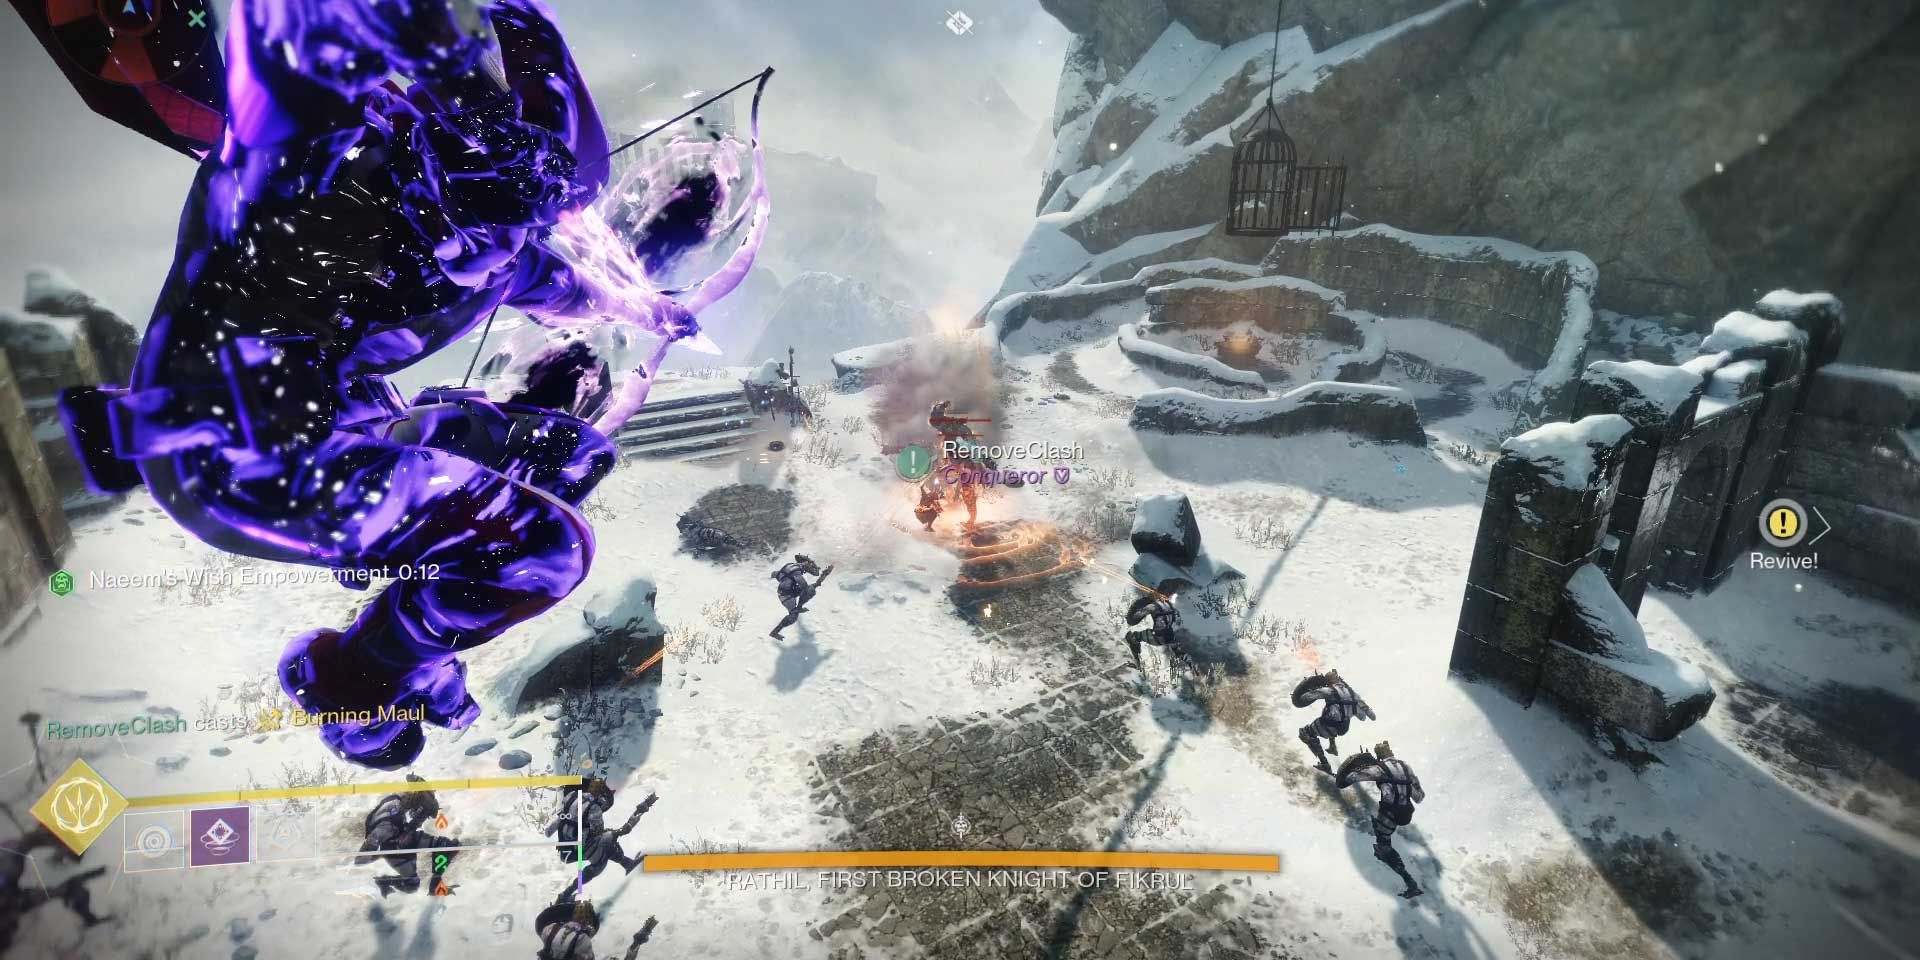
Once you get out of the temple, you will reach the first boss, “Rathil, First Broken Knight of Fikrul” with a rally spot on the ground. We suggest you don’t use your rally flags until you are completely accustomed to the encounter’s mechanics.
If you look around the arena, you will see three cages hanging above. A short period after the encounter begins, the boss will perform a spell that teleports you directly inside those cages. Now, the cage will start moving up gradually, with a tik-tok sound getting intense. If you don’t manage to open the cage’s door in a certain amount of time, the cage will reach all the way up, and three blades will tear you apart, which kills you instantly. But how do you get out of that thing?
Well, while you are inside the cage, three Blighted Eyes will spawn around the cage in a raising format. For example, the first Blighted Eye is on your west and at the foot of the cage, the next one is at your north and middle-height of the cage, and the last one is at your east and top-height of the cage. As soon as you destroy all three Blighted Eyes, the cage’s door will open and you can jump out. However, remember that your cage moves up, but those Blighted Eyes are stationary. So, if you don’t manage to kill the eye at the lowest height first, you might not be able to see it when the cage goes higher. So, try to hit them in the height order, or simply ask your friends to hit your Blighted Eyes if they are already out of their cages.
From the moment that you are teleported inside the cages, a buff called “Imminent Wish” will be applied to your character with a timer counting down. Now that you are out of the cage, look for small Blighted Cores on the ground that the boss has spawned. There will always be two of them on the ground, and they also have a radius that is visible to you. Stand inside the core’s range. One player per core should be enough. You need to stand inside the cores for around 10 seconds. During this time, you will realize that the Blighted Core gets smaller and smaller gradually, until it turns into a few bones, and then it unleashes a small wave of energy. Once that energy is unleashed, you are free to move away from the core’s range.
You should turn those cores into bones as long as your Imminent Wish buff is active. If you succeed, wait until the Imminent Wish’s timer reaches zero, then it will fade away and a new buff will take its place, “Naeem’s Wish Empowerment”. This buff will simply take off the boss’s shield and begin the damage phase. The more cores you turn into bones, the longer you will have this buff. So, equip your Supers or Heavy weapons and damage the boss before the new buff fades away.
After that, you simply need to repeat the same tasks again and again to activate the damage phase and kill the boss eventually. Before we move on to the next part, there are a few tips to share. Regarding the high number of ads that spawn in the area, securing those cores could be difficult. So, it’s quite smart to use Void’s invisibility to hide yourself from enemies’ watch for a certain amount of time while you are securing those Blighted Cores. If you are a Hunter, equipping a Graviton Forfeit helmet will extend your invisibility, which is quite good for securing cores at peace.
How To Get Out Of Prison
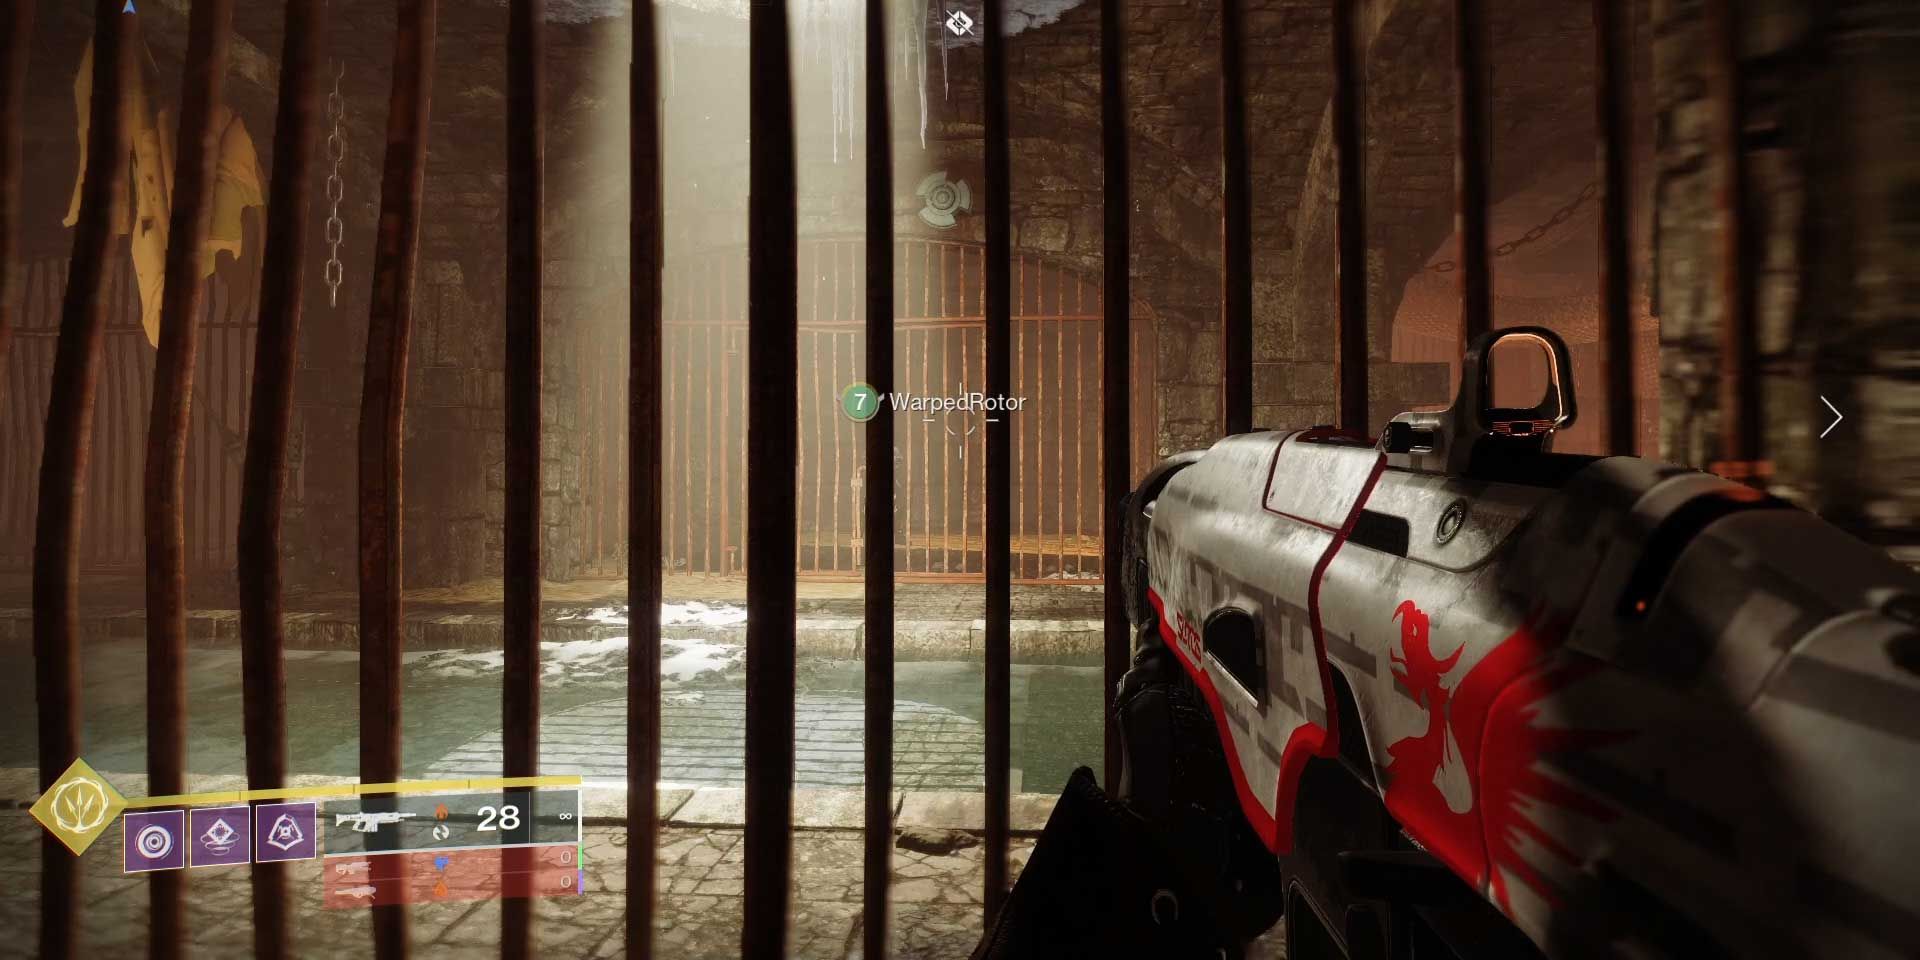
As soon as you kill the boss in the first encounter, you will be teleported inside a prison, with each player located in a separate cell. This is going to be a difficult puzzle to solve, but the answer is quite simple. So, each cell will have a set of unique specifications and viewpoints. The cell that I’m in, as you can see in the images below, does have a concrete ceiling, but I can also see a rock on my left cell which has a reference to “No. 4” with four slashes.
The cell in front of me features a hole in its ceiling. It doesn’t have any visuals of any specific number, but the person in this cell can see and shoot at a lever key, which is located on the left pillar of my cell. Finally, we have a person in a cell on my right, who also has a different number in the front left corner of their cell on the ground. This number is 2. These numbers and the lever key are your way out of prison. Keep in mind that these numbers change in every playthrough.
Now, if you look precisely at different cells and the walls or pillars next to them, you will find a series of disks that can take damage from your bullets, and when you shoot at them, they start rotating. So, when you shoot at a disk first, it starts to rotate in a direction, either clockwise or counter-clockwise. If you want to change that direction, You shoot at it again, so it stops rotating, and then you shoot once more to make it rotate in the opposite direction.
Those numbers that we saw earlier determine how many disks should rotate clockwise and how many should rotate counter-clockwise.
We reckoned that the number printed on the rock shows the counter-clockwise direction, while the one on the ground shows the clockwise direction. So, all you need to do is to rotate two disks clockwise and four disks counter-clockwise, and it doesn’t matter which ones should be clockwise. Once done, shoot at the lever key and the doors should open up.
Each prisoner should have visuals on at least two disks, but the one prisoner in the corner can see and shoot up to 5 disks. So, just divide those disks between your Fireteam members. Again, the numbers will be different in your experience, so keep that in mind.
Destiny 2 Season Of The Wish: All Starcat Locations
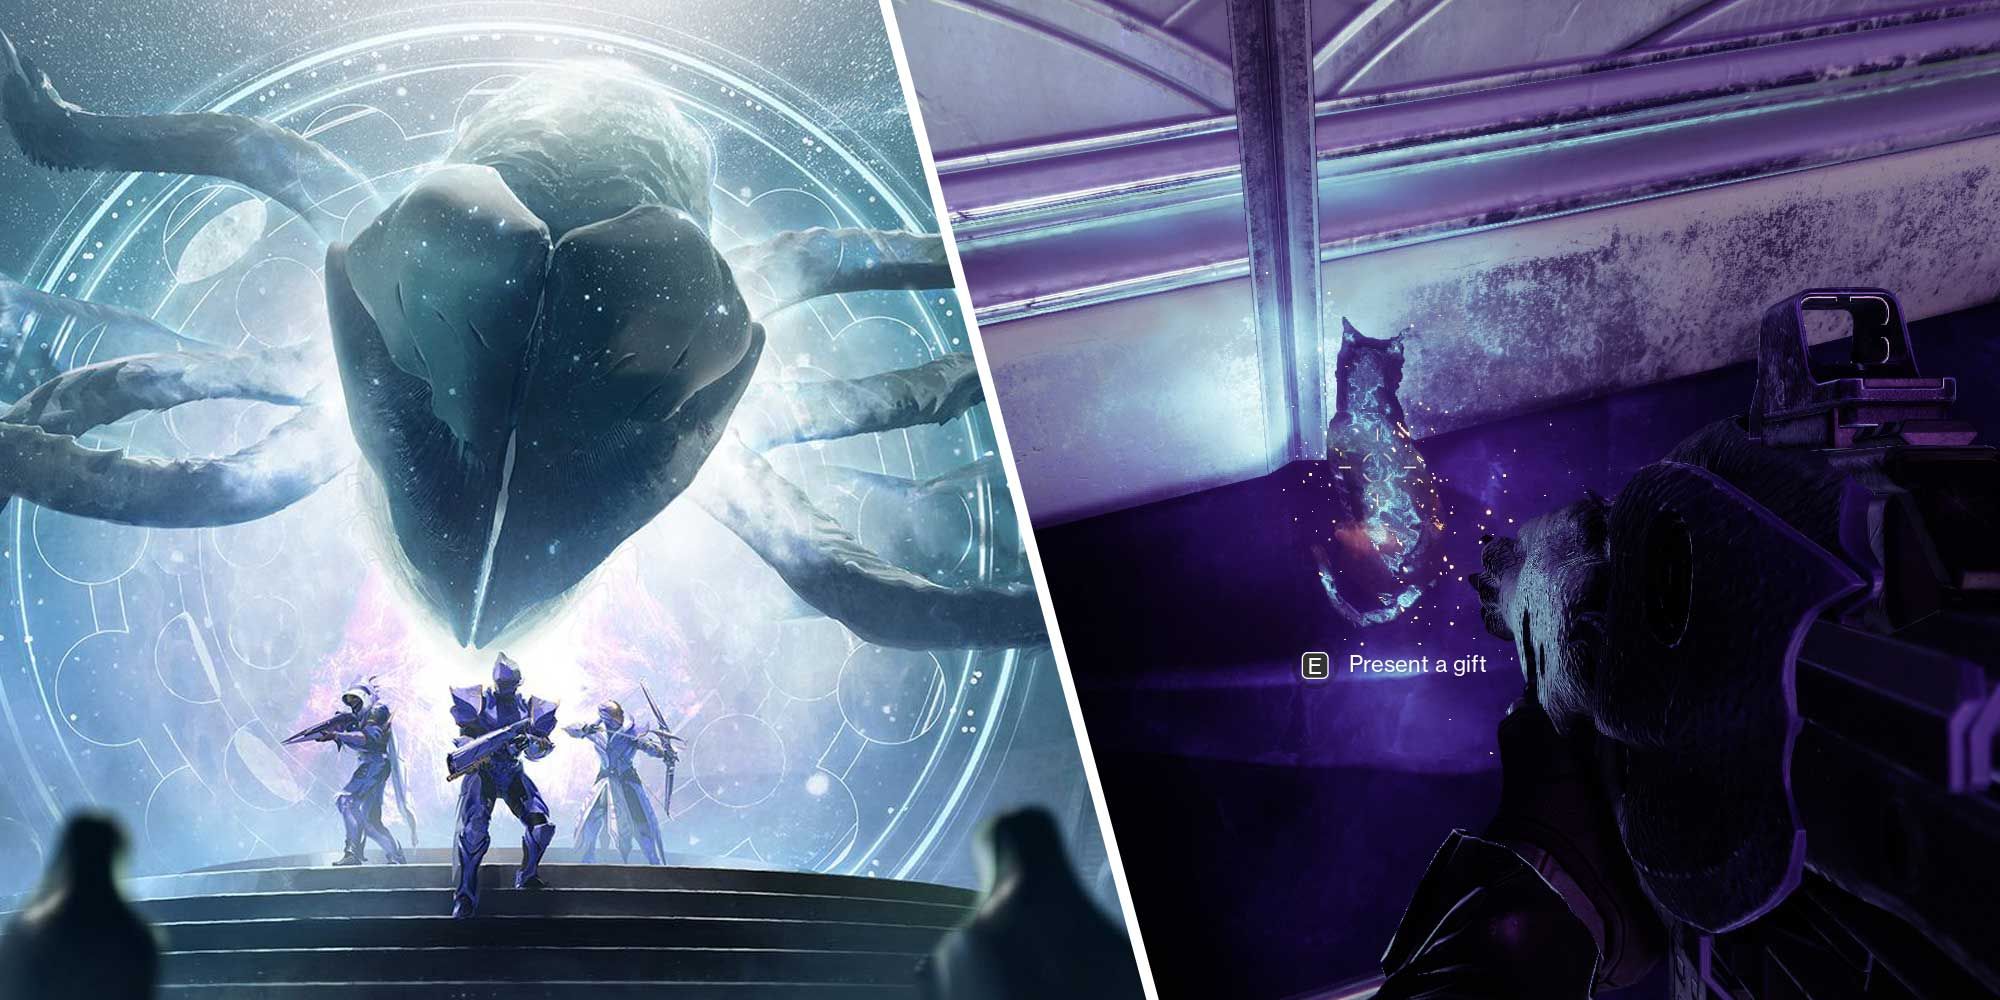
Present a gift to the Starcat in Destiny 2, and she will reward you!
Reaching The Second Encounter
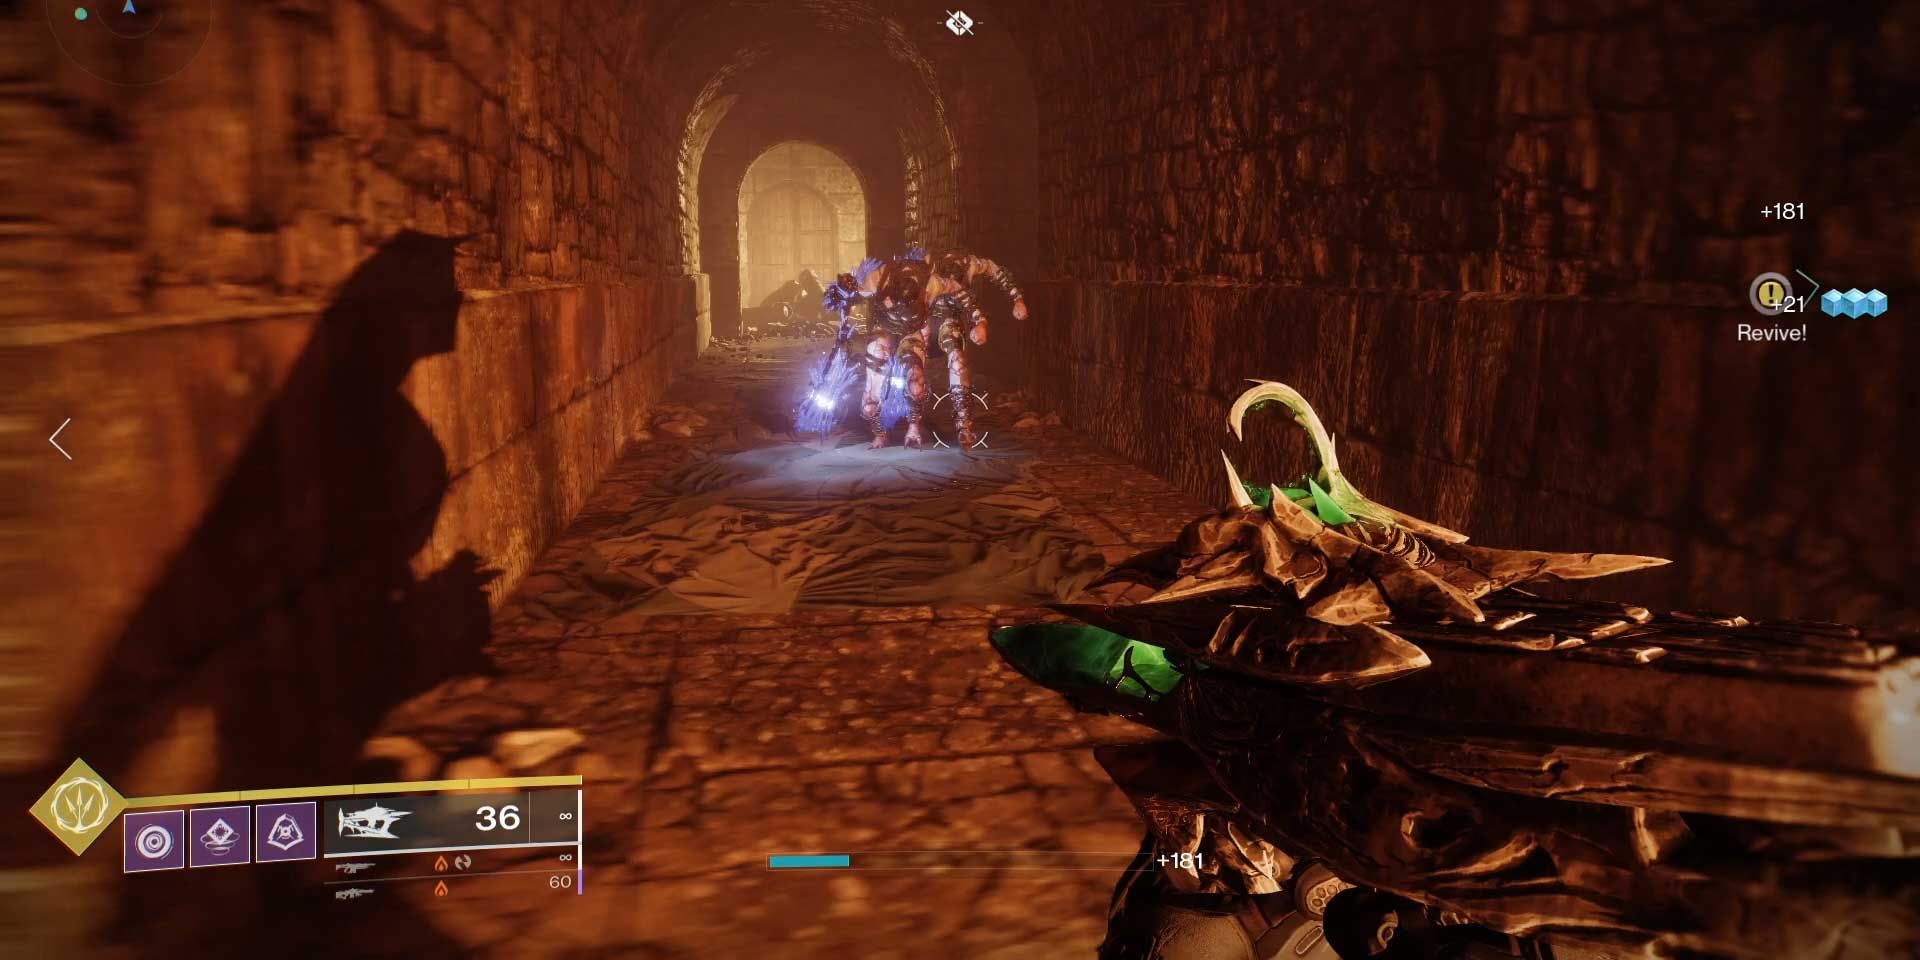
Now that you are out of the prison, collect the loot and head to the end of the corridor where a door is open. You will find yourself in a series of maze-like corridors with deadly traps. Whenever you see a panel on the wall much like an air vent, that means it’s a trap. You either need to jump over it or pass beneath it by sliding. If the air vent sees you, the blades will come out and kill you instantly.
Mostly, there is either a hole in the ceiling or in the ground that takes you from one corridor to the other, until you find a way up to the mountain again. This part isn’t that hard to navigate. Just be on the lookout for holes and you will survive easily.
Once you are in the mountains again, use the tall cliffs in the middle to reach the giant bridge on the other side, where you will kill several Scorn enemies and a giant Eyeball will also spawn, which is immune. At the end of the bridge, you reach a temple entrance, but that’s not the way to the next encounter.
Once you are at the foot of the entrance stairs, turn left, and should be able to spot a narrow ledge a bit above your height. Head over the ledge and follow the next edgy cliffs until you see a sewer entrance on the wall. Get inside the sewer and turn left at the far end as there is a tiny passage for you. Follow the tunnel until you see a big hole in the ceiling.
This will lead you to another corridor. Head upstairs and you will reach the next boss arena.
How To Win The Second Encounter
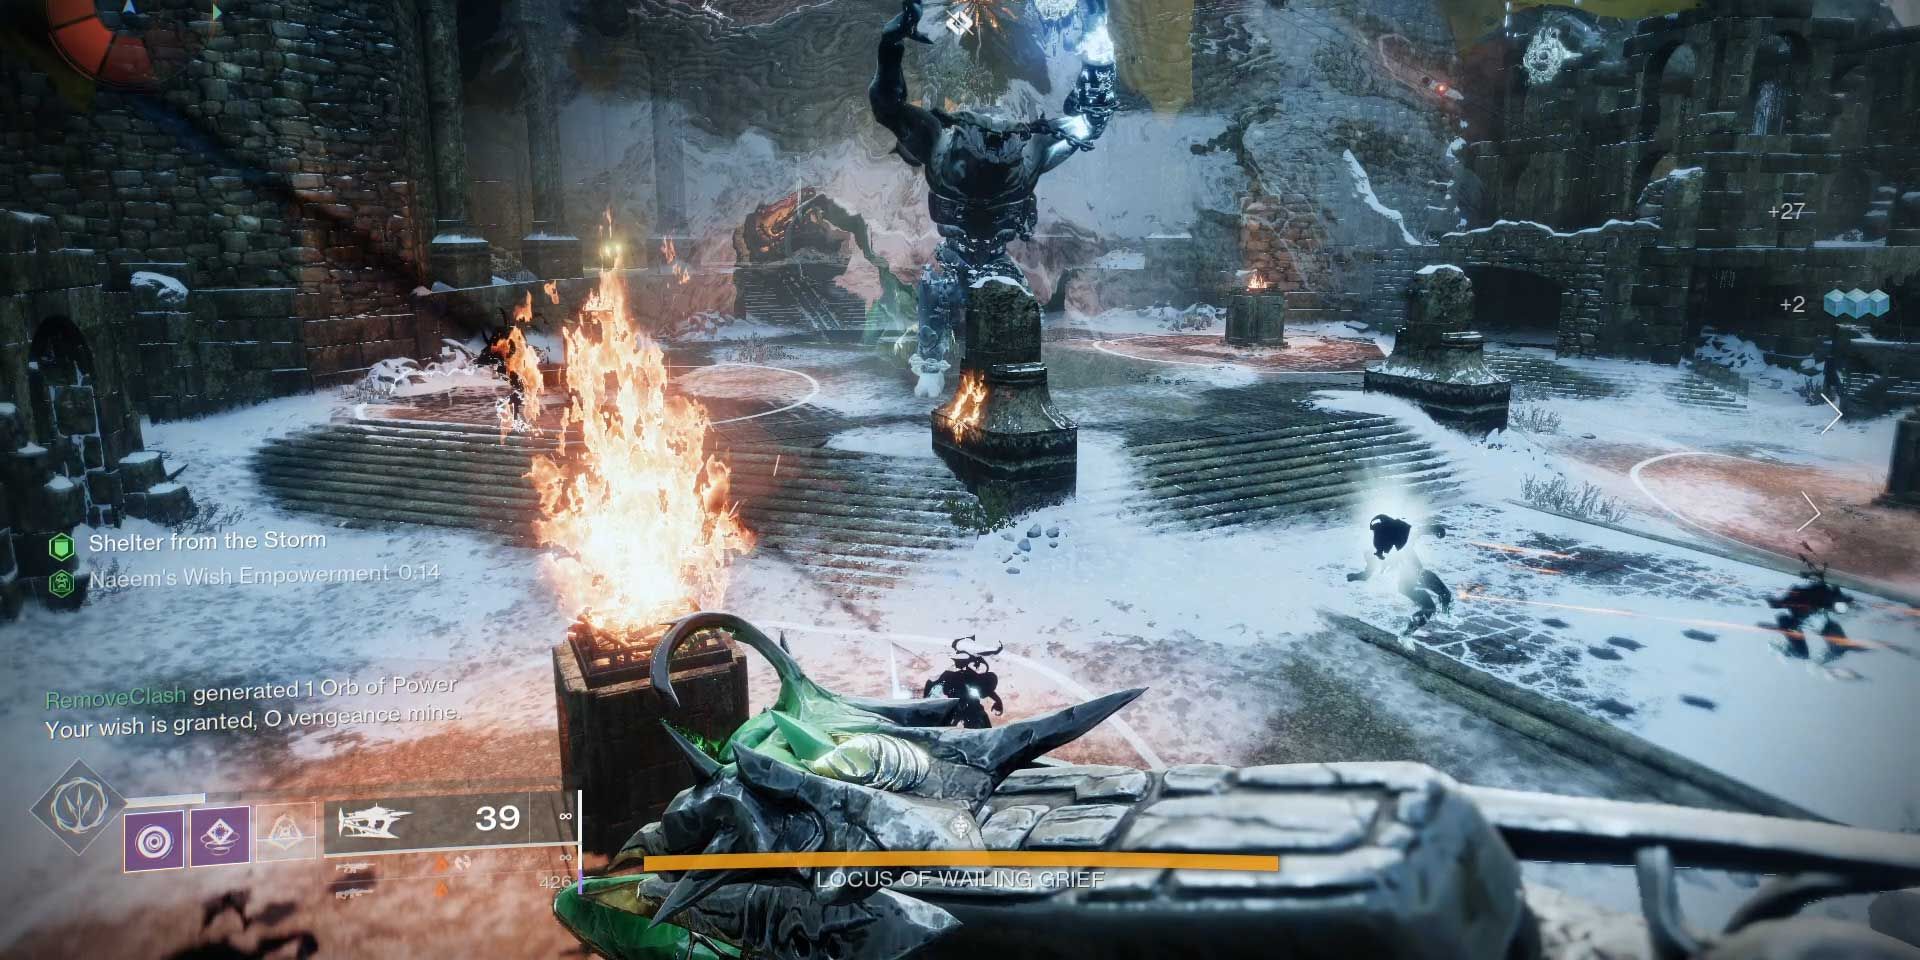
Before starting the encounter, you need to take a tour of the arena. On the backside of the arena, where you entered from, there are several torches located at the corners. If you stand next to a torch, you will receive a buff called “Shelter From The Storm.” Remember that for now, as we will get back to it a bit later.
If you head to the middle of the arena, you can find four rectangular intractable fireplaces, which means you can light up those fireplaces. That’s the primary goal of this fight to start the damage phase. Once you light all the fireplaces, the damage phase begins.
There are also four circular fireplaces on the top floor in the middle of the arena, which is the same spot where you are overlooking the boss. These fireplaces are where the light cores will spawn, and you will need to take them to the rectangular fireplaces to light them up.
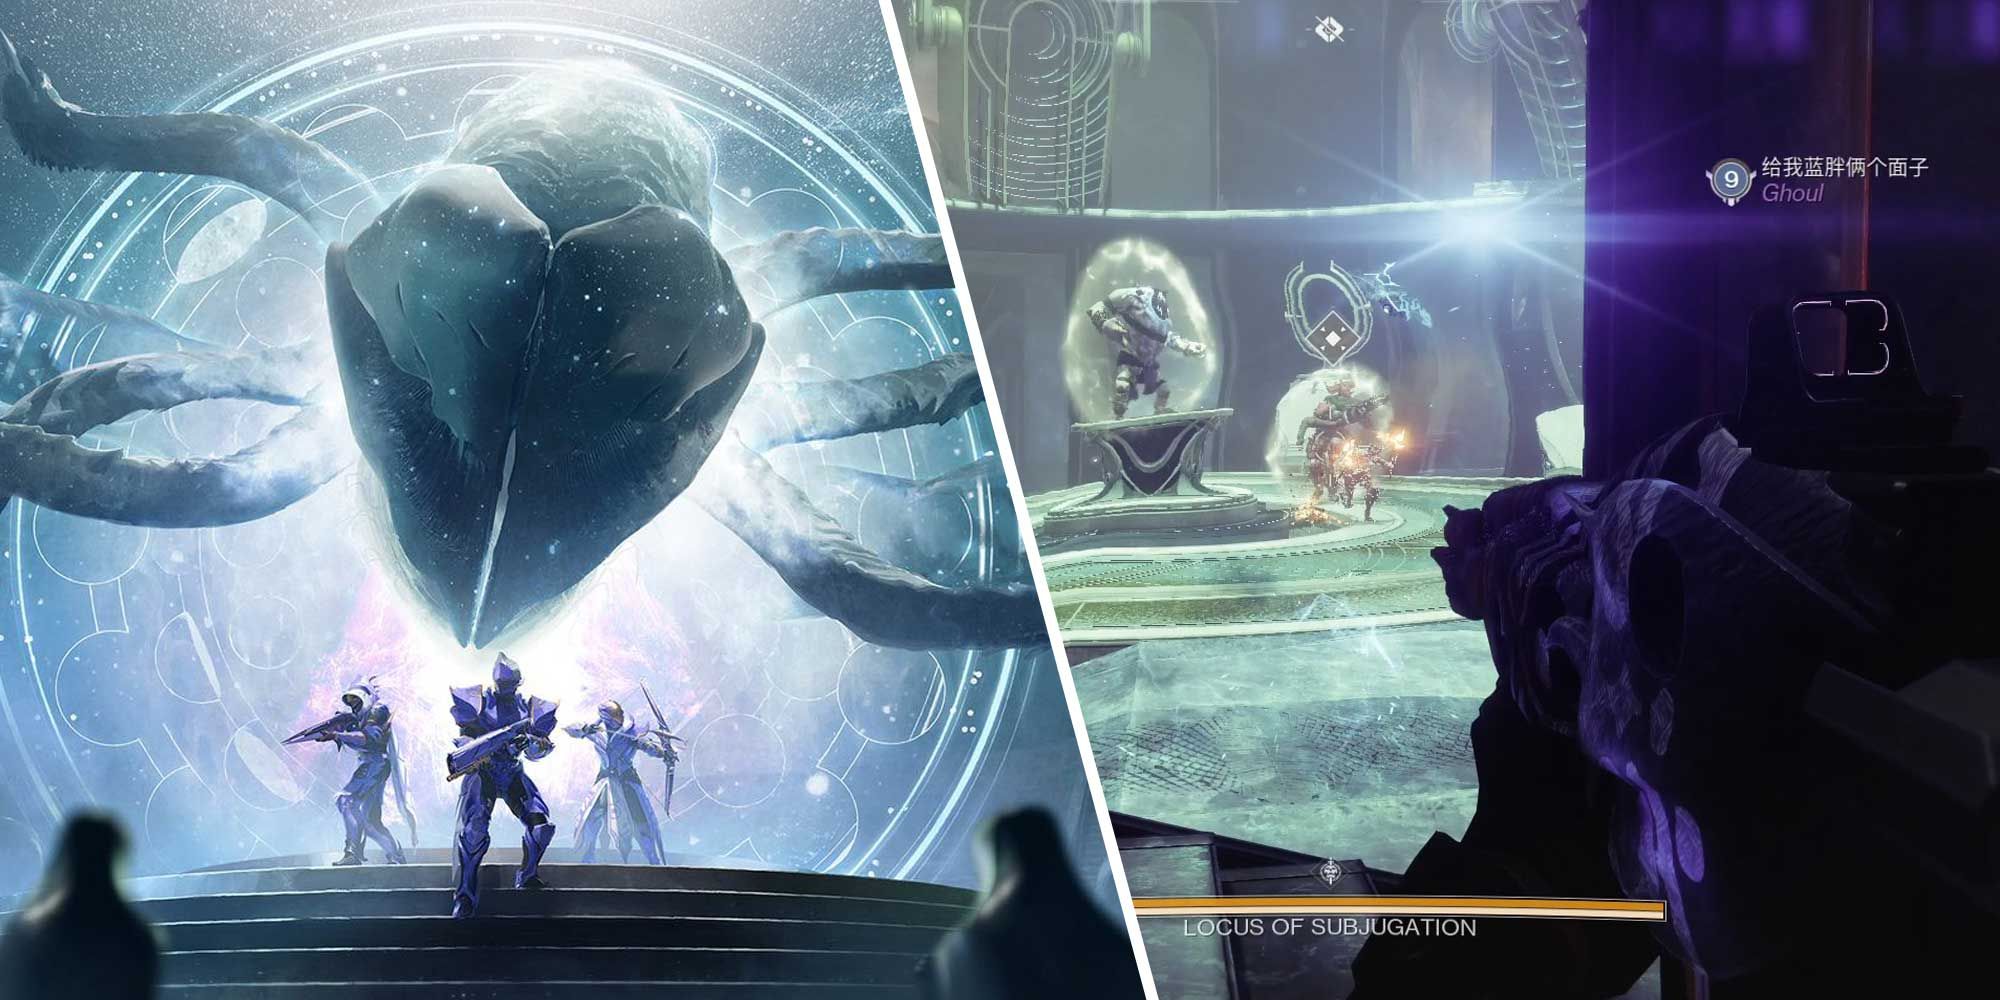
Now, kick off the encounter, and an angry Ogre will spawn in the middle as the boss, named “Locus Of Wailing Grief.” After a short period, several Blighted Eyes will spawn over the arena in a linear order. Take down all the Blighted Eyes to start the next phase. Now, two giant Scorn disciples will spawn at each end of the arena, one in the far right corner and one in the far left corner. These disciples are called “Vrysiks, Third Broken Knight”. So, it’s always great that you have one player at left, one at right, and one clearing ads in the middle, or rushing for help to any of the sides when needed.
While you are trying to defeat Vrysiks, you will get the Imminent Wish buff with a timer and the Biting Cold debuff that stacks up gradually. If this debuff stacks 10 times, you will freeze and die. So, whenever you have this debuff, go stand next to the closest torch, and the debuff will fade away. After you kill the Vrysiks on your side, it will spawn one or two of those Blighted Cores that we saw in the first encounter. You need to get inside the core’s range again and stand still until it turns into bones. However, keep an eye out for your buff and debuff as well. You should turn those cores into bones while Imminent Wish is active, but you should also do it before Biting Cold stacks 10 times. So, once the energy is unleashed from the bones, rush back to the closest torch.
Now, whenever the timer for Imminent Wish reaches zero, you will lose both the buff and the Biting Cold debuff. Soon after that, the light cores will spawn on the top floor of the arena. Based on how many Blighted Cores you have turned into bones earlier, you will get light cores. So, if you manage to turn four Blighted Cores, you will get four light cores which means you can start the damage phase right after, and if not, you will need to repeat the same process and secure one more Blighted Core to spawn another light core and begin the damage phase.
Each player takes one light core and lights up one fireplace in the middle of the arena. When the fourth and final fireplace is lit, the boss will raise its hand to the sky and the damage phase will begin. During the entire damage phase, you need to stay inside the radius of the fireplaces. So, all players will gather around one pre-determined fireplace and open fire on the boss. Since the boss will come closer to turn off the fireplace, Machine Guns and Grenade Launcher work best to deal damage. Once the boss turns off the fireplace, all team members should move to the range of the next fireplace and then start damaging the boss again. Keep in mind that the Biting Cold debuff will be active during the damage phase and it will be intensified, which is why you have to stay in the range of the fireplace to keep it away.
So, you keep damaging the boss around all fireplaces until it turns off the final fireplace, and then you spread out and do everything we explained from the beginning of the encounter again to activate the damage phase once more. Based on the number of light cores you manage to spawn, it should take 3 to 5 damage phases to kill the boss.

Destiny 2 Season Of The Wish: How To Complete The Blind Well
Back to an old public event in Dreaming City!
Reaching The Third Encounter
Now that the second boss is dead, it’s time to move on to the next and final boss arena. There is another platforming area ahead, but it doesn’t include any significant puzzles. You just find the way around the mountain until you reach a cave with a giant Blighted Core in the middle. This part is a bit tricky as you need to jump onto floating rocks while some Blighted Forces will try to push you off the rocks. So, we suggest you boost your character’s mobility, so you can survive more easily.
Continue the path after that and go through a bunch of ruined entrances until you reach a spiral staircase with many Taken enemies around it. Make it to the top of the staircase and then fall off to the next and final arena.
How To Win The Third Encounter
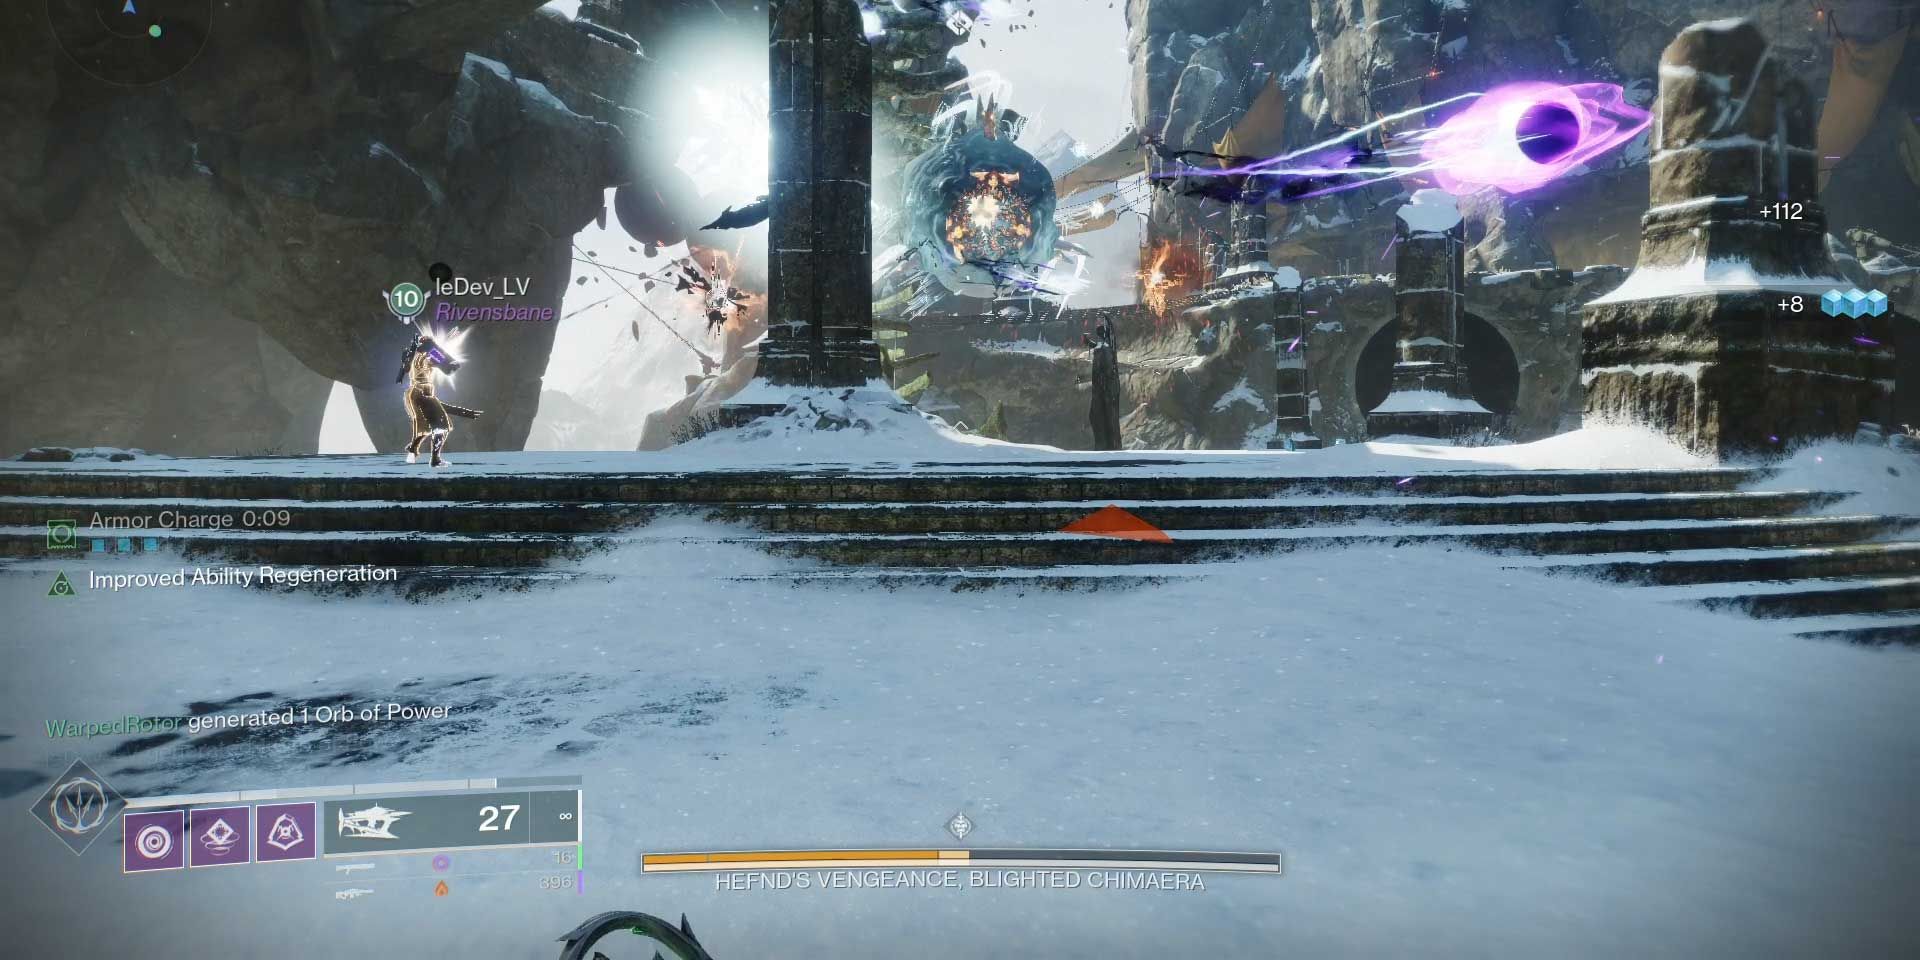
One last step before you get the final loot! Similar to the previous encounter, avoid placing a rally flag until you fully understand the mechanics. Let’s first take a tour around the arena. The first platform is where the engagement begins. The boss is a giant Blighted Eyeball that will spawn in front of those floating bones. On the ground, you will have a large number of Taken ads as well as Blighted Balls that can be destroyed. These balls will create a Blighted terrain on the field that gradually damages the player. So, make sure you get rid of the Blighted Balls as soon as they spawn.
If you look around, you can see there are other platforms on top, but they are temporarily blocked by giant Blighted Cores. That’s how the engagement progresses. So, we do one damage phase at each platform and then move to the higher platform.
As soon as the battle begins, some ads will spawn, and soon after, you will see a row of Blighted Eyes spawn next to the boss floating in the air. Take down all the Eyeballs to spawn two Scorn disciples named “Sirloks, Fifth Broken Knight”, much similar to the second encounter. Soon after both Sirlokses spawn, you will get the Imminent Wish buff and the Hex Of Vengeful Corruption debuff. Both of them have a timer counting to zero. The Imminent Wish works the same way as before. You need to kill Sirloks and turn the Blighted Cores he leaves behind into bones before the buff fades away. However, the new debuff works quite differently.
As soon as you get Hex Of Vengeful Corruption debuff, several orange-bar “Corrupted Hex-Drinker” enemies spawn on the battlefield, with a glowing outline on their skin. These enemies are immune to your bullets. What you need to do is to melee one of the glowing Corrupted Hex Drinkers, and right after that you will get a message in the middle of the screen saying “Vengeful Corruption Transferred”. This will indeed remove the debuff from you and transfer it to that orange-bar enemy. However, there is a catch here: First, each player must transfer their Hex Of Vengeful debuff to a unique Corrupted enemy. A single Corrupted Hex Drinker cannot take two debuffs. Once a Corrupted Hex Drinker receives a debuff, he will no longer glow, which is a good representation of who you should transfer your debuff to and who you shouldn’t. Secondly, if a Corrupted Hex Drinker that has the debuff damages you, the debuff will return to you again, and you must transfer it back to a Corrupted Hex Drinker through melee damage. So, we suggest you transfer your debuff to Corrupted Hex Drinkers when the timer on the debuff is less than 10 seconds, and then run away. When the debuff’s timer hits zero, the Corrupted Hex Drinkers will explode due to their debuff.
Now, in the meantime that you transfer those debuffs, you also need to have an eye out on your Imminent Wish buff and secure the Blighted Cores left by Sirloks then turn them into bones. So, we suggest you first turn the cores into bones, and once the energy is unleashed, go after transferring the debuff to the Corrupted Hex Drinkers.
Once you secure those cores and Imminent Wish’s timer hits zero, you will get Naeem’s Wish Empowerment buff, which simply takes off the boss’s shield and starts the damage phase. The more cores you secure the longer the buff will be available.
Once you damage the boss in the first platform, the battle will move onto the upper platform on the right, and the giant Blighted Cores blocking it will go off. You repeat this process on the second and third platforms in the same way. Once the damage phase on the third platform ends, the boss will move to the smaller platform on the top mid. There are three small platforms next to each other at the top, connected by floating rocks in between. The boss will stop by each of these small platforms for a short period, and it will have its shield off all the time. So, all these three small platforms are damage phases that you should open fire at the boss. The Blighted Eyes will spawn next to the boss on these smaller platforms as well, but you are suggested to ignore them and only focus your shots on the boss. A Linear Fusion Rifle is the best weapon to damage this final boss, as only shooting deep in its throat will deal the highest amount of damage. Once the damage phase ends on the third top platform (sixth platform in total), you will be teleported back to the very first platform, and things will start all over again.
If you look at the boss’s health bar, there is very little chunk of health at the end. Once you damage that boss until that part, it will teleport all players to the top of the spiral staircase that we saw earlier. This is the final damage phase, and you must kill the boss here, or you will be wiped. So, make sure you have enough Heavy Ammo for that part. The boss’s shield will be off in this final part, but Blighted Eyes will spawn again, which should be ignored. Just focus your shots on the boss, so you can get rid of it. As soon as the boss is down, you will get your loot chest, which could reward you with a dungeon weapon, dungeon armor, or the dungeon Exotic if you are lucky enough.
Destiny 2 Season Of The Wish: How To Complete The Coil
How much will you survive?

