Quick Links
Helldivers 2 features a number of powerful weapons, gorgeous armor sets, and explosive Stratagems to add in endless variety in your builds and loadouts when facing down the enemies of Super Earth. Some of the best loadouts in the game feature fun and creative combinations of weapons and Stratagems that can get you through most missions. Even among the best loadouts, however, any online shooter inevitably develops some sort of meta, some ‘ideal’ combination of abilities and equipment to give you the greatest chance of success.
Helldivers 2: Super Credits Farm Guide
With new Helldivers 2 Warbonds releasing every month, it’s so important to have a quick and reliable method for farming Super Credits.
A game’s meta naturally evolves overtime as certain weapons are seen to perform specific tasks in the ‘best’ way, though it’s easy to lose sight of Helldivers 2’s ultimate premise as a team-based co-op shooter — no single build is going to handle every situation in the best way. So, this guide aims to break down several meta loadouts into their individual parts (primary weapon, secondary weapon, Stratagems) that are intended to complement each other. No one loadout is going to see you through the hardest challenges the game throws at you, but with a well-balanced team utilizing the best tools at their disposal, each squadmate will be able to contribute meaningfully toward a flawless victory for Democracy.
Updated by Jeff Brooks on April 12, 2024: This guide has been updated to include some of the awesome options introduced in the Democratic Detonation Premium Warbond. Namely, the Grenade Pistol (secondary) and the Eruptor (primary) both shine incredibly brightly and have swiftly earned a place in the meta. The release of the Thermite Grenade, while underwhelming, also established the need to include a Grenade category here, highlighting the incredible variety of options available for different builds.
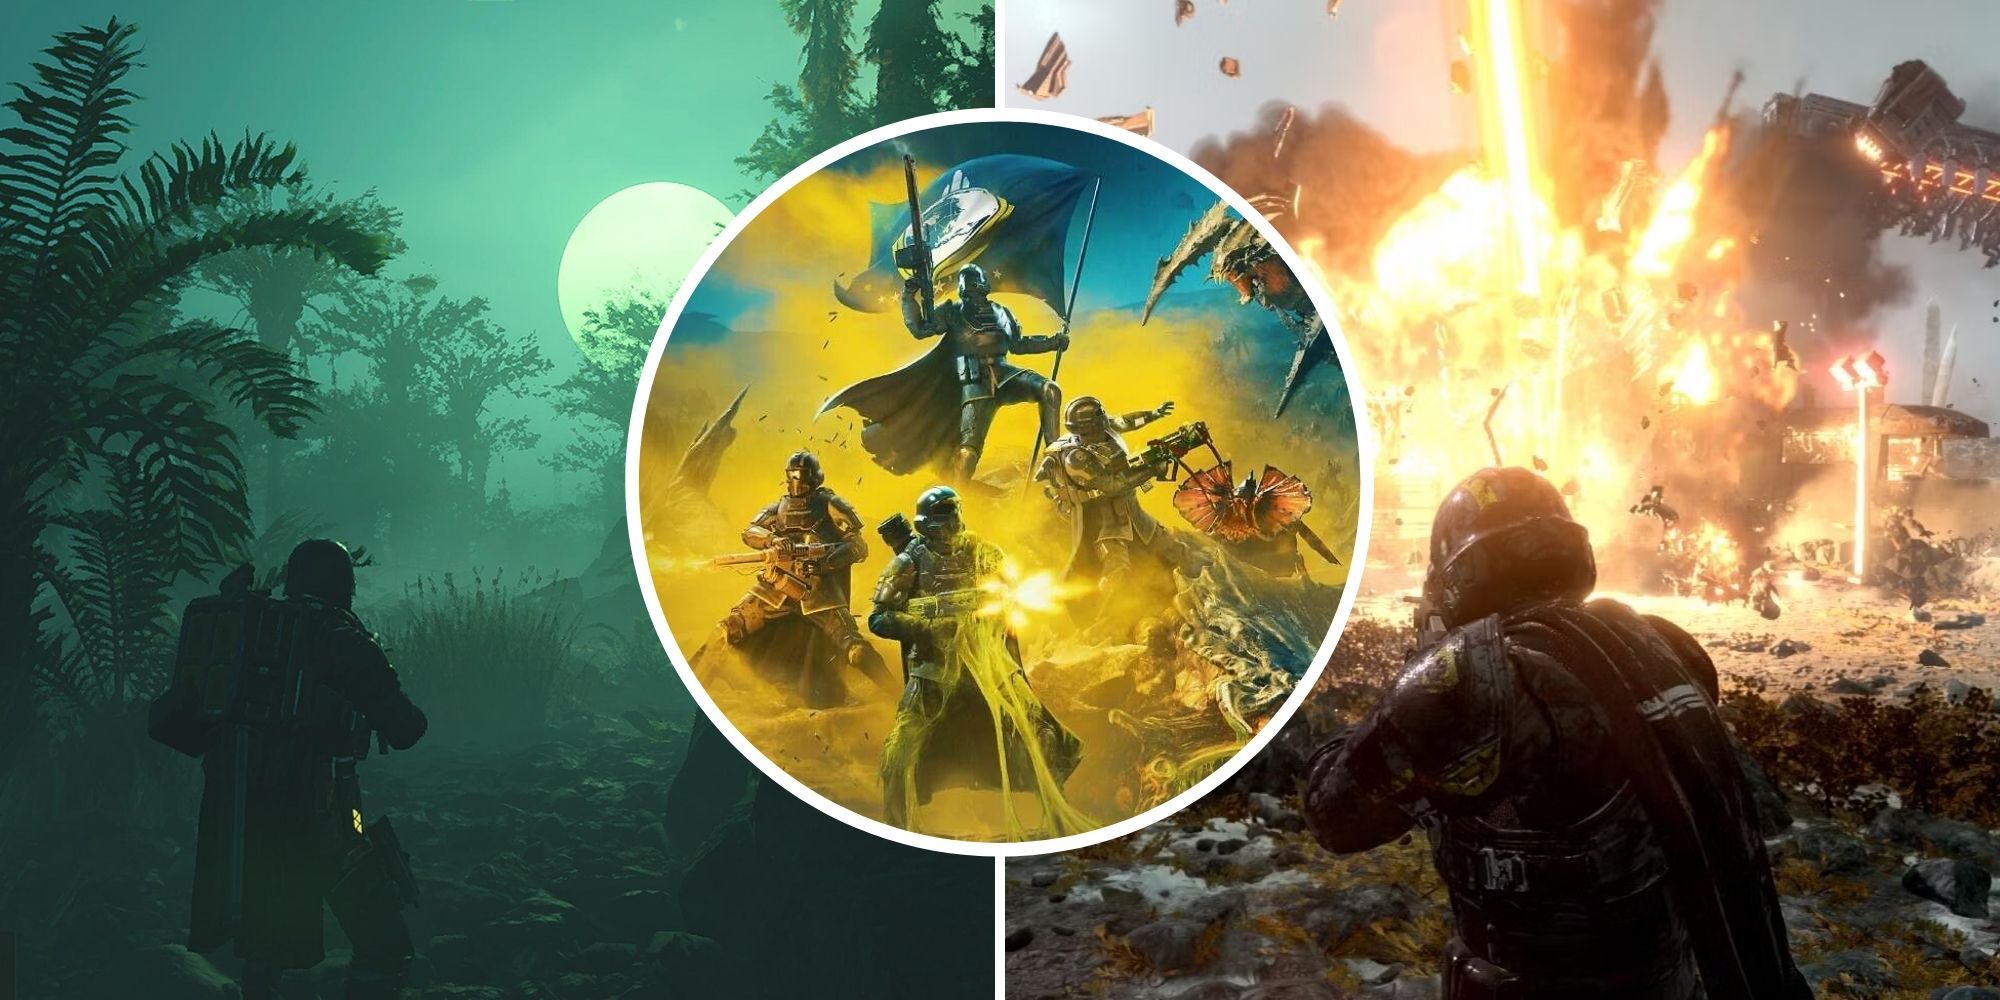
Helldivers 2
- Released
- February 8, 2024
- Developer(s)
- Arrowhead Game Studios
Breaker, Scorcher, And Dominator Lead The Pack

|
Weapon Name |
Weapon Type |
Weapon Stats |
Weapon Traits |
How To Unlock |
|---|---|---|---|---|
|
SG-225 Breaker |
Shotgun |
|
|
|
|
PLAS-1 Scorcher |
Energy-Based |
|
|
|
|
JAR-5 Dominator |
Explosive |
|
|
|
|
R-36 Eruptor |
Explosive |
|
|
|
The Breaker once dominated the Primary Weapon meta, but after a couple rounds of balance changes, the meta feels in a much healthier place overall. The PLAS-1 Scorcher and JAR-5 Dominator have both been brought to the foreground (the Scorcher because it was simply being overlooked by many, and the Dominator due to its recent buffs). These three weapons (Breaker, Scorcher, and Dominator) offer fantastic usability across many scenarios, though they do each excel in specific ways.
- SG-225 Breaker: The standard Breaker is still standing roughly at the top of the pack, despite its nerfs in the March 6 balance patch, which reduced its magazine size from 16 to 13 and increased its recoil from 30 to 55. This shotgun offers a high rate of fire (especially with its semi-automatic fire mode), and each shot delivers strong damage. It holds 13 shots per clip, uses clips rather than slugs (making for faster reloading), and it is deadly even at medium range. The Breaker is not only excellent at pinpointing those pesky enemies on the verge of calling in an Automaton Dropship or Bug Breach, but you can really let loose in those tense situations when you’re overwhelmed. Sure, some other Breaker variants put up a fight thanks to some balance changes — not even factoring in the buff to the Breaker Incendiary — but the OG Breaker remains a favorite at all levels of play.
- PLAS-1 Scorcher: Hiding on the last page of the Helldivers Mobilize Warbond, the Scorcher has long been overlooked (primarily due to how time-consuming it is to actually unlock). The Scorcher delivers excellent splash damage with each explosive shot, has basically unlimited range, and it can quickly lay waste to hordes of smaller enemies while also delivering swift justice to light and medium armored targets. The Scorcher is an incredible asset on the battlefield, its splash damage able to take down Scout Striders through their armored front with ease. All that said, it comes with two dings against it: close-range engagements can get you killed due to its explosive damage, and it’s easy to run out of ammo if you aren’t careful. A Support Weapon like the Stalwart, or the Supply Pack Stratagem to keep your ammo flowing, can both help alleviate these issues.
- JAR-5 Dominator: Fulfilling a similar role as the Scorcher, the Dominator is back in the spotlight with its recent buff from 200 to 300 damage per shot. The Scorcher is easier to wield due to its splash damage being a bit more forgiving on targeting weak points, and the Dominator’s projectile is noticeably slower, but with practiced aim, the Dominator will outclass the Scorcher’s capacity for eliminating some of the more frustrating enemies on the field (a single well-placed headshot will kill a Devastator). The April 2 buff also increased the Dominator’s stagger, allowing for more battlefield control and delivering the breathing room you’ll want when wielding this weapon due to its more aggressive recoil. The Dominator simply excels at eliminating many frustrating enemies at great range, allowing for some more flexibility on your Support Weapon of choice.
- R-36 Eruptor: This powerful new weapon is quickly rising in the meta ranks. Sharing some overlap between both the Dominator and the Scorcher, it offers long-range explosive damage that can take out quite a few of the most frustrating enemies you’ll come across on the battlefield — regardless which faction you’re up against. It also marks the first primary weapon that is capable of destroying Bug Holes and Bot Fabricators, greatly adding new loadout flexibility. Due to it functioning somewhat like a mini-Autocannon, you’ll need to make sure you’re able to deal with swarming threats up close via your secondary weapon, your grenade, and your Support Weapon. With Support Weapons like the Stalwart or Arc Thrower, the Eruptor is a terror on the field.

Helldivers 2: Who Is Joel The Game Master?
Helldivers 2 devs revealed the existence of a Game Master, Joel, who oversees the war effort. But what does this enigmatic figure do?
Redeemer & Grenade Pistol Above The Rest
|
Weapon Name |
Weapon Type |
Weapon Stats |
Weapon Traits |
How To Unlock |
|---|---|---|---|---|
|
P-19 Redeemer |
Pistol |
|
|
|
|
Grenade Pistol |
Pistol |
|
|
The P-19 Redeemer previously was the unequivocal leader in secondary options, but the release of the Grenade Pistol is certainly giving it a run for its money. Not because it’s strictly better, but because it delivers a strong use-case that the P-19 Redeemer simply can’t fill.
- P-19 Redeemer: The P-19 Redeemer is a rapid-fire juggernaut. Its impressive fire rate (1100) far outpaces the other two pistols in the game (900 for the Peacemaker, 200 for the Senator). Emptying a clip at lightning speed, you can dish out a lot of damage in a very short amount of time. It does come with a major drawback in its 4-magazine max, and with how quickly you can burn through a clip, but as long as you reserve it truly as a backup when things get really dicey, it can save your Democractic butt.
- Grenade Pistol: This awesome secondary greatly expands the build options available to you simply due to the fact that it can close Bug Holes and destroy Bot Fabricators. This is a utility you really don’t want to be lacking, typically forcing you to dedicate your Grenade slot or Support Weapon to the cause. With the Grenade Pistol in hand, you can vary things up, opting to rock the Stun Grenade and Arc Thrower, for example, since you’ll still be able to close enemy spawns with this handy new pistol.

Helldivers 2: 10 Best Ship Module Upgrades To Get ASAP
Ship Module upgrades are one of the best ways to enhance your Helldivers 2 experience. This list breaks down the best ones you need to unlock ASAP.
Wide Variety Of Options

Your Grenade slots are perhaps some of the most varied in their use cases. While the standard starter grenade is great for general madness and mayhem (and of course closing Bug Holes and Bot Fabricators), you might want to consider some of these other options if you’ve got Bug Holes and Bot Fabricators covered some other way.
- Impact Grenade: Able to offer instant gratification in the form of a localized explosion, the Impact Grenade cuts out the fuse timer to simply, well, explode on impact! You won’t need to anticipate enemy movements with this one; simply aim and throw into the crowd. It’s possible to blow up Bug Holes and Bot Fabricators with this grenade, but it’s very tricky to get the right angle. For Fabricators, you can wait until the doors open to throw one in, blowing it up in the process.
- Smoke Grenade: Excellent on higher difficulties (7-9), this Grenade becomes instrumental on missions where stealth and avoiding patrols is critical to success. Simply toss this grenade between you and an enemy patrol, and they’re unlikely to even notice you as you head the other direction. Even if they do, their shot accuracy drops dramatically when shooting through smoke, giving you a clean getaway.
- Stun Grenade: The Stun Grenade is an incredible tool for controlling the battlefield. A smaller, localized EMS, this will stop every enemy in its tracks (except for Bile Titans), giving you crucial moments to reposition or line up that killer shot. This can be critical for keeping enemies in place for your Eagle Airstrike to wipe them out.
High Priority Targeting & Horde-Clearing Mayhem

Now, onto the more complicated meta options. Support Weapons cover the best hand-held firepower your ship can deploy at the drop of a Hellpod. Some weapons are noticeably weaker and won’t be making an appearance today, but there is no single ‘best’ option here. Not overall, anyway. Instead, this section will be detailing the sort of ‘best in class’ for different battlefield purposes. Below, we’re breaking down the best Support Weapons you want being used in your squad to be ready for anything and everything thrown your way.
High-Priority Target Meta – Quasar Cannon / EAT-17 / Anti-Materiel Rifle / Autocannon
|
Weapon Name |
Stratagem Type |
Stratagem Stats |
Stratagem Traits |
How To Unlock |
|---|---|---|---|---|
|
Quasar Cannon |
Engineering Bay |
|
|
|
|
Expendable Anti-Tank |
Patriotic Administration Center |
|
|
|
|
Anti-Materiel Rifle |
Patriotic Administration Center |
|
|
|
|
Autocannon |
Patriotic Administration Center |
|
|
These four weapons feature a variety of use-cases against high-priority targets, offering great tools against the most heavily armored enemies, medium-armored threats, and also specific mission objectives. While the Railgun once reigned supreme as the go-to for a variety of scenarios, several rounds of balance changes (including reducing spawn rates for certain enemy types like Chargers) have bumped the Railgun fully out of the meta, with other weapons fulfilling its functions better, but more specifically (more on that below).
- Quasar Cannon: The newest addition to this grouping, the Quasar Cannon delivers some phenomenal power with unlimited ammo. This weapon covers a very similar use-case to the EAT-17 (more on that below). This thing can one-shot Chargers, two-shot Bile Titans, blow Automaton Dropships out of the sky, and generally cause devastation from near limitless range. It’s counterbalanced by its 3-second charge time and 10-second cooldown, but if you utilize spacing well, this weapon is a godly tool on the battlefield.
- Expendable Anti-Tank (EAT-17): The EAT-17 has flourished since the March 6 nerf to the Railgun, delivering quick devastation against heavily armored enemies. Delivering similar power as the Quasar Cannon, the EAT-17 is a single-use rocket that can one-shot Chargers and (with good aim) 2-shot Bile Titans. a Hellpod delivers 2 EAT-17s at a time, and with a 70-second cooldown by default, many players recommend simply calling them down as often as you can all over the map. This scattershot approach creates wonderful opportunities to discover a powerful weapon during random encounters around the map. Its Hellpod can also be a great instakill on big enemies in a pinch!
- Anti-Materiel Rifle: This sniper rifle has always held its own niche in the community, especially against Automatons, but its recent 30% damage buff now makes it absolutely devastating on the battlefield. Able to kill a Brood Commander in a single hit, take down a Devastator in 2 body shots — and the new Automaton Gunships in 4 shots to their engines — this gun finally feels like a powerful battlefield sniper rifle. It’s not perfect, though; the AMR still has a wonky scope, with shots roughly landing in the upper left corner of the crosshairs, but unless you’re shooting at extreme ranges, this sighting misalignment isn’t as noticeable when dealing in more medium-range scenarios. A great Support weapon when paired with a Breaker for close-range action.
- Autocannon: This powerful Support Weapon doesn’t offer heavy armor penetration, but it does a phenomenal job at destroying medium-armored targets (it can even deal with a Charger in a pinch), it can take out Bug Nests, Bot Fabricators, and Shrieker Nests at long range, and it can even disable a Bile Titan’s projectile attack. You won’t be able to utilize another backpack Stratagem since the Autocannon comes with its own backpack of ammunition, but it’s worth having one on the field. Also, with some light horde clearing potential, the Autocannon delivers excellent utility across combat encounters.
The key to utilizing these powerful, high-priority target tools is not to have too many. A team fully loaded out with these above four weapons could easily get overwhelmed by the many smaller horde enemies without the proper tools to deal with those threats. Sure, you could counterbalance these weapons with other Stratagems geared toward horde clear, but a well-balanced team should include some horde-clear capabilities as well.
The Autocannon stands as a sort of bridge between the heavy-armor Support weapons and the horde clearing Support weapons, but aside from that, I wouldn’t recommend more than 2 of the heavy-armor penetration weapons in any given squad.
Horde Clear Meta – Arc Thrower / Grenade Launcher / Flamethrower / Stalwart
|
Weapon Name |
Stratagem Type |
Stratagem Stats |
Stratagem Traits |
How To Unlock |
|---|---|---|---|---|
|
Arc Thrower |
Engineering Bay |
|
|
|
|
Grenade Launcher |
Engineering Bay |
|
|
|
|
Flamethrower |
Patriotic Administration Center |
|
|
|
|
Stalwart |
Patriotic Administration Center |
|
|
All four of these weapons work fantastically well not only at horde clear — keeping enemies from overwhelming your Railgun wielder(s) — but these also do significant damage to Medium-armor targets. You’ll need to be a bit more precise with your shots with the Grenade Launcher and Autocannon (not so much the Flamethrower), but you can be effective at taking down Chargers while also blowing up swarming bugs and bots.
- Arc Thrower: The electric current of the Arc Thower completely bypasses armor, and it comes with unlimited ammo. This is not only great at some smaller-scale ad clear, but it can even provide crucial supporting damage against heavier targets. It’s also very good at accidentally cooking your nearby allies. Additionally, with the newer arc-resistant armor included in the Cutting Edge Warbond, this Support Weapon can be even more valuable — if your allies are wearing the arc-resistant armor, you can operate without fear of killing allies. The April 2 balance patch noticeably reduced the Arc Thrower’s range, but it compensated for this by dramatically increasing its stagger on enemies, allowing for more close-range battlefield control. It’ll even stagger a Hulk, now! This offers fantastic battlefield, on top of bypassing armor.
- Grenade Launcher: This weapon is a little less effective at taking down Medium armored targets compared to something like the Autocannon, but it makes up for it with superior ad clear and extremely accurate (and fast) grenade placement — it’s excellent for clearing bug nests and bot fabricators, as well as blowing up pockets of smaller Scavengers and Troopers.
- Flamethrower: The Flamethrower got a huge buff in the March 6 patch, increasing its DPS by 50%! It’s still a very risky weapon, as you can easily light yourself and your allies on fire, and it doesn’t have great range, but it completely bypasses armor, just like teh ARc Thrower, and it can clear out adds pretty quickly now with the +50% DPS.
- Excels against Terminids but feels less useful against Automatons due to the frequency at which you’ll engage bots at longer ranges.
- Stalwart: The Stalwart is a bit of a dark horse here, as it’s often seen as a glorified primary weapon by many in the community due to its complete ineffectiveness against medium-armored targets. But in a well-balanced team, the Stalwart absolutely shines as a true Support Weapon. Featuring 150 bullets per clip and minimal recoil (even while moving), this weapon is ideal for a run-and-gun strategy, delivering devastation on hordes of smaller enemies. This is one of the best weapons capable of covering your Quasar Cannon or Railgun-wielding allies, helping clear off the smaller deadly enemies so they can focus on the larger ones. Pairs beautifully with the new Eruptor.
A well-balanced loadout across your entire squad — sporting a couple high priority target weapons and a couple horde clear weapons — will allow for you and your team to deal with any situation the Automatons or Terminids can throw your way.

Helldivers 2: How To Get Premium Warbonds
Premium Warbonds release every month and offer the latest weapons and armor technology for all your battlefield needs!
Help Yourself & Help The Team
|
Stratagem Name |
Stratagem Type |
Stratagem Stats |
Stratagem Traits |
How To Unlock |
|---|---|---|---|---|
|
Shield Generator Pack |
Engineering Bay |
|
|
|
|
Supply Pack |
Engineering Bay |
|
|
- Shield Generator Pack: This Backpack Stratagem sat on the top of the pack for a long time, but with the March 6 nerf extending the time it takes to recharge after getting taken out, it’s not as dominant as it once was. It will still save your life from a nearby Eagle 500kg Bomb, and it will still allow you to escape getting slowed down by aggressive Terminids, but the longer recharge means you can’t be as reckless as before. For your less cautious squadmates, this Backpack Stratagem can be immensely helpful.
- Supply Pack: For when you just want to put the team on your back. Everyone loves a squadmate with a Supply Pack. It helps keep those high-damage, low ammo count Support Weapons in the fight longer, which is a huge boon on higher difficulties. Between regular Resupplies and the Supply Pack, you’ll keep everyone in the fight longer.
- Support Weapon Ammo: Inevitably, you’ll have 1 or 2 backpacks that serve to hold excess ammo for your heavy-duty weaponry, like the Recoilless Rifle or the Autocannon. Buddy up with a teammate to dish out this ordinance quickly and furiously!
Quantity & Quality

For your best offensive Stratagem options, you’ve got a wide variety of explosive options before you. Some can be pretty underwhelming, while others stand ahead as the clear meta options available to you. Like with the weaponry covered above, it’s important to have a spread of these meta options, as they all work beautifully with one another, filling different use-cases and delivering maximum carnage to the enemies of Democracy.
|
Stratagem Name |
Stratagem Type |
Stratagem Stats |
Stratagem Traits |
How To Unlock |
|---|---|---|---|---|
|
Orbital Laser |
Orbital Cannons |
|
|
|
|
Orbital Railcannon Strike |
Orbital Cannons |
|
|
|
|
Eagle 500KG Bomb |
Hangar |
|
|
|
|
Eagle Airstrike |
Hangar |
|
|
- Orbital Laser: This Stratagem excels at its flexibility. Due to its passive nature, you can ‘set it and forget it,’ and it will simply seek out any nearby enemies. It’s great when it fixates on a Bile Titan; it’s great when it’s popping smaller bugs left and right. It’s effective no matter the situation. With only 3 uses per mission, however, it should be used sparingly, but whenever you bust this out, it’ll alter the course of any battle.
- Orbital Railcannon Strike: This devastating blow is perfect for precision take-downs — excellent for pesky Chargers. Though it won’t consistently down a Bile Titan, it will always make an immediate impact on the battlefield. Due to its admittedly lengthy cooldown, its use-case drops off considerably in the highest difficulty tears, as you’ll be dealing with too many heavy units to make much of a difference with it; it’s best to pair this with something quick and devastating, like the Eagle Airstrike.
- Eagle 500KG Bomb: Its single use before cooldown might feel a bit limiting, but it delivers such incredible destruction that it’s practically a must have if for the spectacle alone — though its damage is critical as well. Once you unlock the Expanded Weapons Bay Ship Module, it’ll have 2 uses before needing to recharge, doubling your destructive firepower. This Stratagem can still run into some wonky hitboxes here and there, but pound for pound, the Eagle 500KG Bomb is a must.
- Eagle Airstrike: This Stratagem is fantastic; quick to deploy, predictable spread ahead of you, and devastating to groups, it’s great to have multiple Eagle Airstrikes among your squad. You can intermix with some Eagle Cluster Bombs or Eagle Napalm Strikes, as they all work well at clearing hordes of enemies, but the Airstrike definitely stands out the brightest in this grouping.

Helldivers 2: Who Are The Illuminate?
The Illuminate faction is rumored to be returning in Helldivers 2. But just who are they, and why do they hate Democracy so much?
For When You Need To Hold The Line
|
Stratagem Name |
Stratagem Type |
Stratagem Stats |
Stratagem Traits |
How To Unlock |
|---|---|---|---|---|
|
Patriot Exosuit |
Robotics Workshop |
|
|
|
|
Orbital EMS Strike |
Bridge |
|
|
|
|
Autocannon Sentry |
Robotics Workshop |
|
|
|
|
Mortar Sentry |
Robotics Workshop |
|
|
This section deals with more defensive-minded Stratagems, but all of these mentioned here can be used offensively to devastating effect. There are few things quite as satisfying as a whole squad setting up a battery of Autocannon Sentries overlooking a large Bug Nest and raining destruction down on the whole area.
- Patriot Exosuit: This newer mech is an impressive defense tool in the game, delivering strong firepower for situations where you’re attempting to hold a position, such as when rescuing civilians or awaiting evac. Especially during those final 2 minutes of an evac mission, the Patriot Exosuit can truly shine. It sports a heavy machine gun mount (1000 bullets) and rocket launch mount (15 rockets), giving it some impressive longevity during these defend situations. You can also use it more aggressively around the map, but armor-penetrating enemies can shred this poor mech if it gets swarmed, so make sure you’re moving in a pack with your allies.
- Orbital EMS Strike: This disruptive Stratagem is fantastic when used in conjunction with other heavy damaging options. When you’re feeling overwhelmed, or the enemy is threatening to push you from a strong defensive position, Orbital EMS Strike can stun pretty much everything on the field aside from Automaton Tanks and Terminid Bile Titans. This can provide crucial extra moments to call down an Eagle 500KG Bomb or an Orbital Laser — or a few Sentries!
Orbital EMS Strike won’t stun or damage allies, but it will apply the Slow condition and fully drain Stamina when you or allies are inside the field.
- Autocannon Sentry: A devastating tool on the battlefield, the Autocannon Sentry can make quick work of even the toughest enemies. Excellent for defending the extraction zone, or great for just setting up a barrage of destruction on an enemy base, the Autocannon Sentry is a fantastic inclusion on any loadout, but especially on more defense-oriented missions.
- This Sentry delivers even more impressive firepower than its handheld counterpart.
- Mortar Sentry: A bit of a controversial pick, the Mortar Sentry has probably killed the most Helldivers out of all Sentry options available to players. In order for this Stratagem to not be a hindrance, there must be some solid coordination between players to avoid close-range combat with the enemies. Because of this, the Mortar Sentry is quite abit less effective vs Terminids since they tend to push into melee more quickly than Automatons. If players can keep their distance and set up defensively around the Mortar Sentry, this can be a deadly force on the battlefield.
Mortar Sentry is especially useful in the new Evacuate High-Value Assets defense mission type.
For more information for how to approach every enemy type in Helldivers 2, check out our guides for taking on all Terminid enemies and all Automaton enemy units.

Helldivers 2: 20 Best Armor, Ranked
Helldivers 2 gives players several choices for Armor, but these are surely some of the best ones you should be trying.