Quick Links
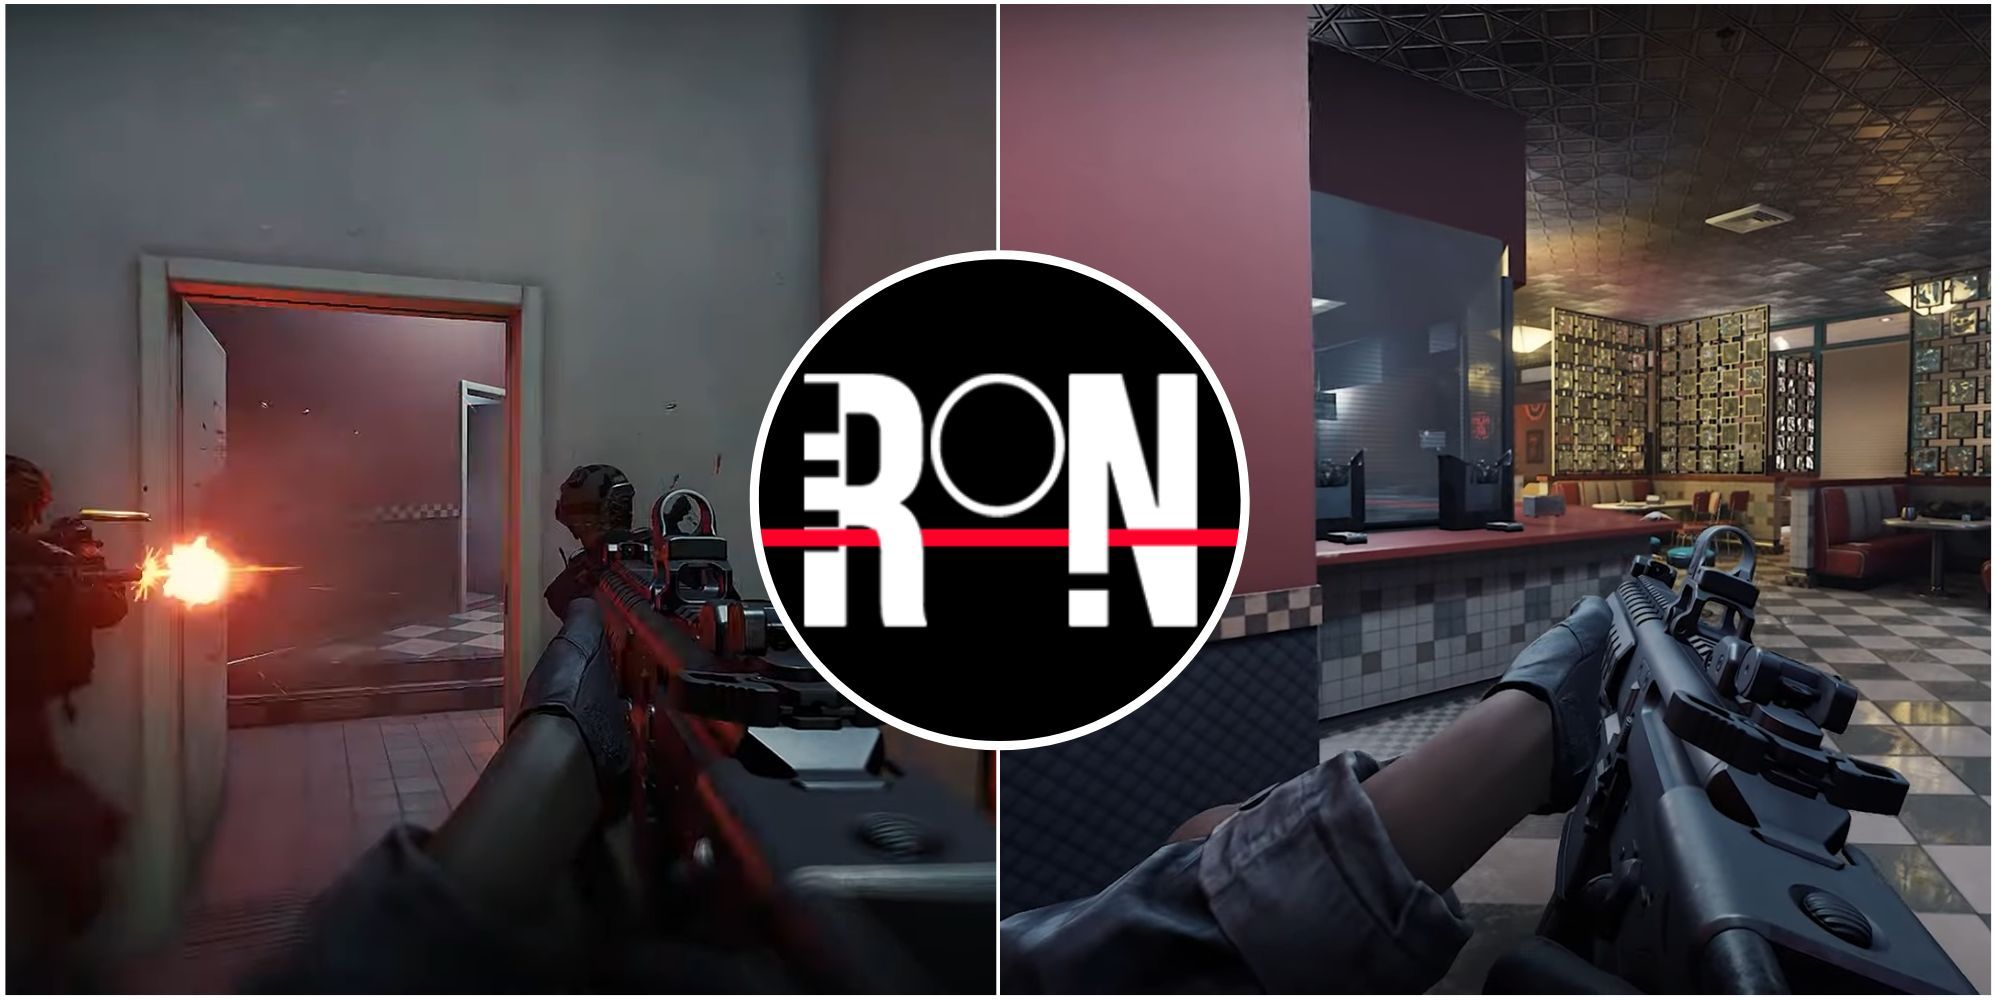
Developer, Void Interactive’s tactical first-person shooter, Ready or Not, is all about heart-pounding and nerve-wracking close-quarter combat. It’s a game where you step into the shoes of a cop, commanding your squad to breach and clear various residential and commercial buildings while rescuing hostages and either arresting or neutralizing hostiles.
Ready Or Not: 10 Best Weapons, Ranked
The engagement is intense, so should be your weapon.
Unlike most first-person shooters, Ready or Not has minimal HUD elements. Meaning, there’s no way to figure out where enemies are unless you see or hear them. So, it becomes absolutely necessary to spot enemies easily and react accordingly, which also necessitates a smoother gameplay experience. The following guide provides a breakdown of the best graphics settings for the best visuals and performance in Ready or Not.
Ready or Not
- Released
- December 13, 2023
- Developer
- VOID Interactive
Best In-Game Settings For Clarity & Performance

The game includes a decent graphics adjustment options, but it does not help remove some post-process effects like film grain. These options can be disabled by editing the config file, which this guide will delve into after helping you through optimizing the in-game settings. The following table lists all graphical options in the game, along with the recommended setting to maximize performance and visual fidelity:
|
Graphical Option |
Recommended Setting |
|---|---|
|
Screen Mode |
Fullscreen |
|
Resolution |
Set to native monitor resolution |
|
Resolution Scale |
100% |
|
Field of View |
90 |
|
ADS Zoom |
Enabled |
|
Texture Quality |
Medium |
|
Shadow Quality |
Medium |
|
Post-Process Quality |
Medium |
|
Anti-Aliasing Quality |
High |
|
VFX Quality |
Medium |
|
View Distance |
Medium |
|
Frame Limit |
Disabled |
|
Motion Blur |
Disabled |
|
VSync |
Disabled |
|
Bounce Light |
Disabled |
|
Enable World Decals |
Disabled |
|
Optiwand FPS Limit |
Disabled |
|
Optiwand Resolution Scale |
100% |
|
FSR2 Quality |
Disabled |
|
DLSS Quality |
Disabled |
|
Nvidia Reflex Low Latency |
Enabled |
|
Game to Render Latency |
Disabled |
|
Game Latency |
Disabled |
|
Render Latency |
Disabled |
In addition to changing these graphics settings, you can also adjust either FSR2 or DLSS settings to get a good boost in FPS.
Changing the FSR2 or DLSS settings can make your game look blurrier, impacting the overall experience.
Implementing Additional Performance Fixes

How To Fix Shader Compilation Stuttering
Ready or Not suffers from massive shader compilation as it compiles them while you play the game. This process can cause your FPS to fluctuate dramatically, leading to an unsatisfactory experience. To combat stutters caused by shader compilation, you can choose to run the game via DirectX11 API, but you’ll be sacrificing some FPS when compared to running the game via DirectX12.
Usually, when you launch the game via Steam, you should see an option to either launch the game via DirectX11 or DirectX12. At this point, you can choose to launch the game in DirectX11. However, if you’re not seeing this option when launching the game, the following steps will help sort that out:
- Open Steam and navigate to your library.
- Now, right click on Ready or Not and choose “Properties.”
- You should now see a new window pop up. Here, click the “General” tab, followed by the drop-down menu in the launch options.
- From the drop-down menu, select DirectX11.
Doing so should eliminate most stutters you may encounter due to shader compilation.
How To Disable Film Grain
Secondly, the game also implements a film grain effect as a post-process feature. This effect is not eliminated by disabling post-processing quality within the in-game settings. For the cleanest image possible, it’s recommended to disable this effect. To remove film grain from Ready or Not, follow the steps listed below:
- Hit Windows+R to bring up the run command.
- Now, enter the following file path: “
%LOCALAPPDATA%ReadyOrNotSavedConfigWindowsNoEditorEngine.ini" - Scroll to the bottom of the file and add the following command at the bottom:
- [SystemSettings] r.Tonemapper.Quality=3
- Save the file, and you’re good to go.

Ready Or Not: How To Use Optiwand Or Mirror Gun
Check rooms for hostiles and traps before entering.